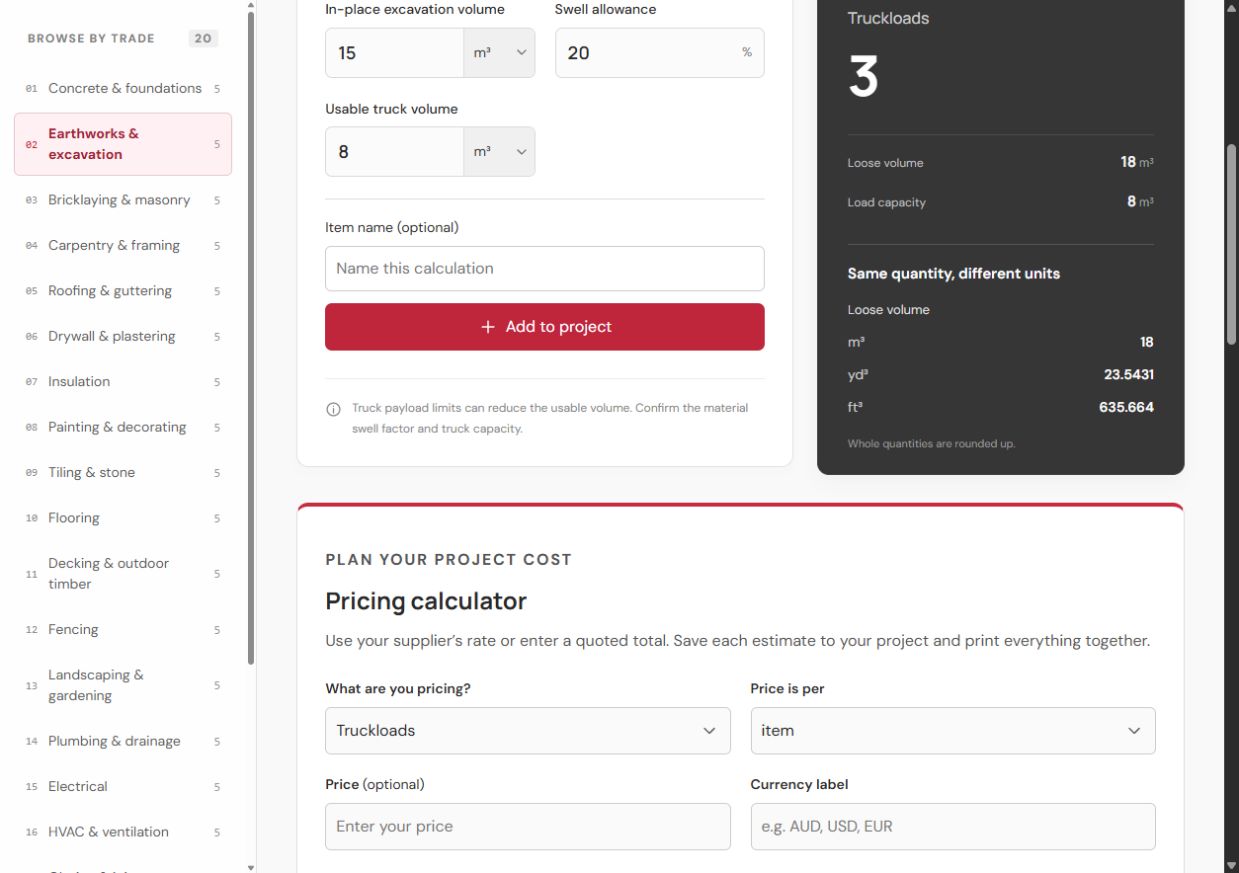
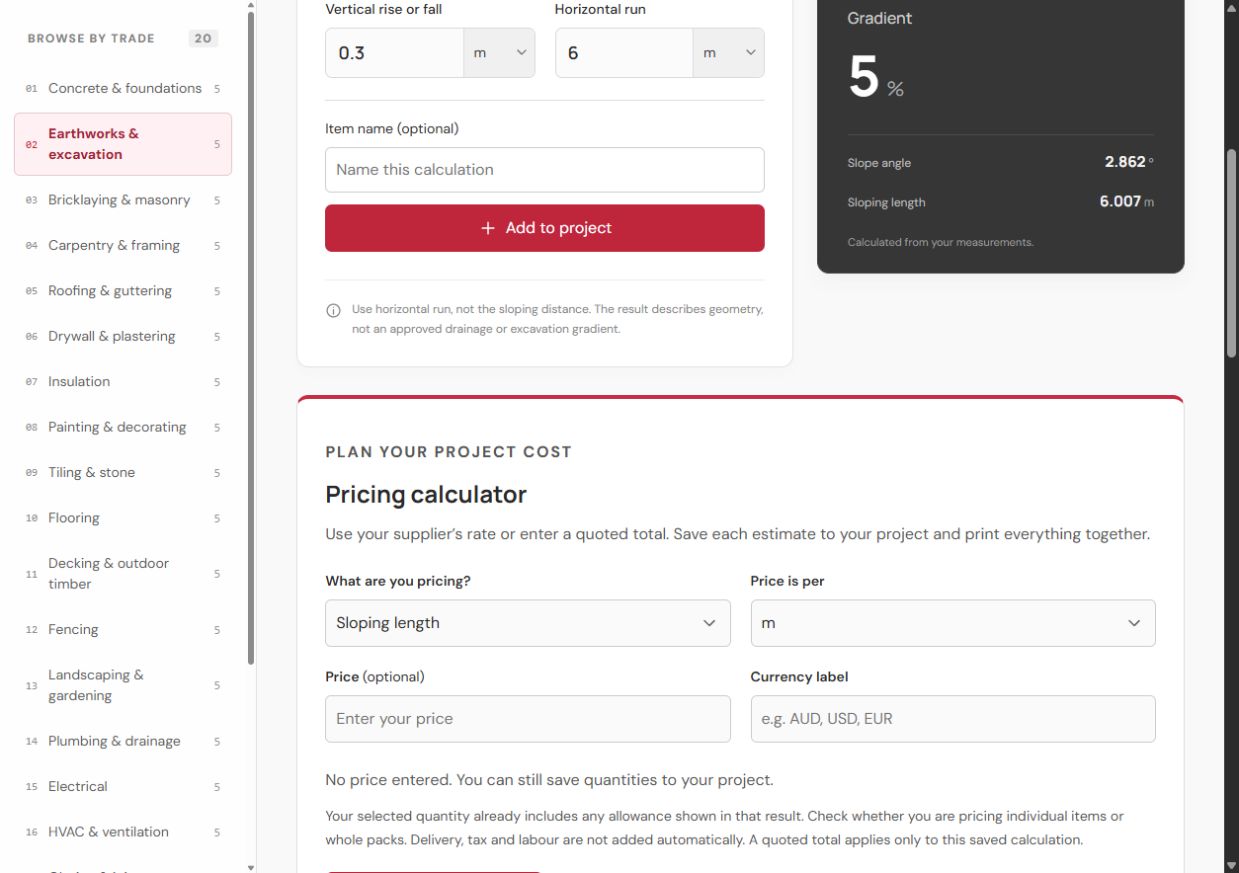
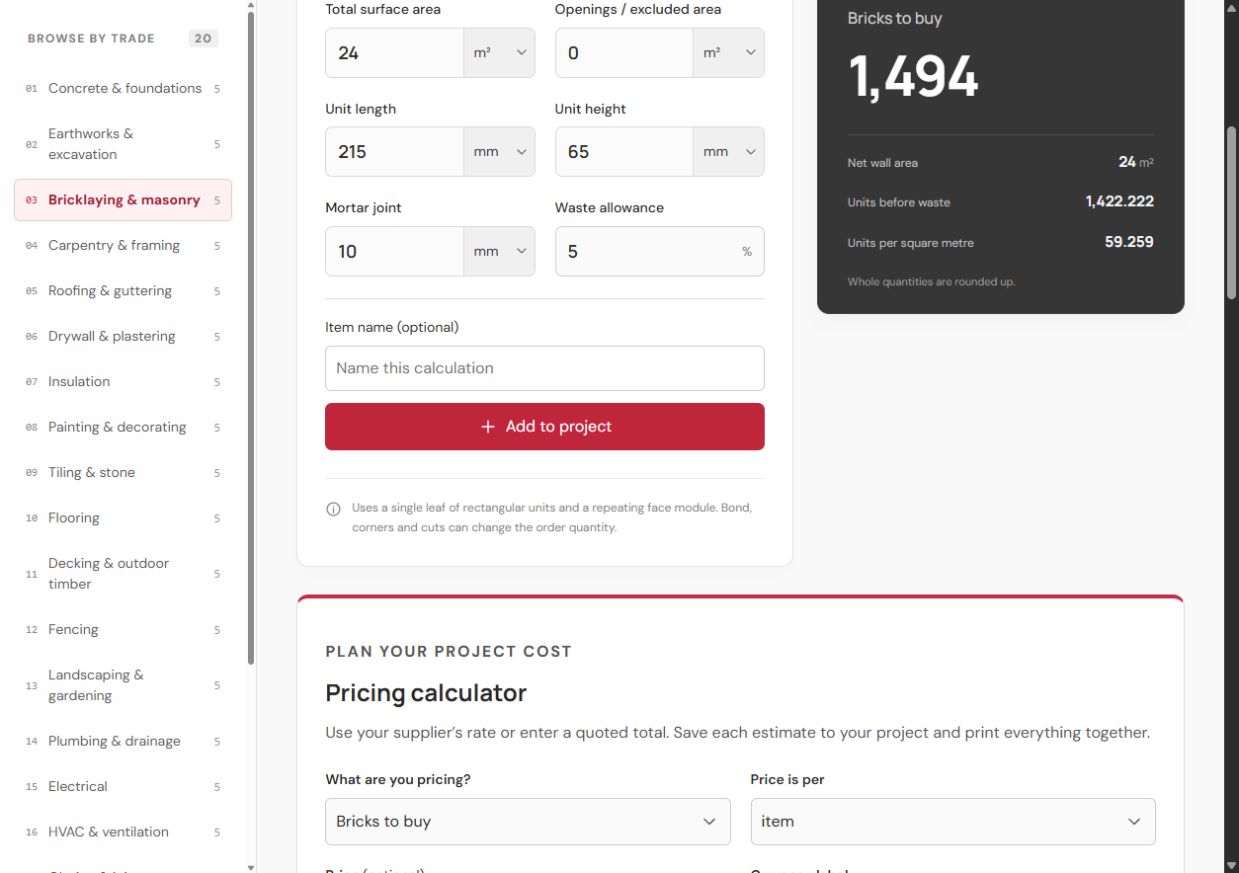
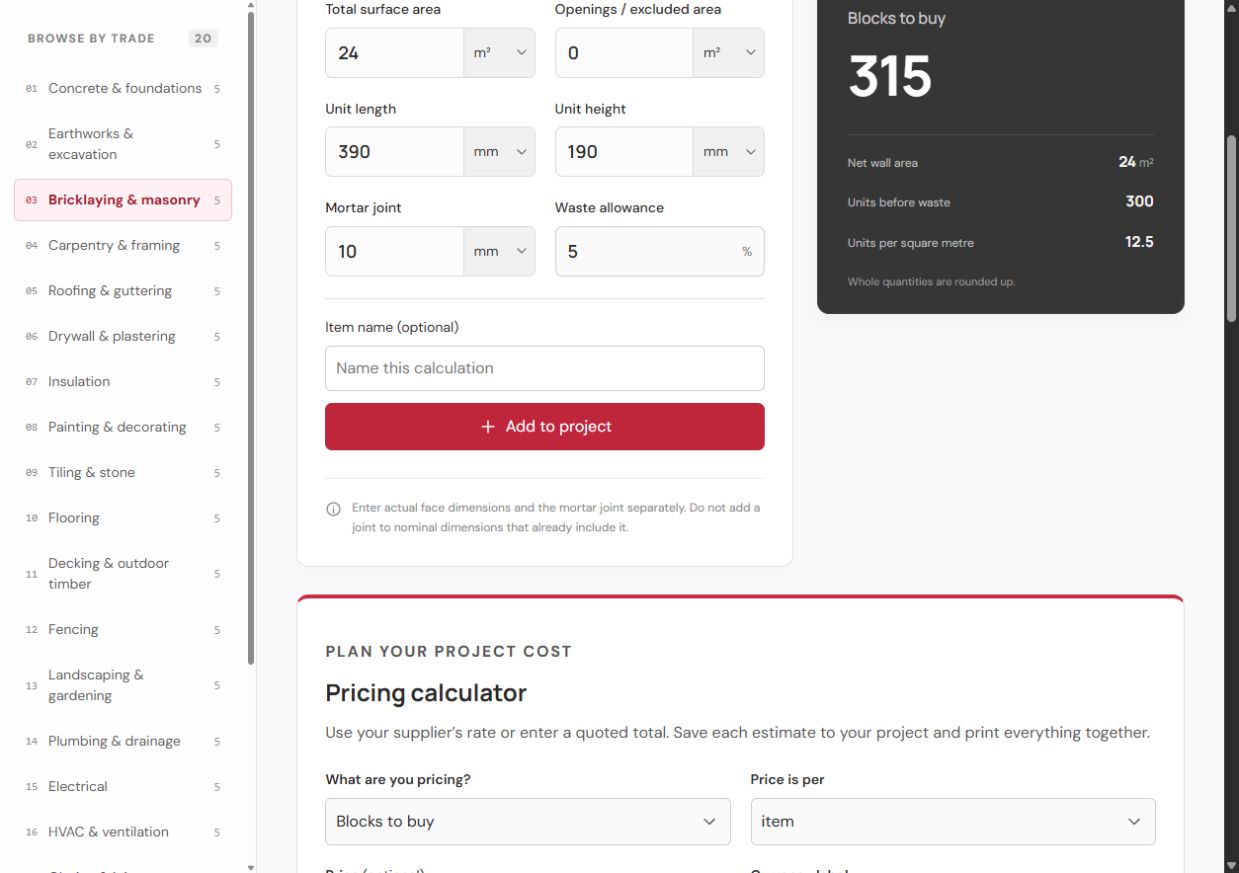
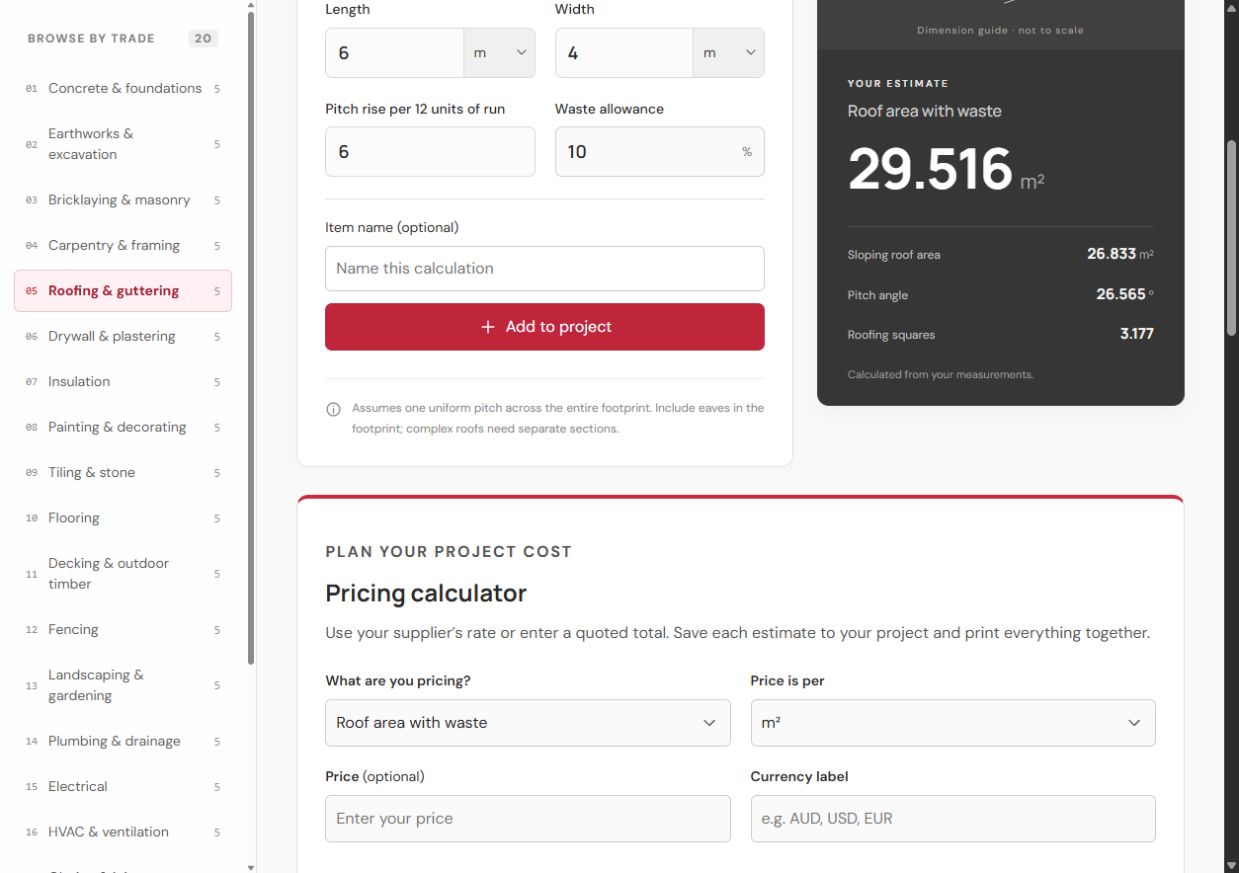
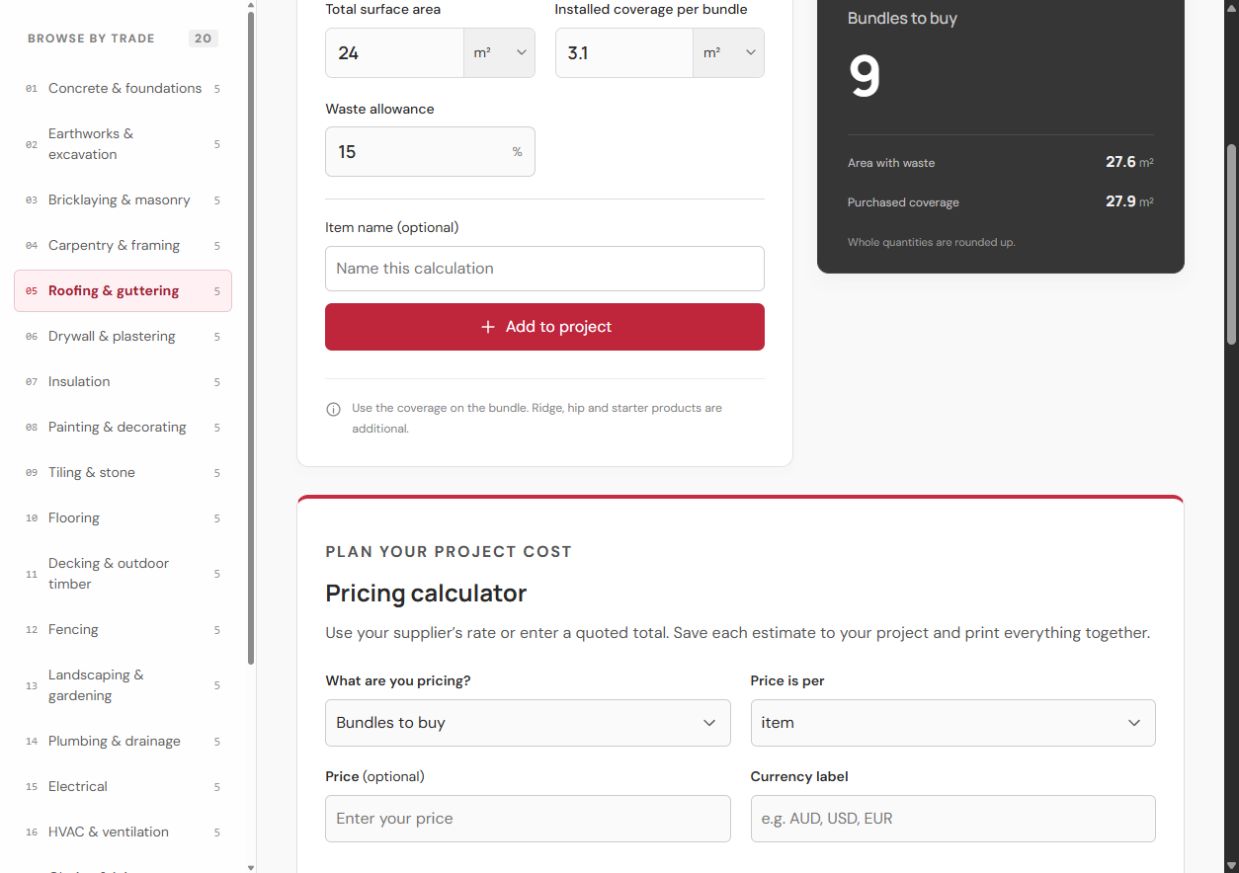
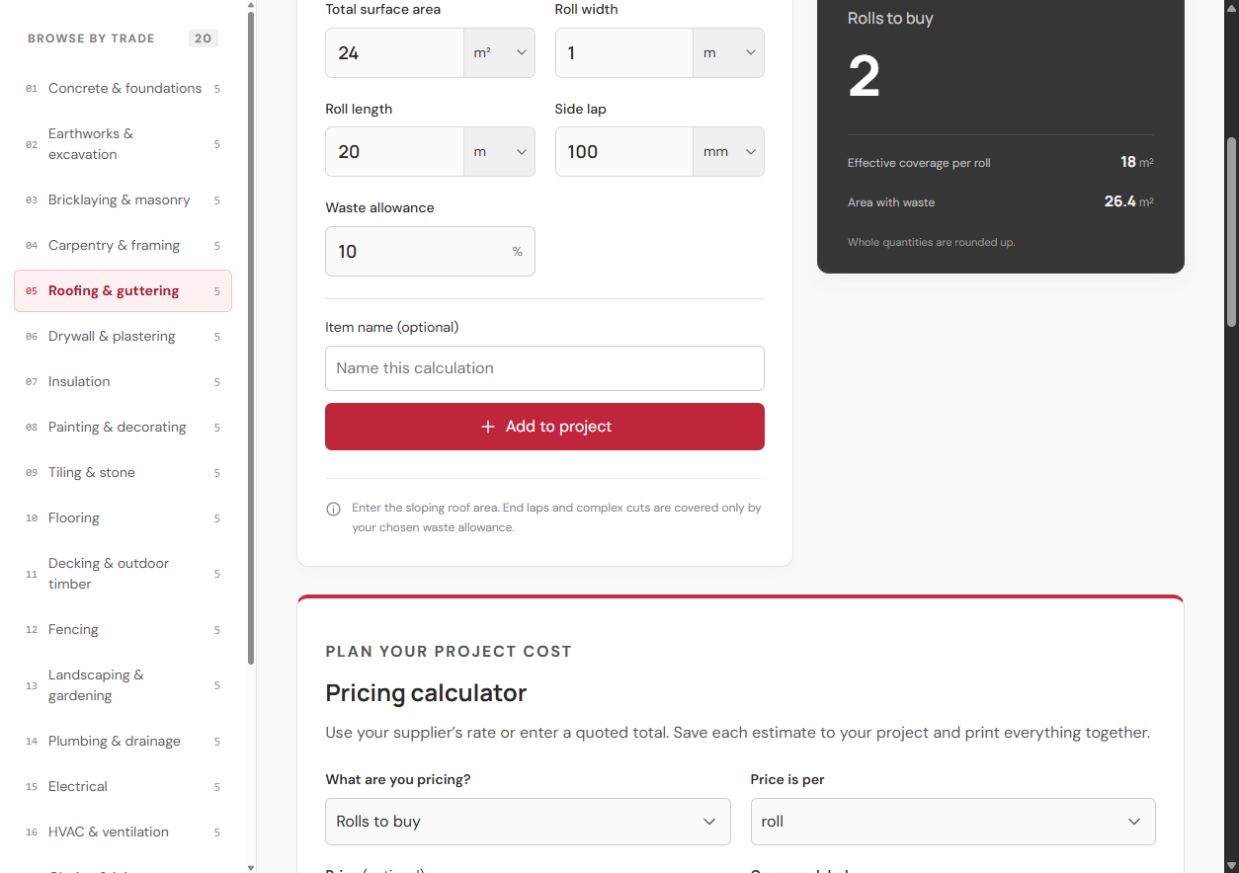
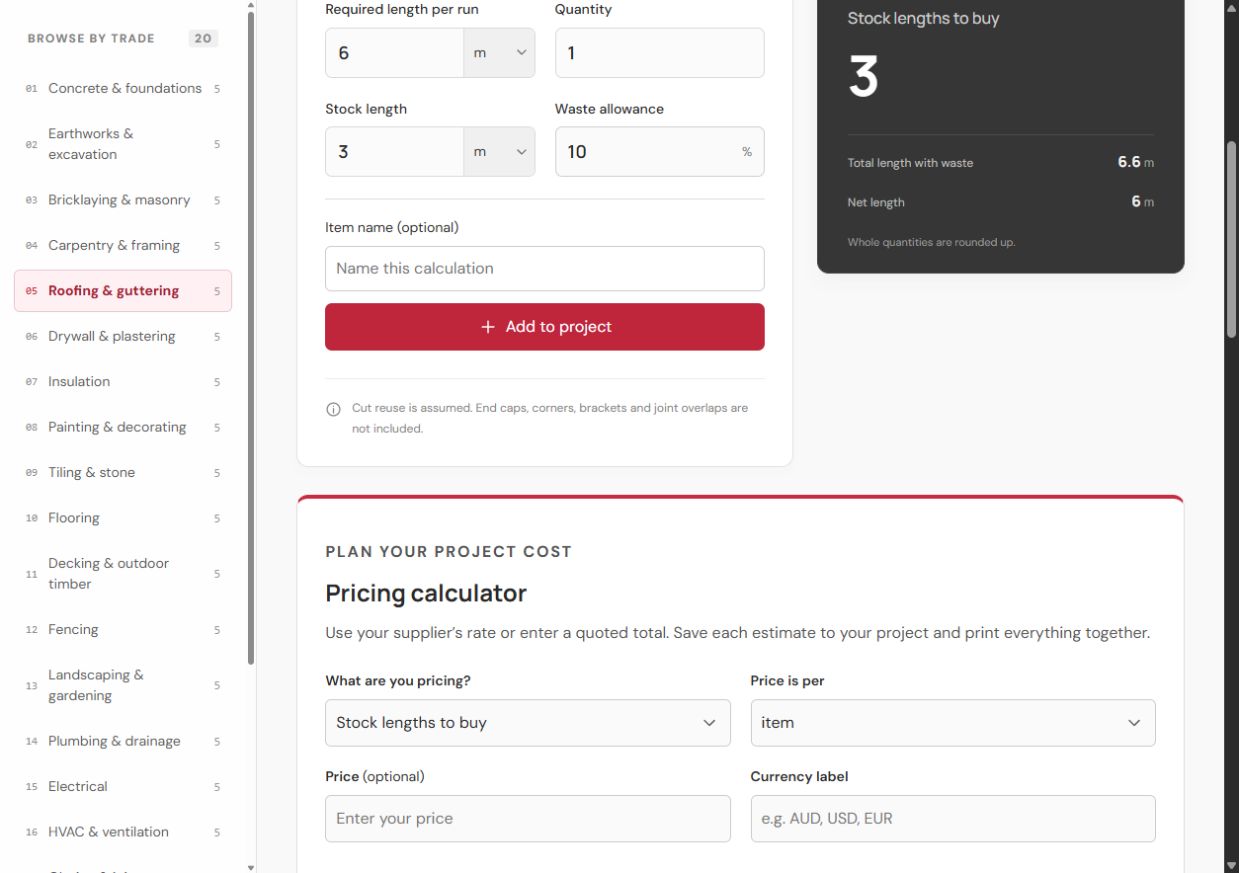
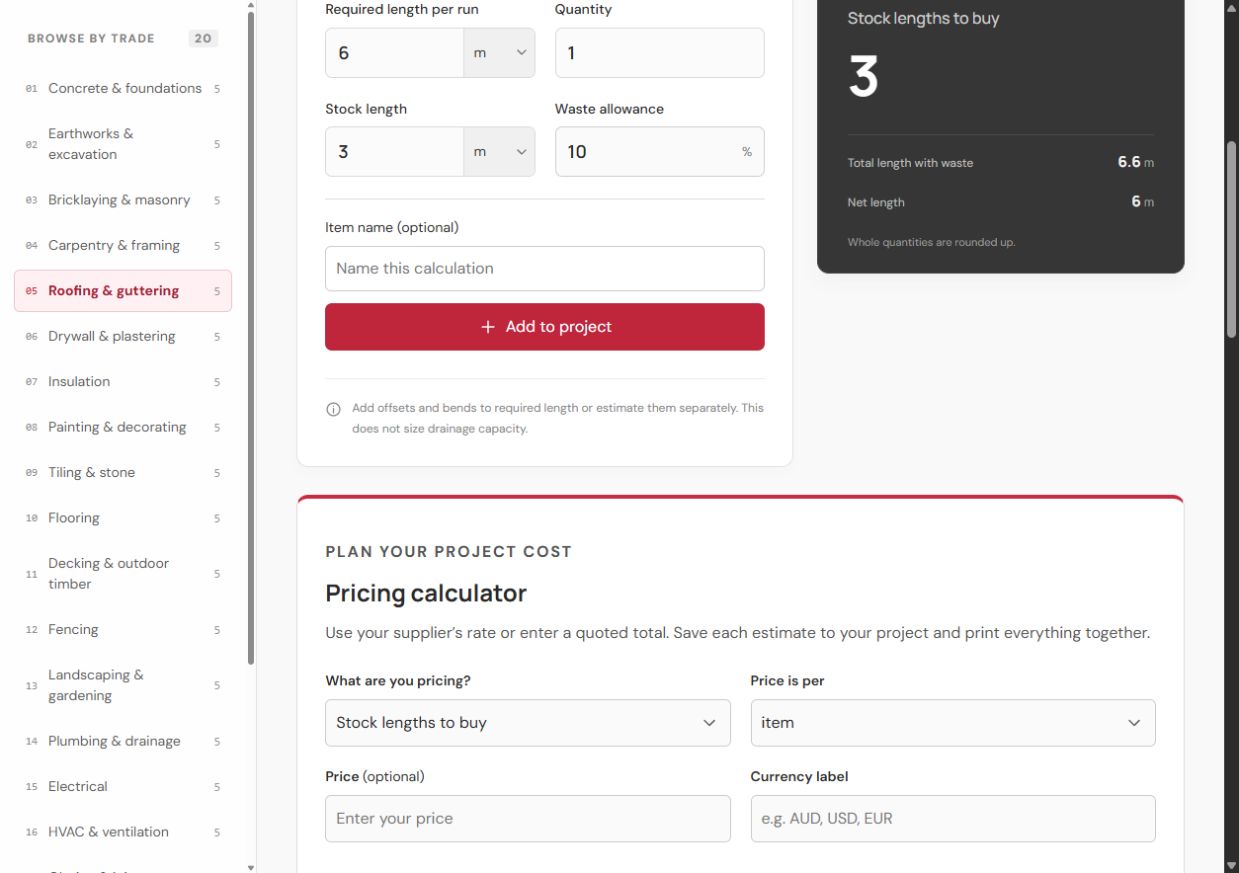
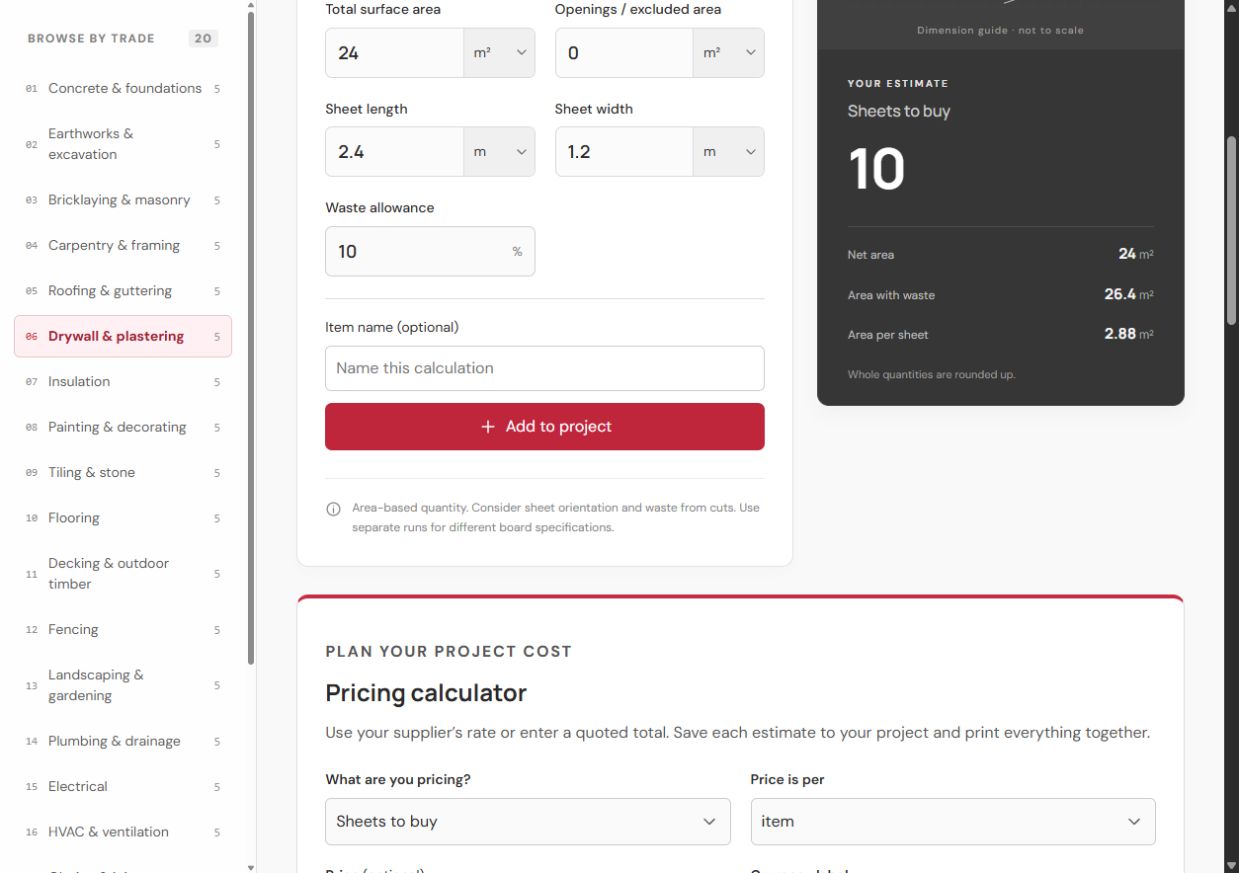
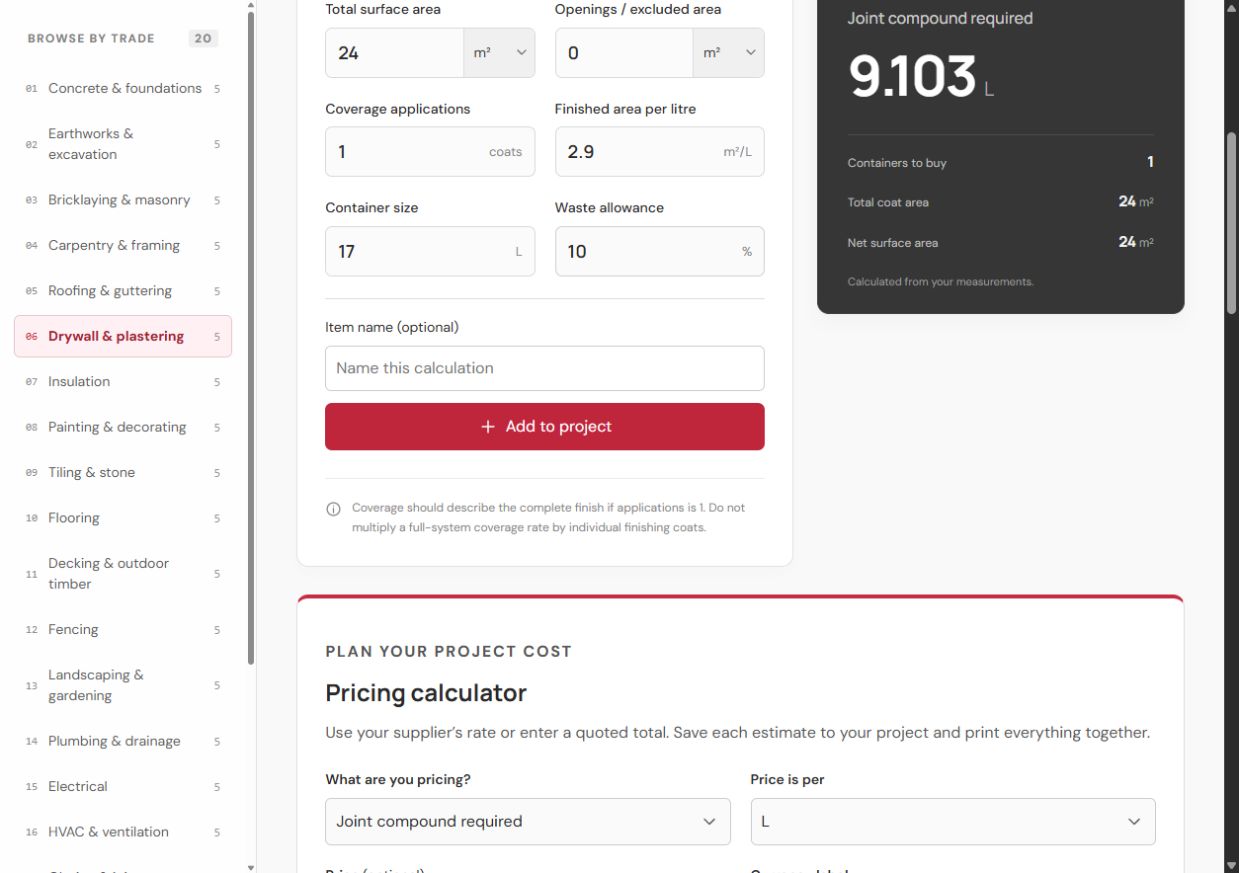
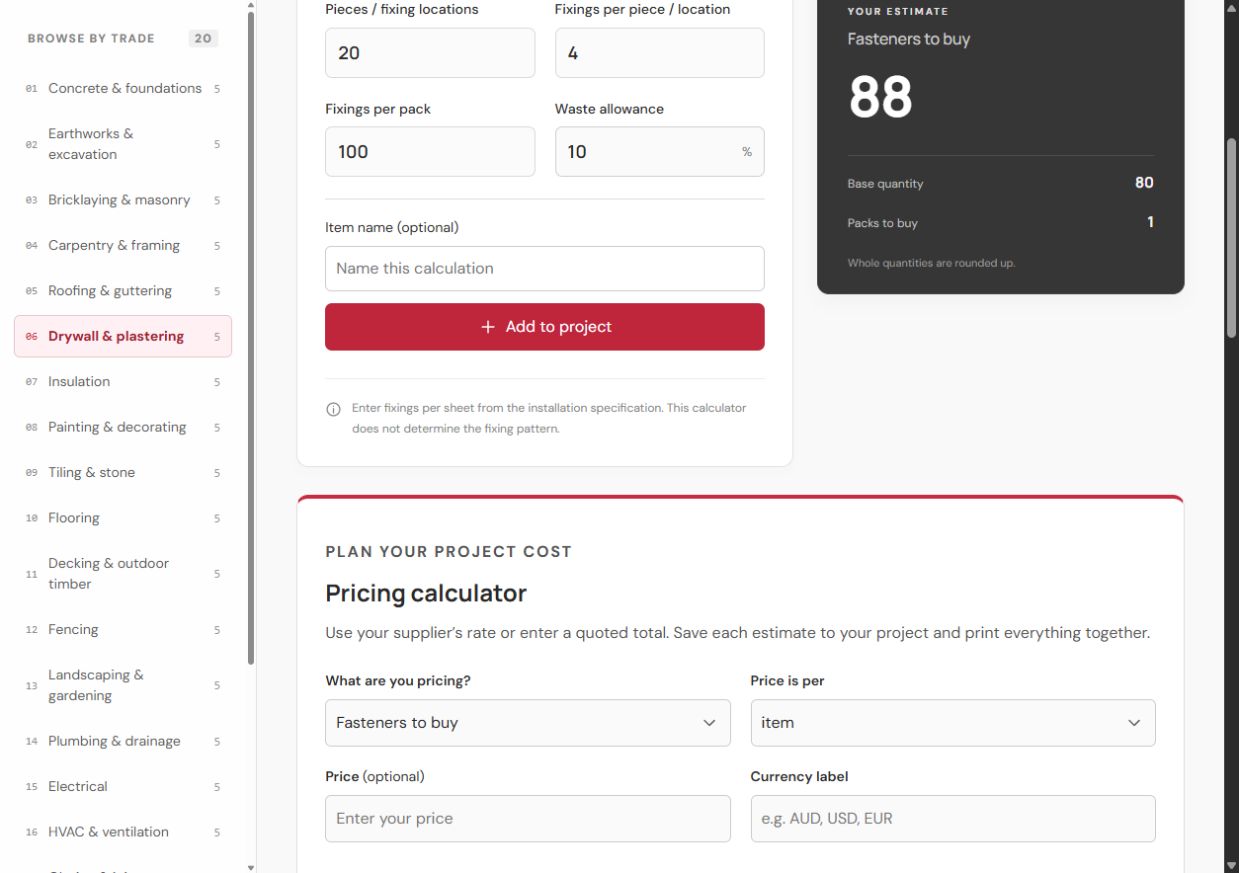
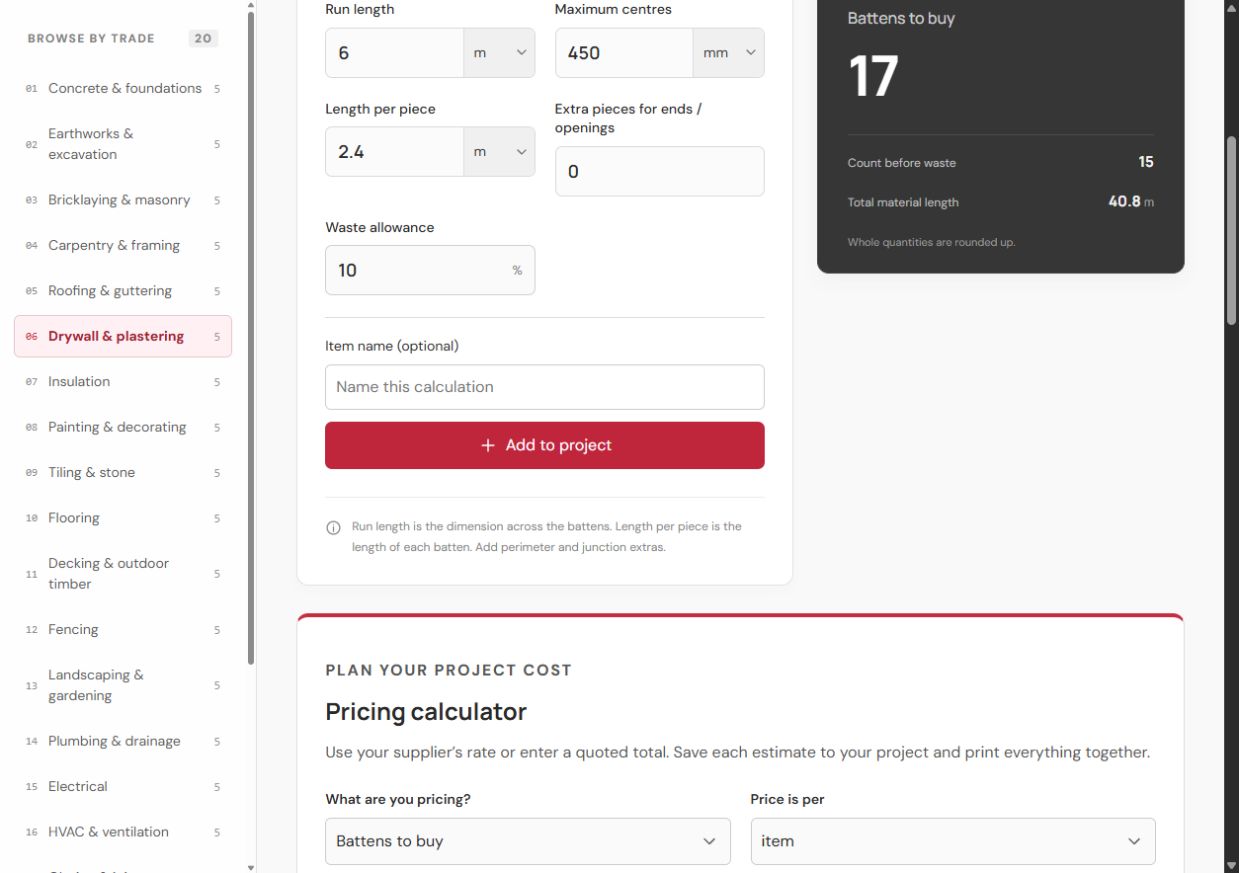
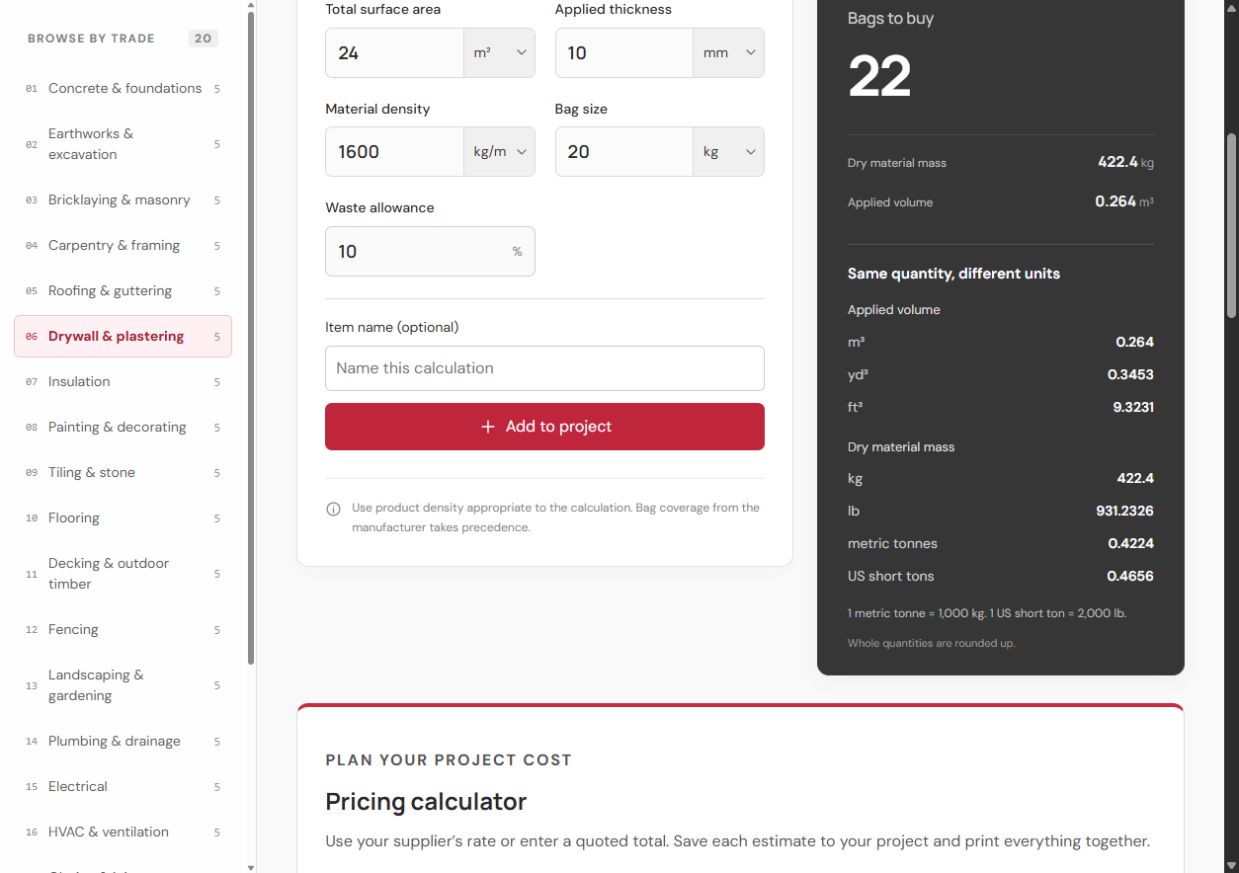
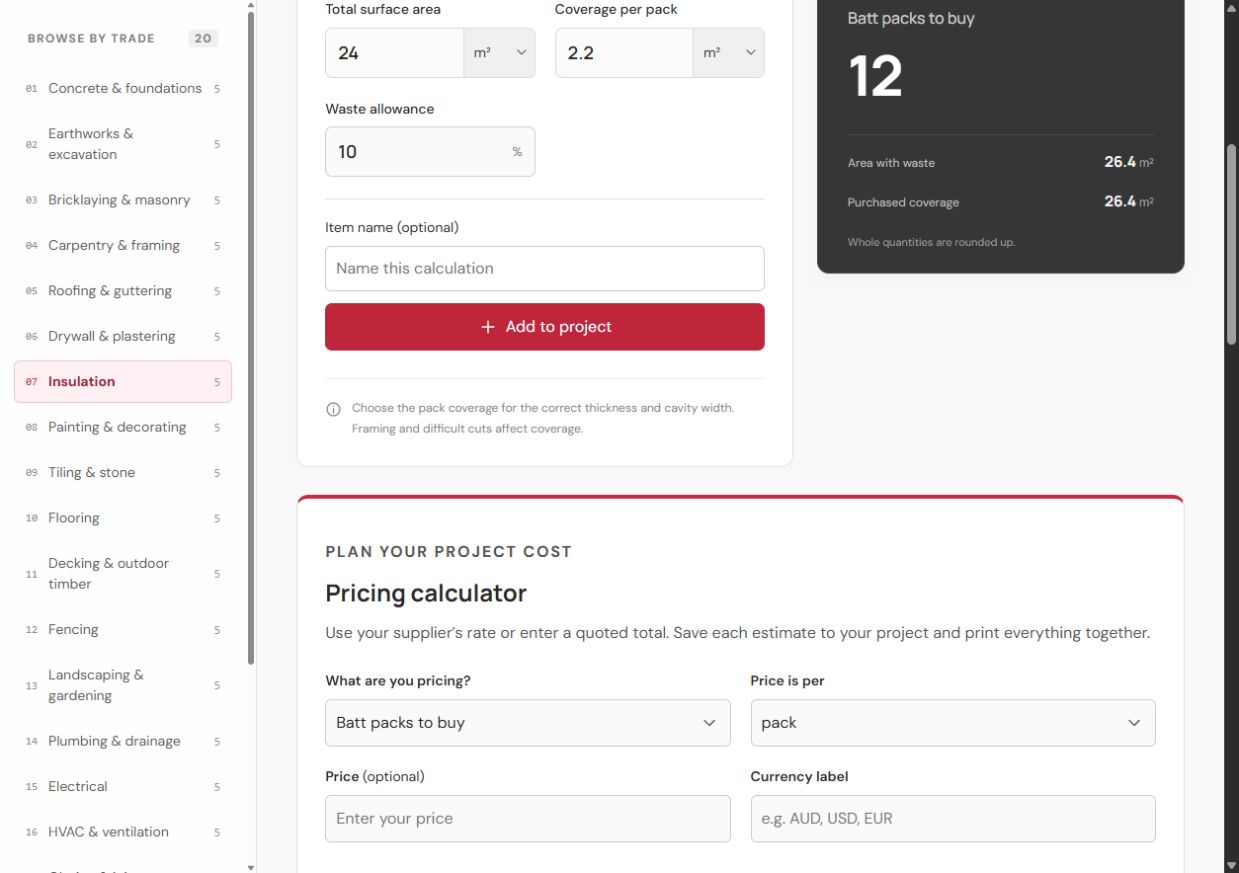
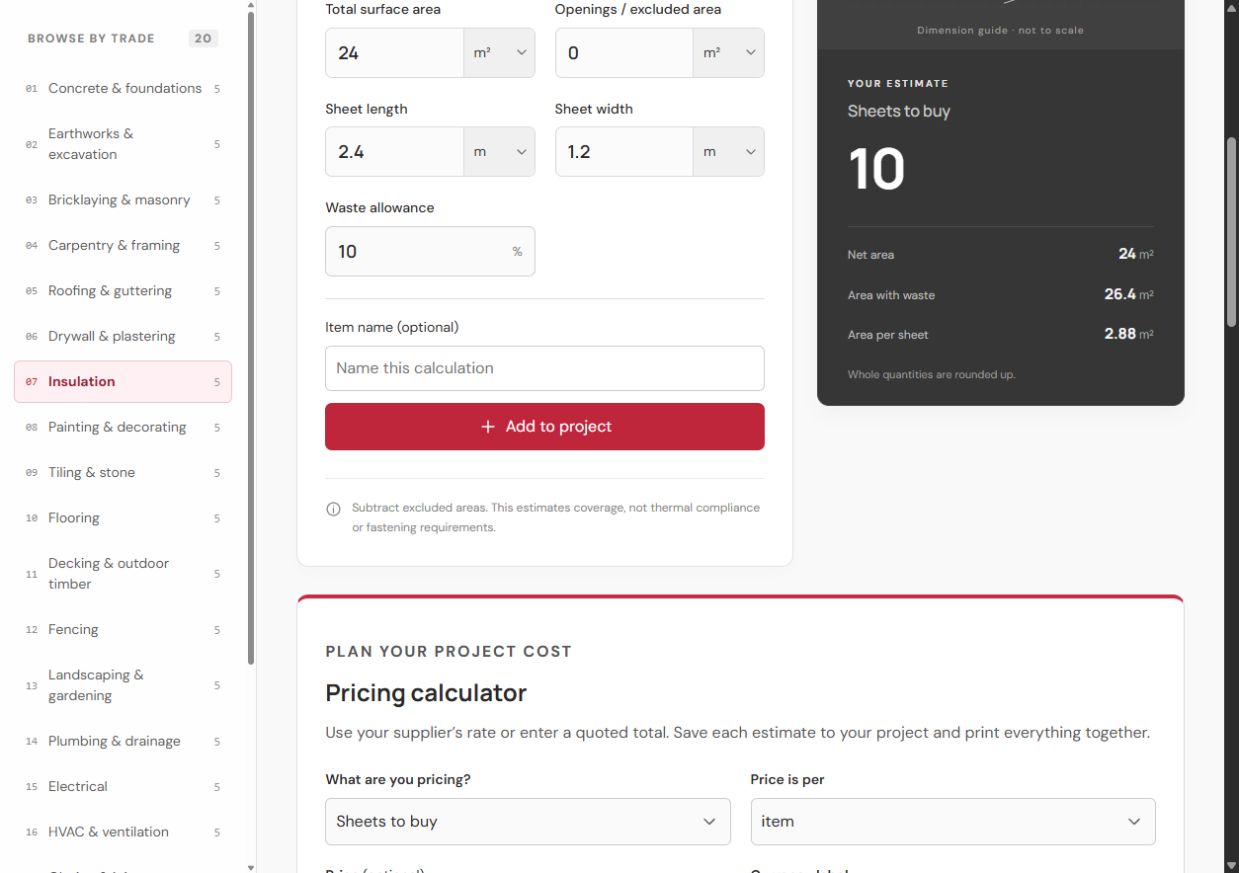
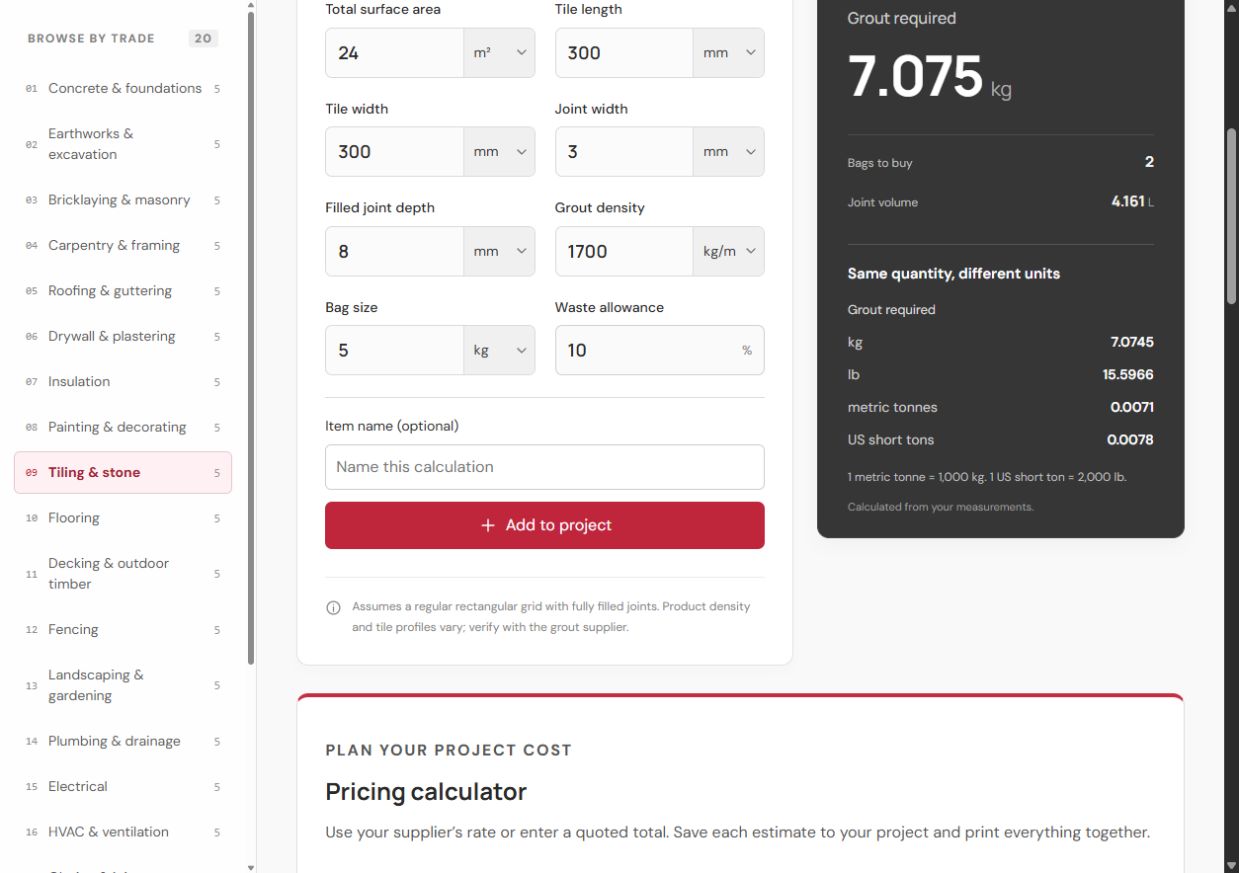
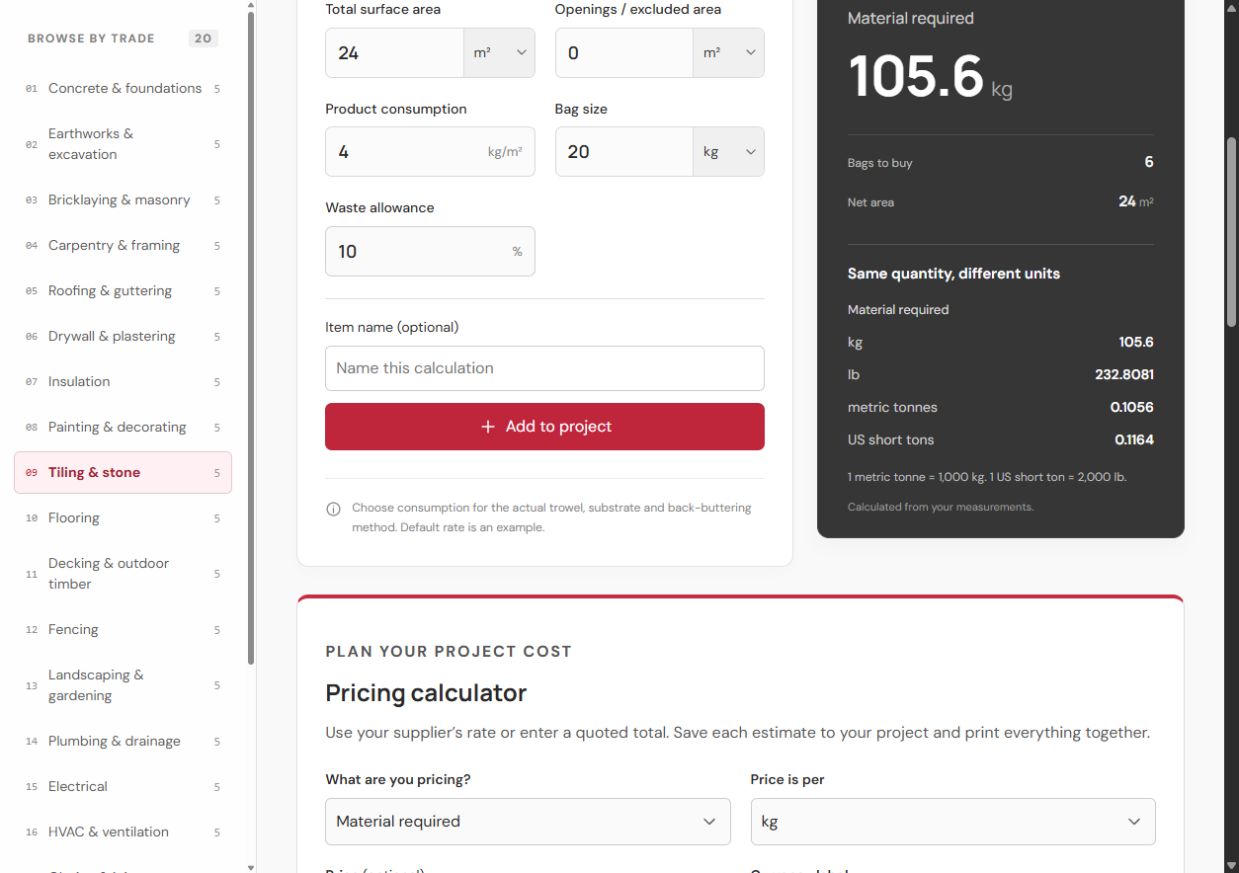
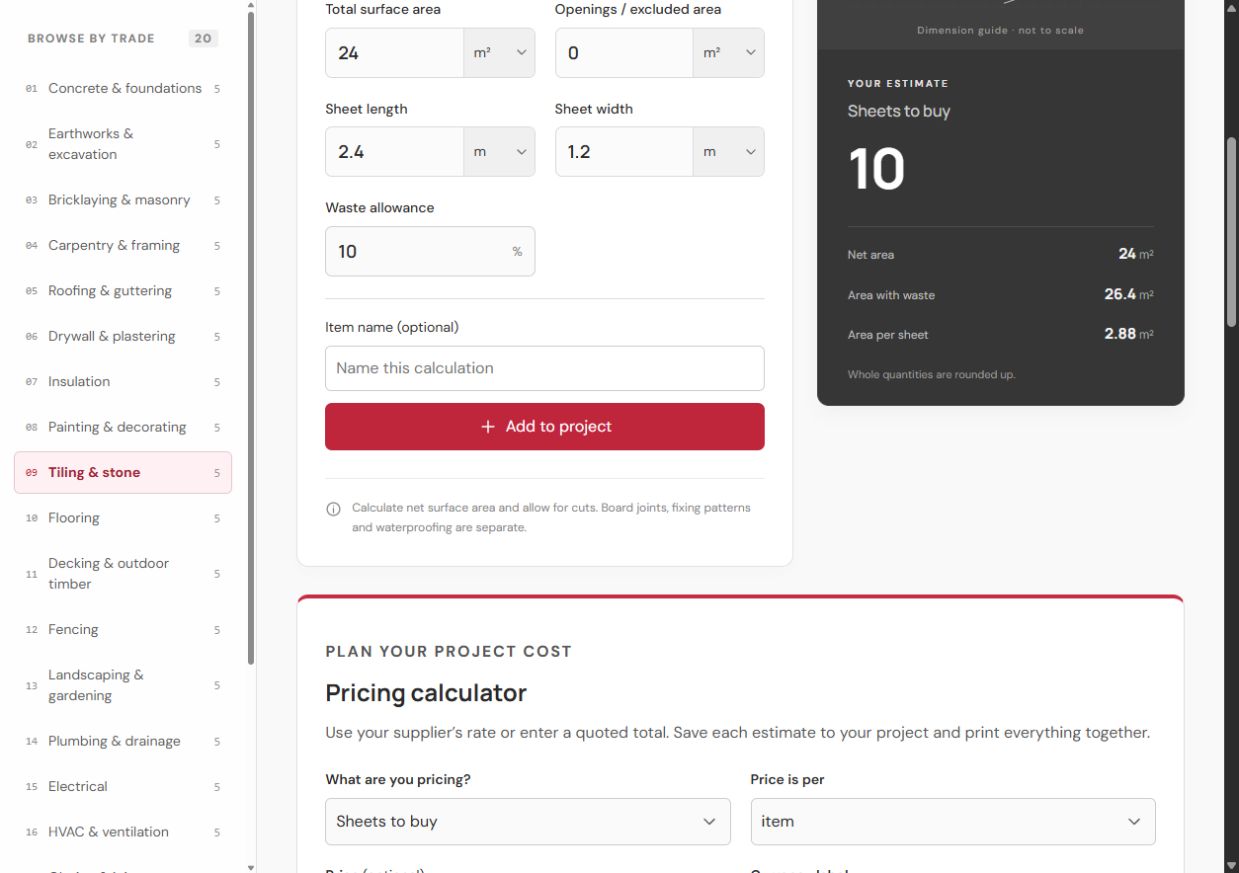
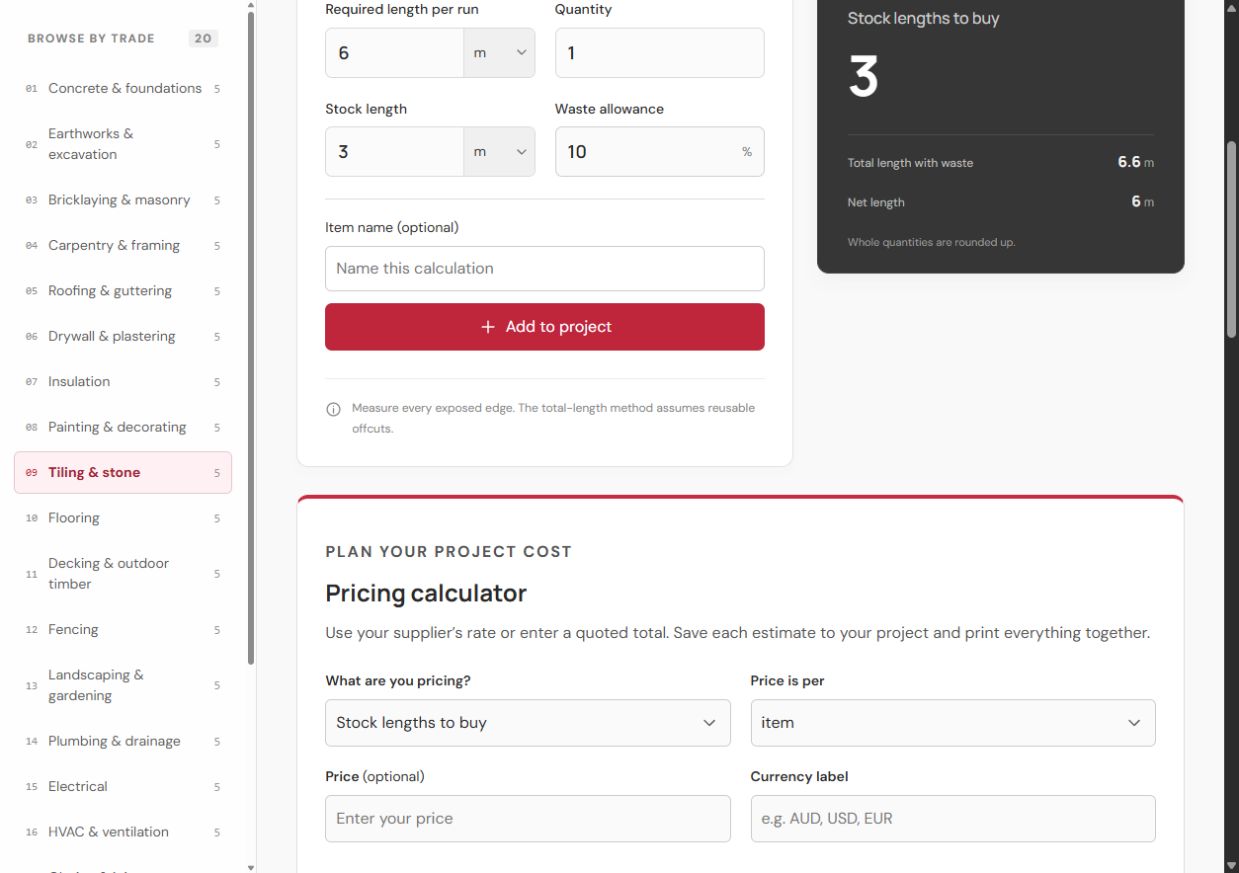
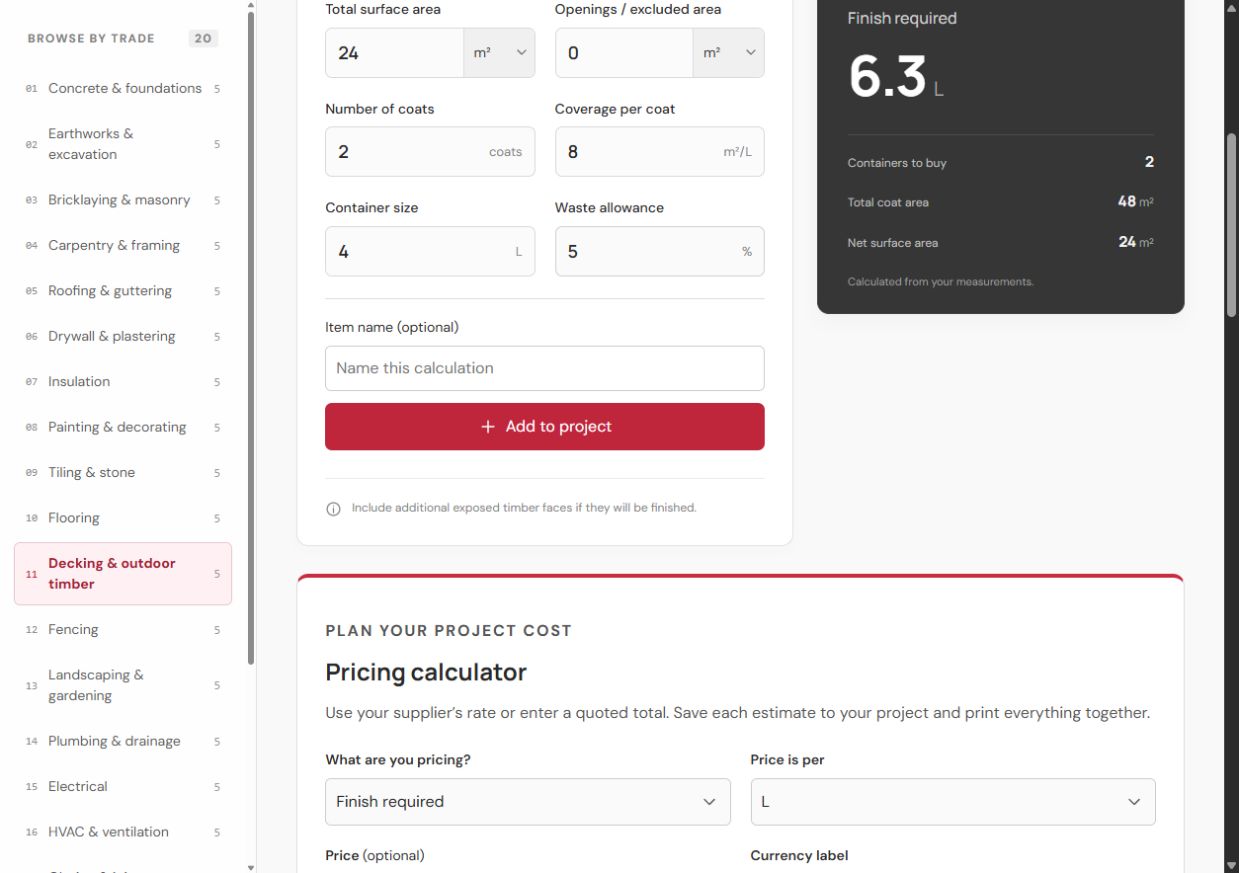
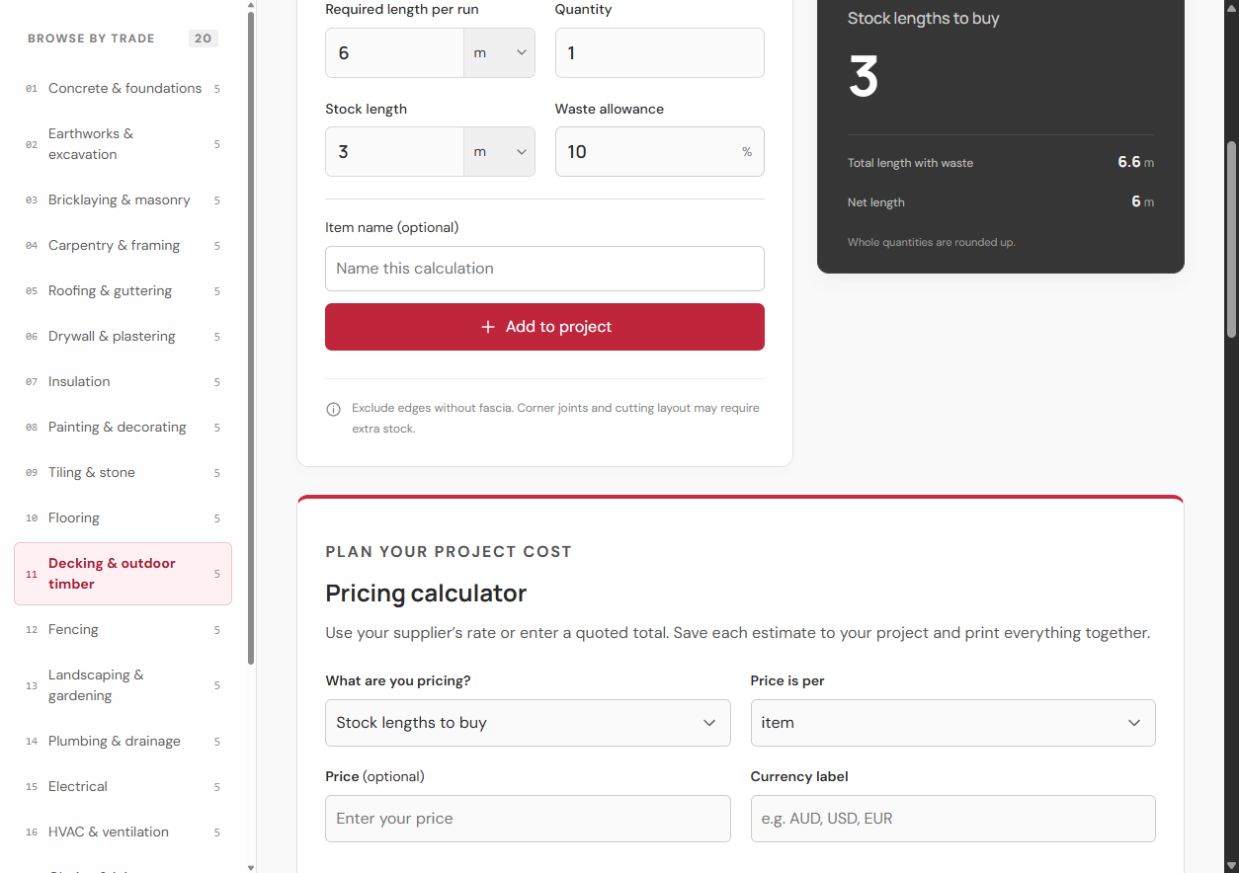
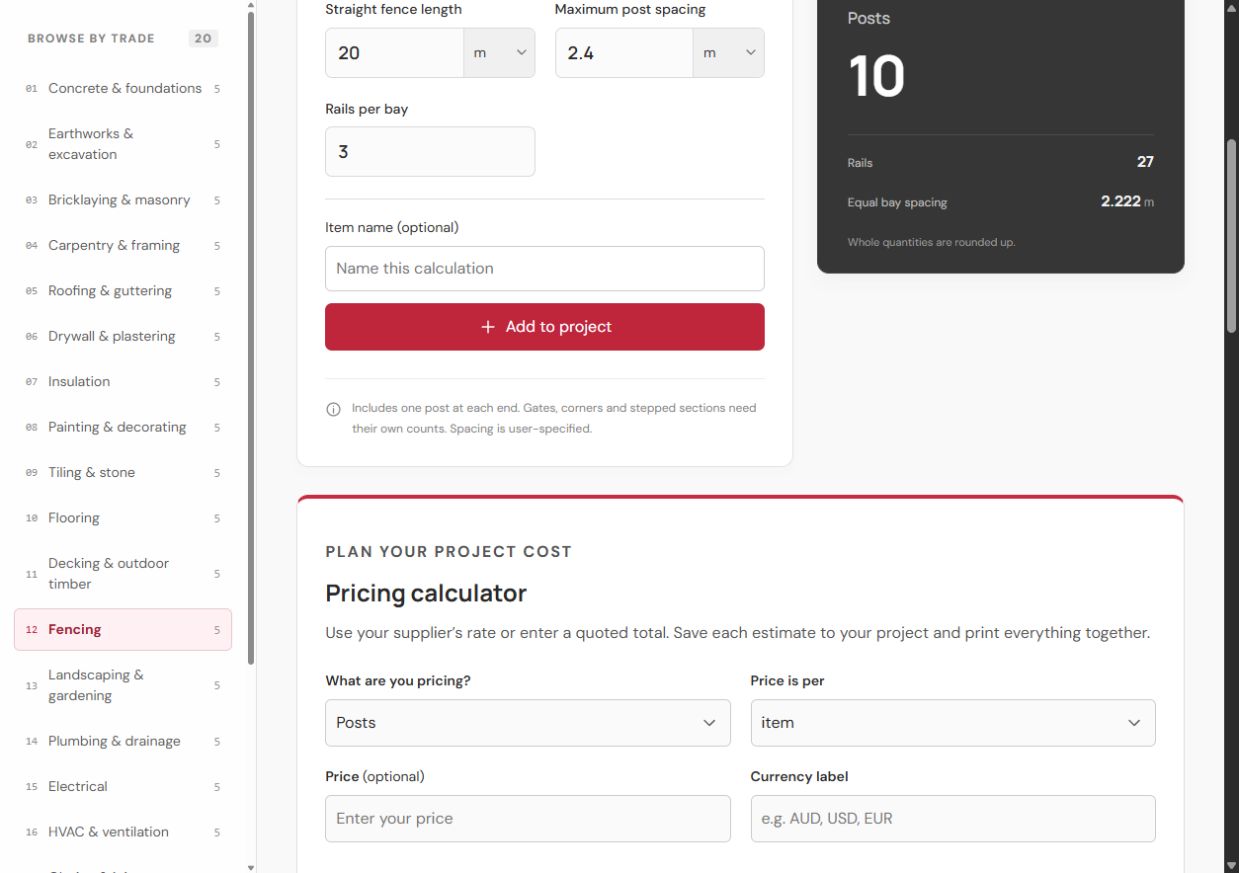
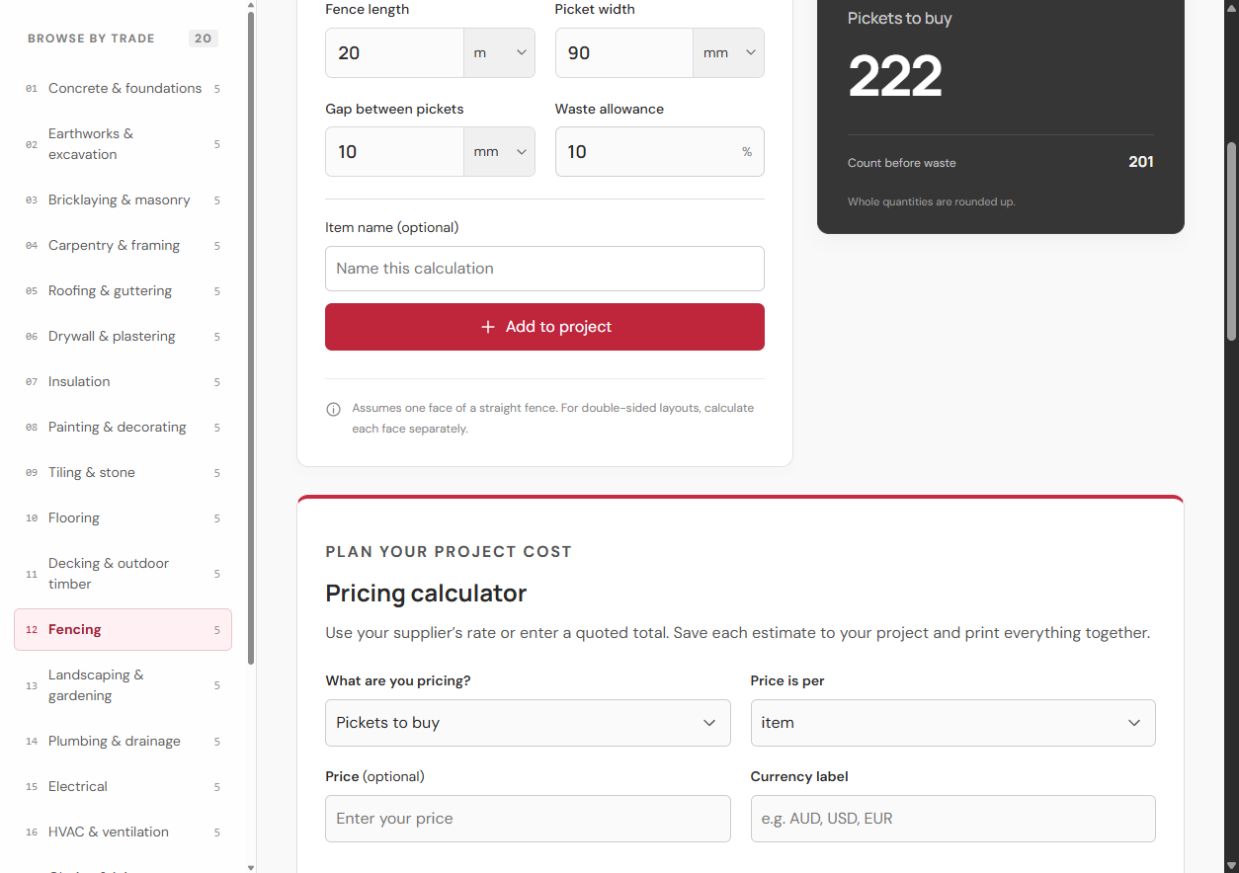
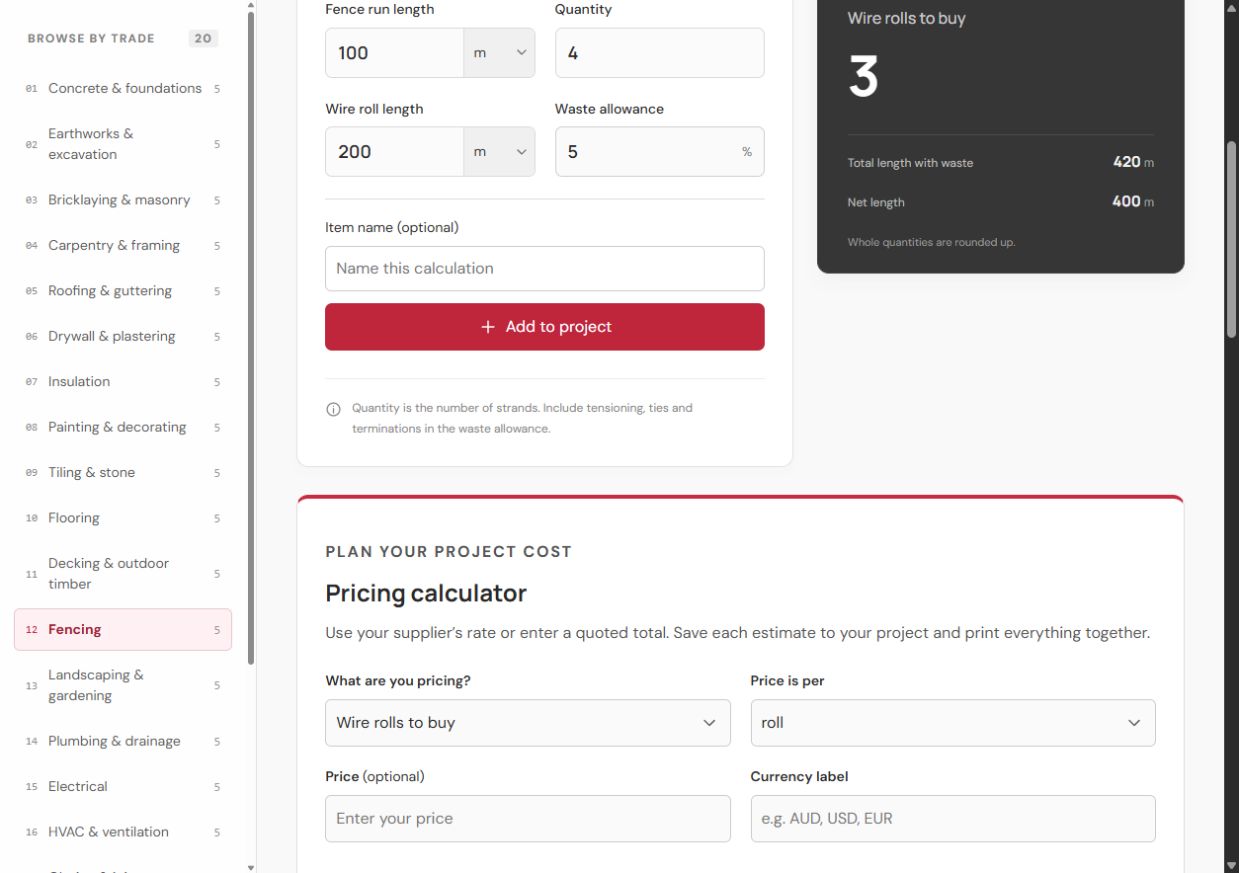
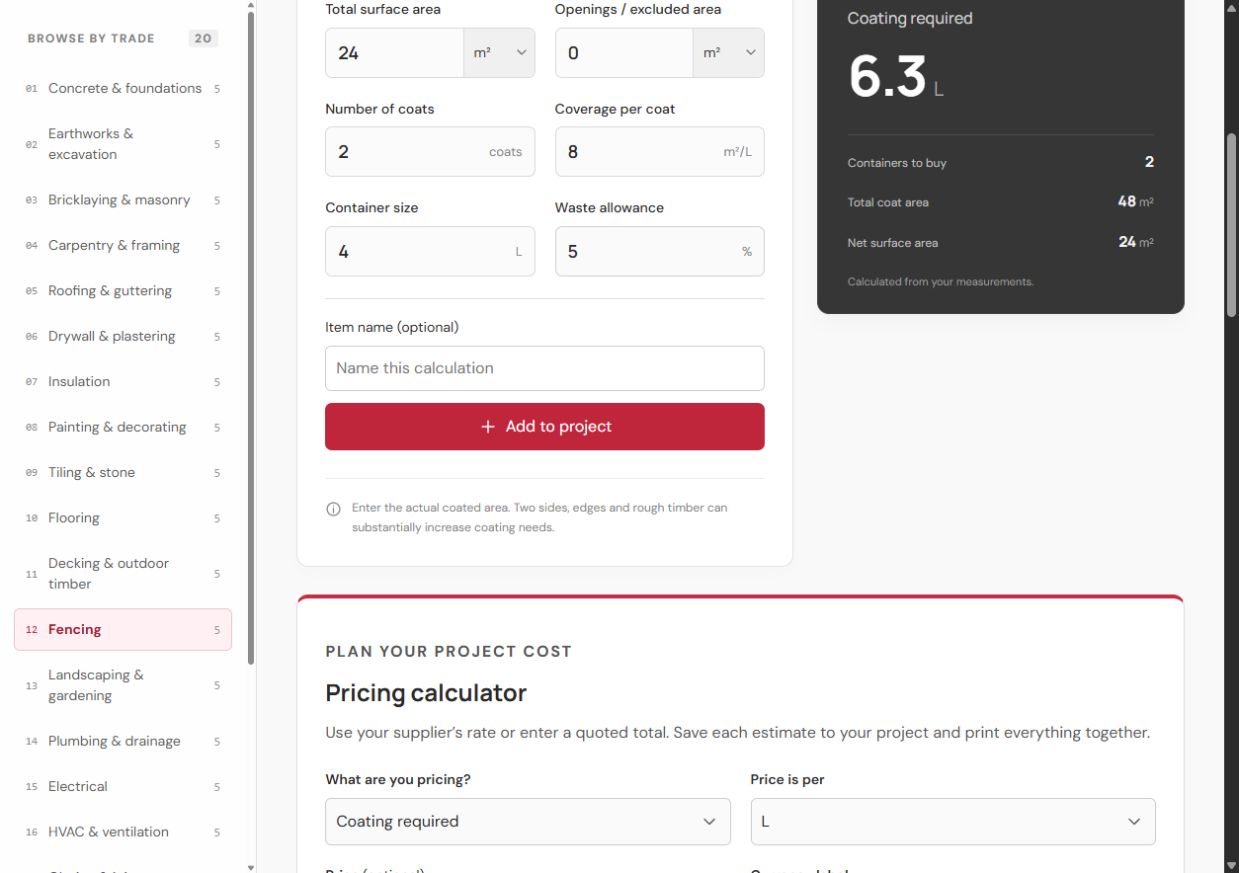
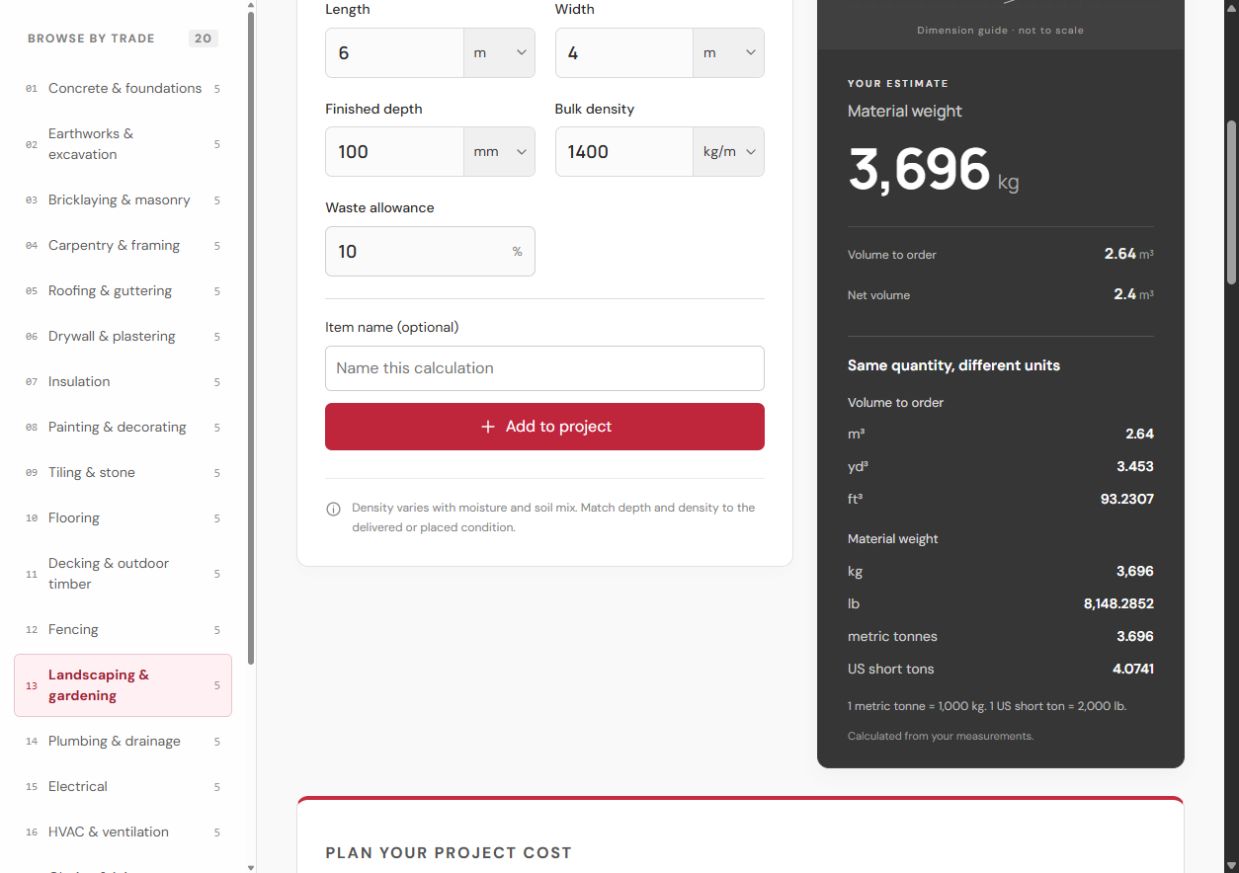
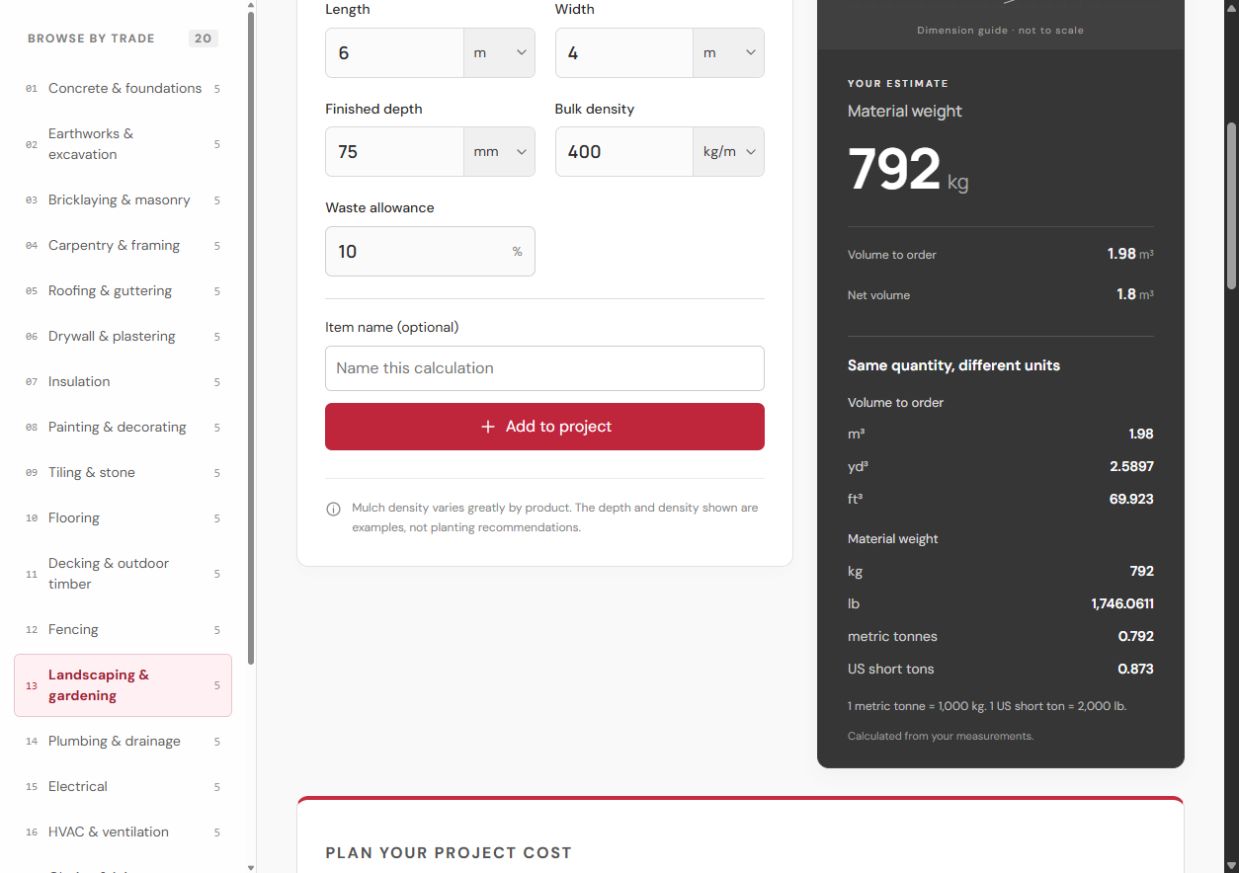
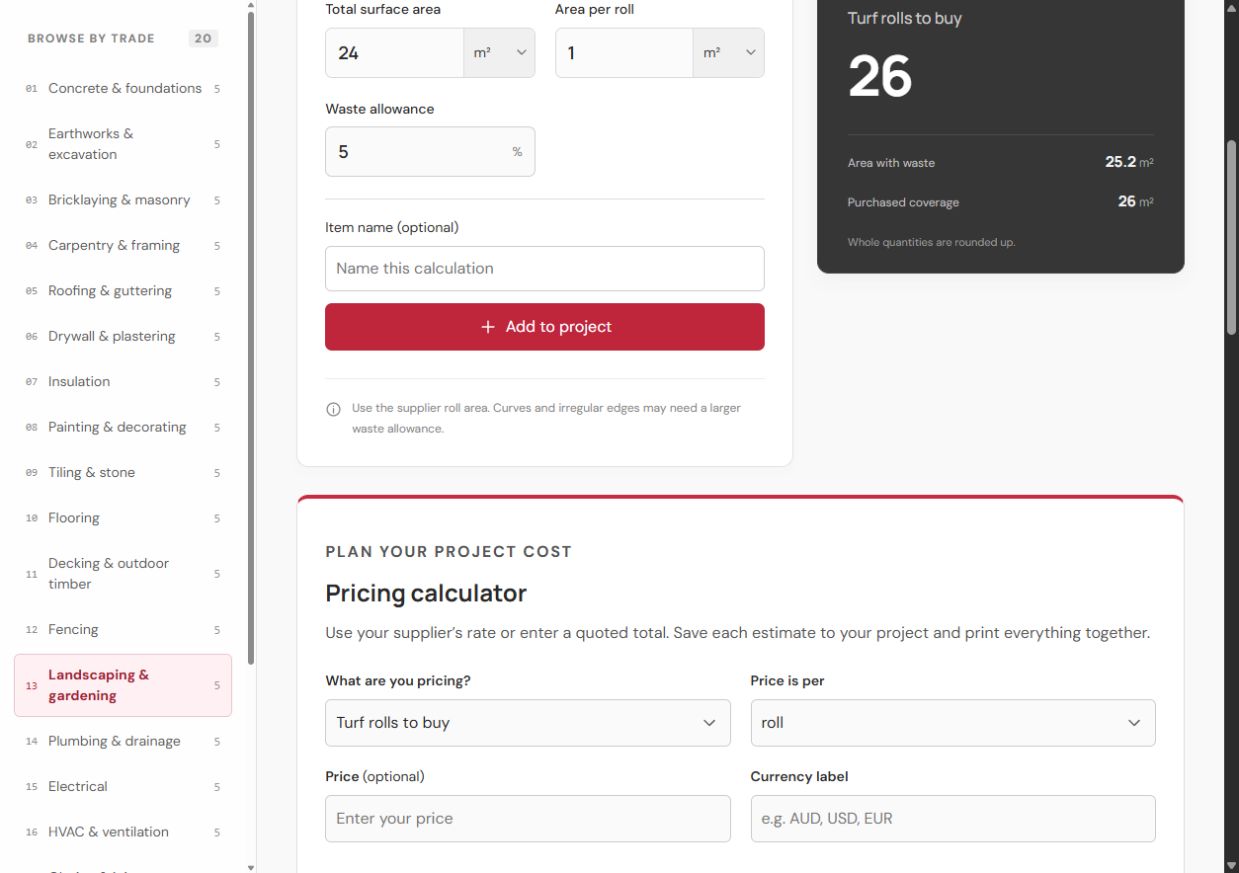
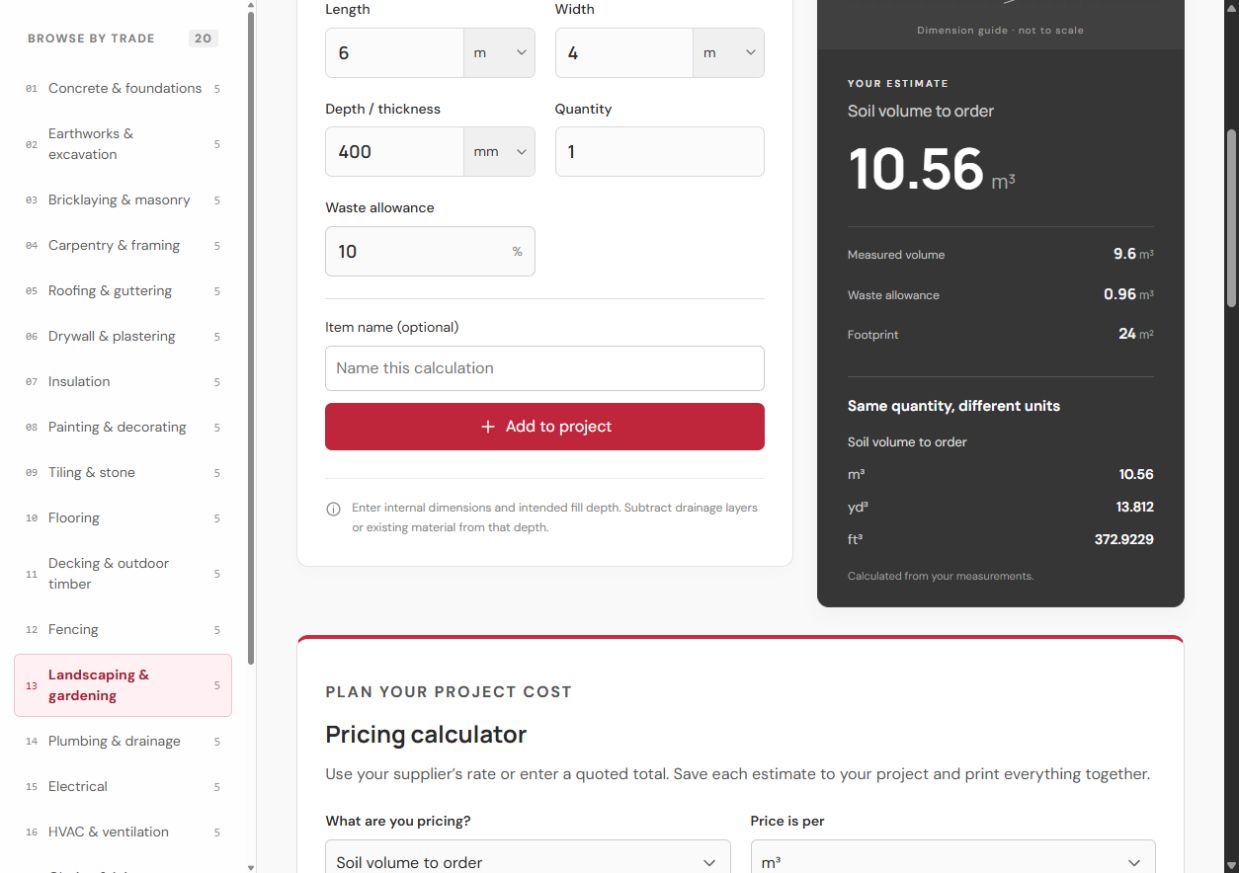
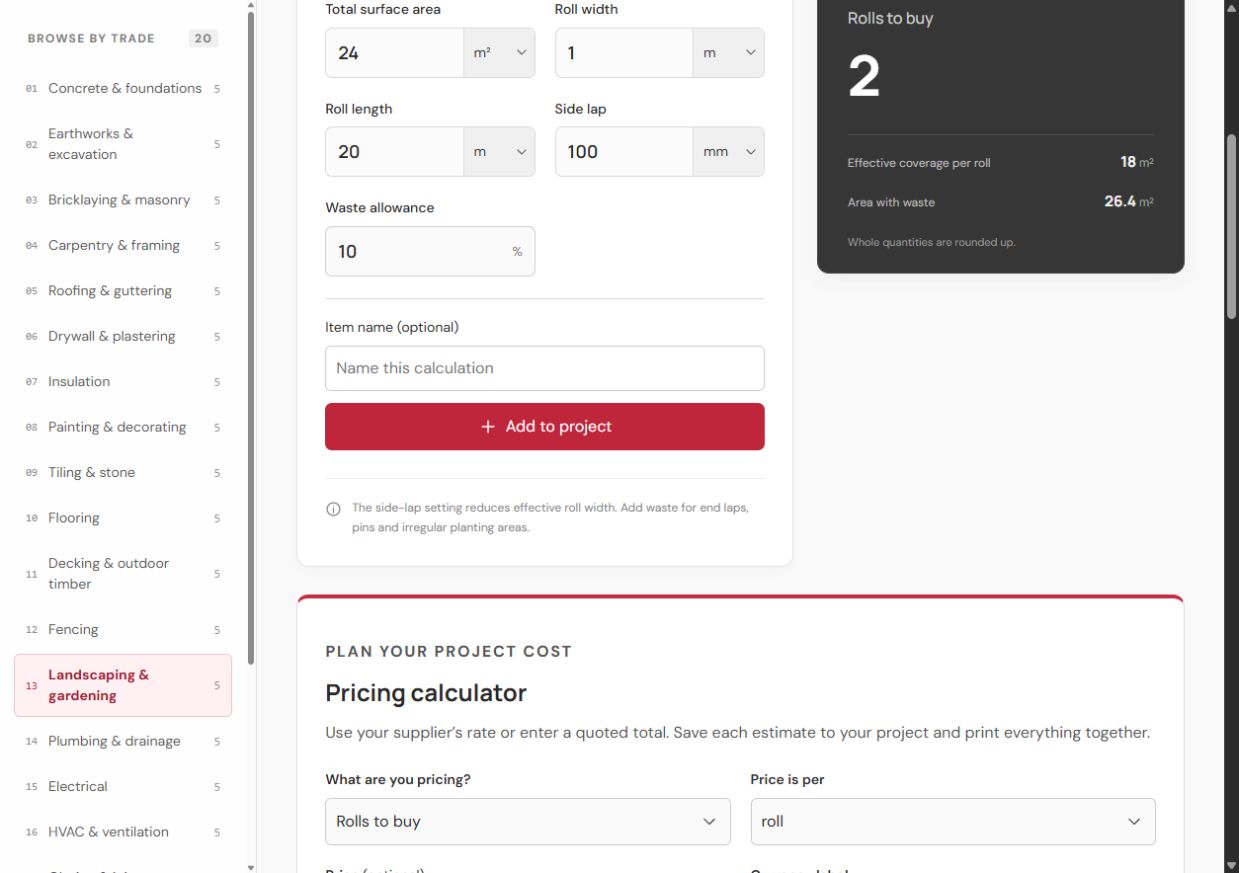
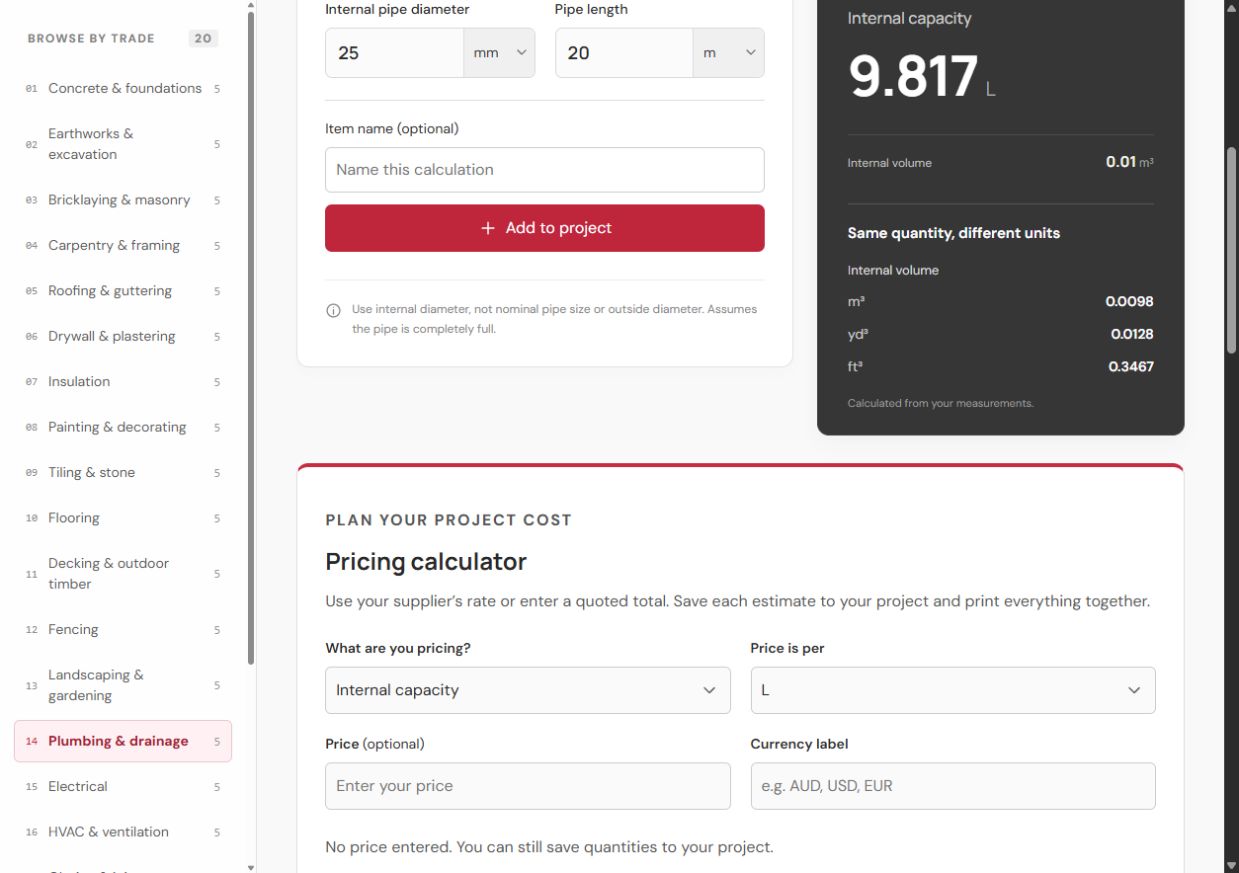
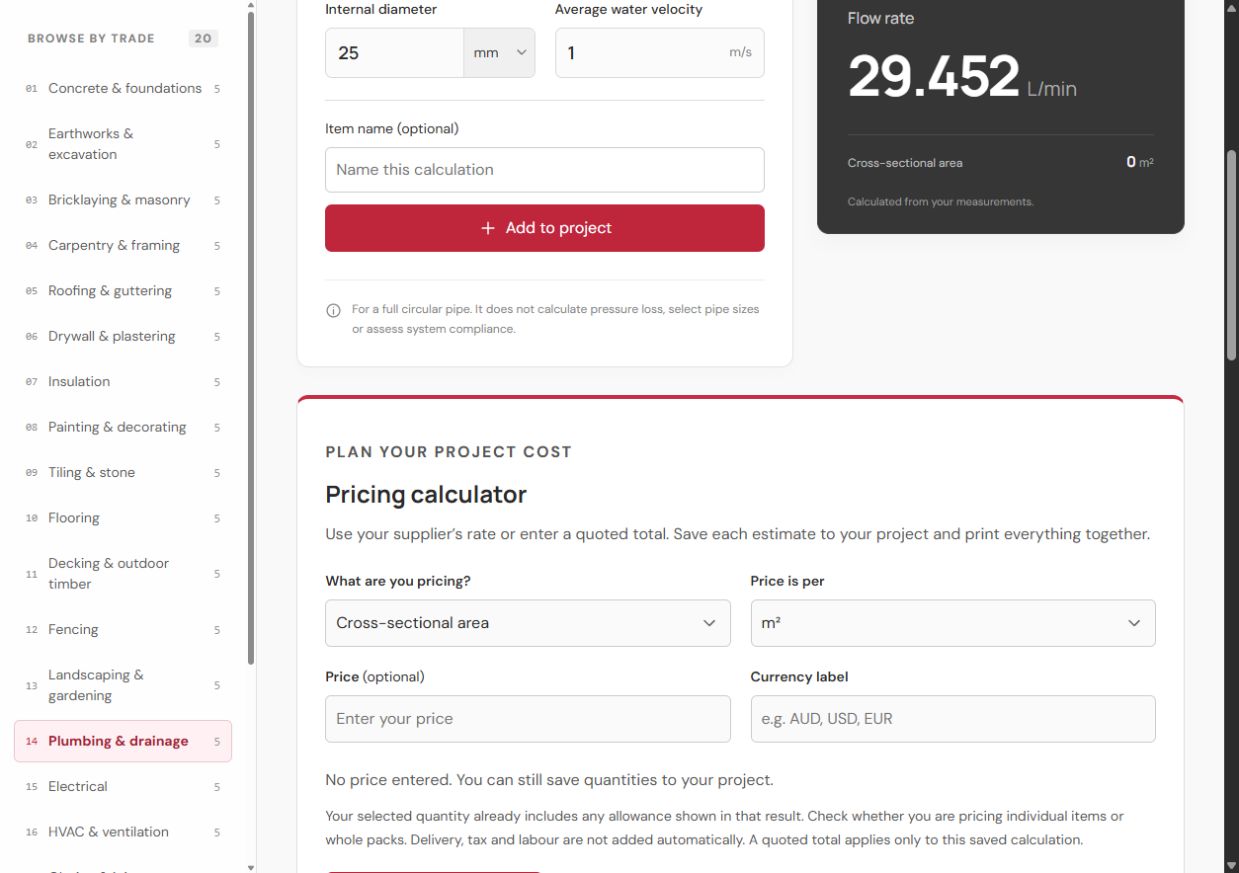
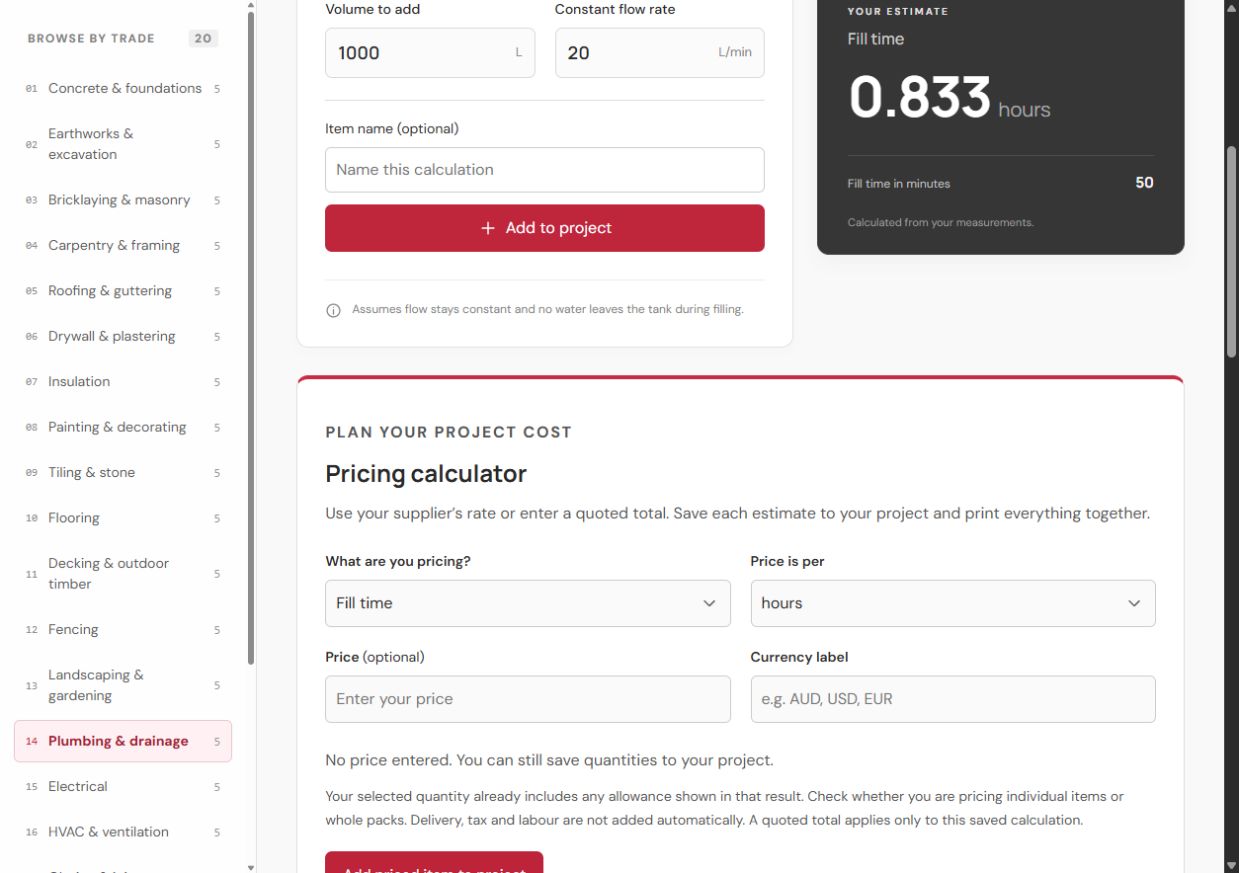
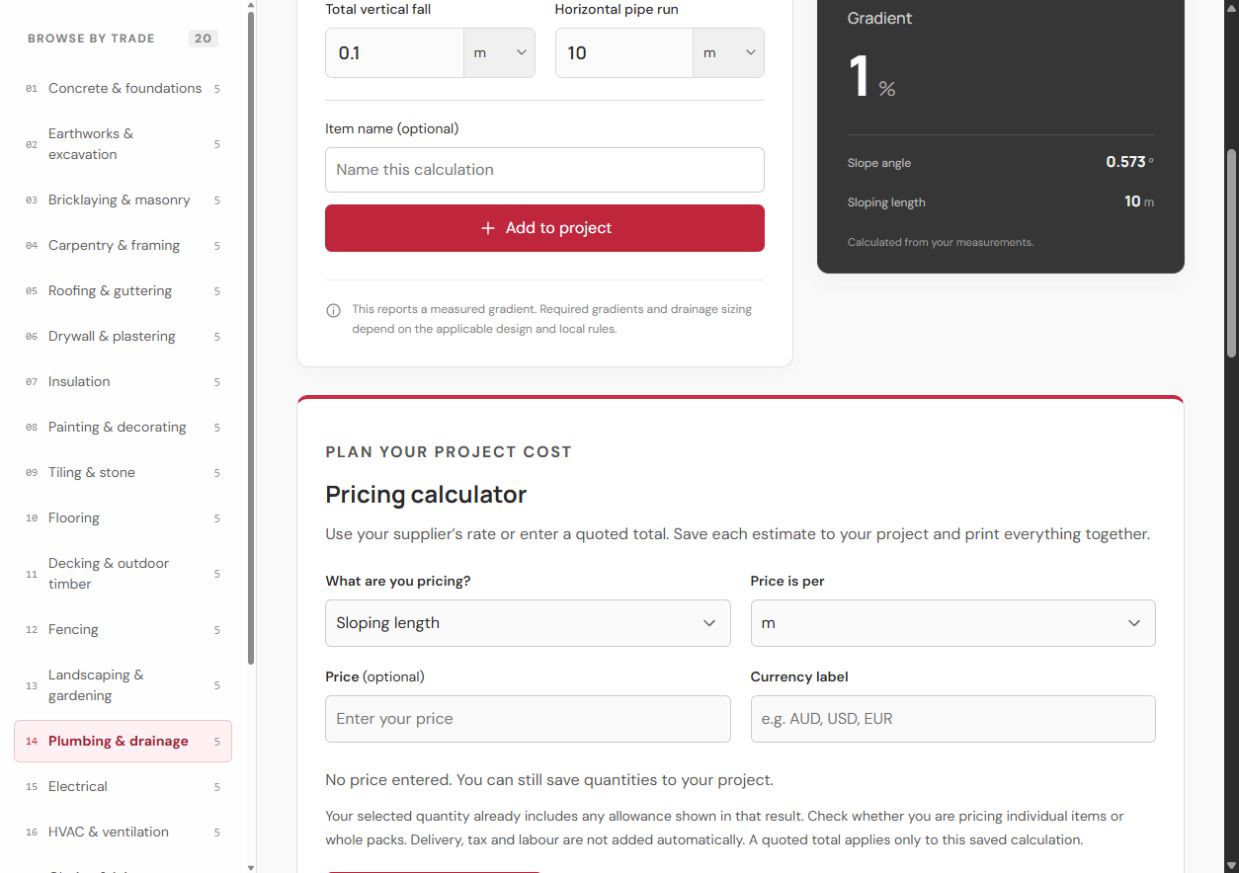
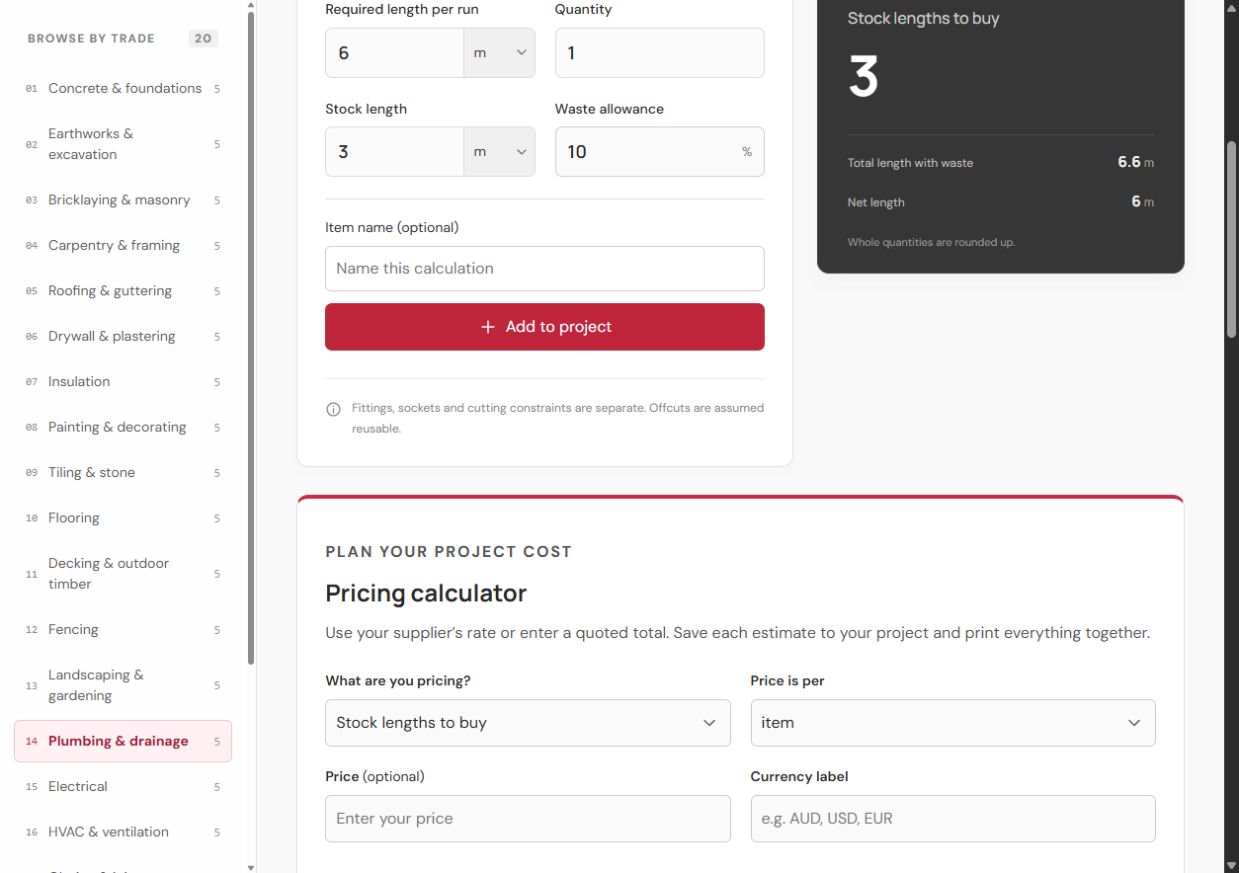
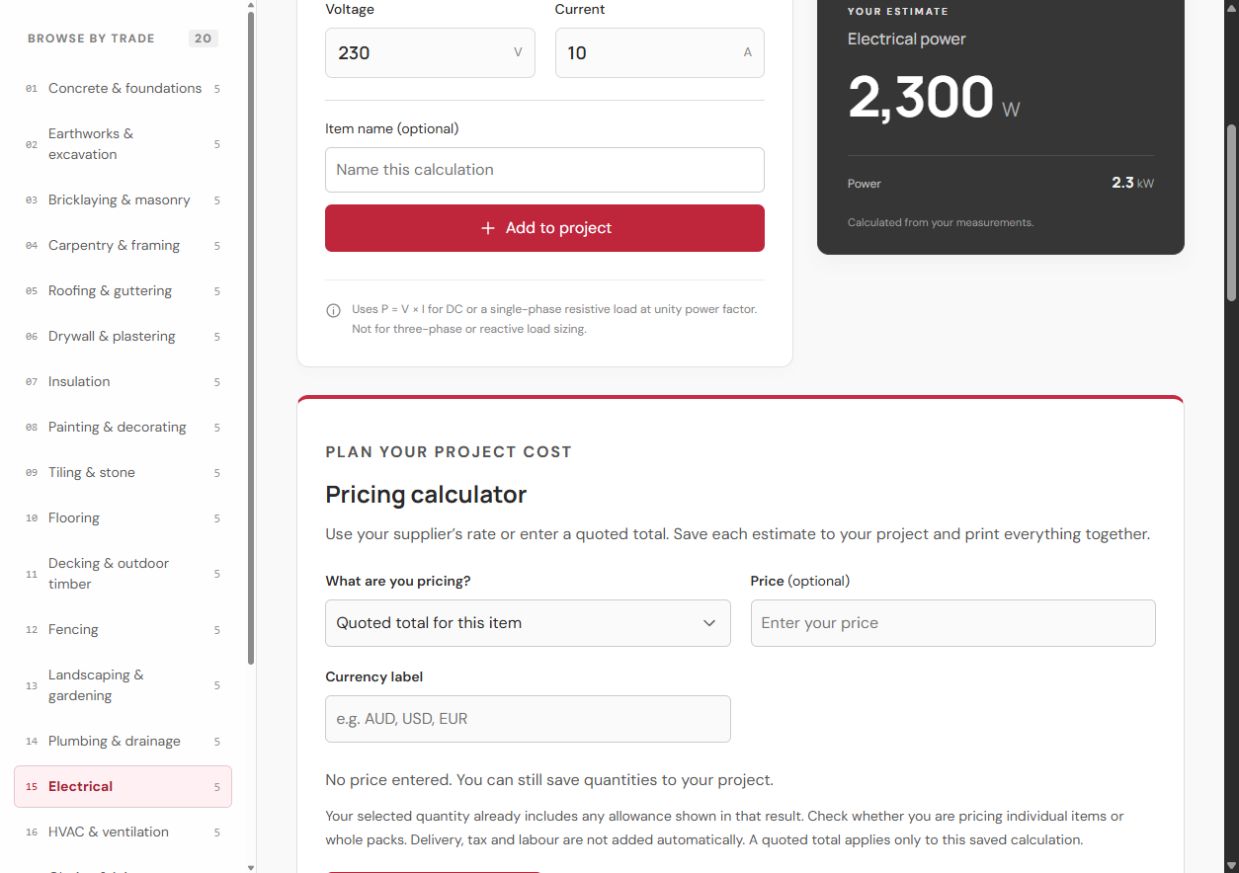
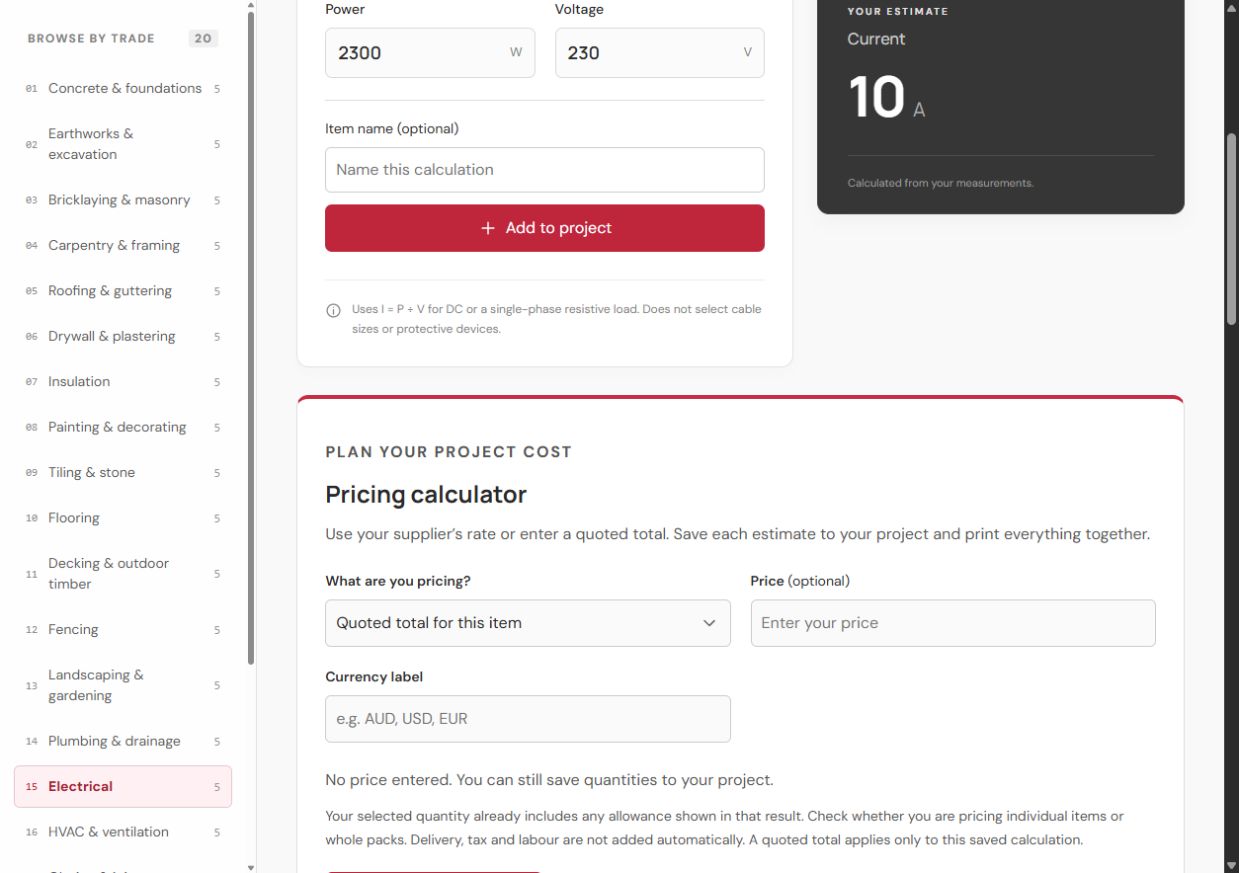
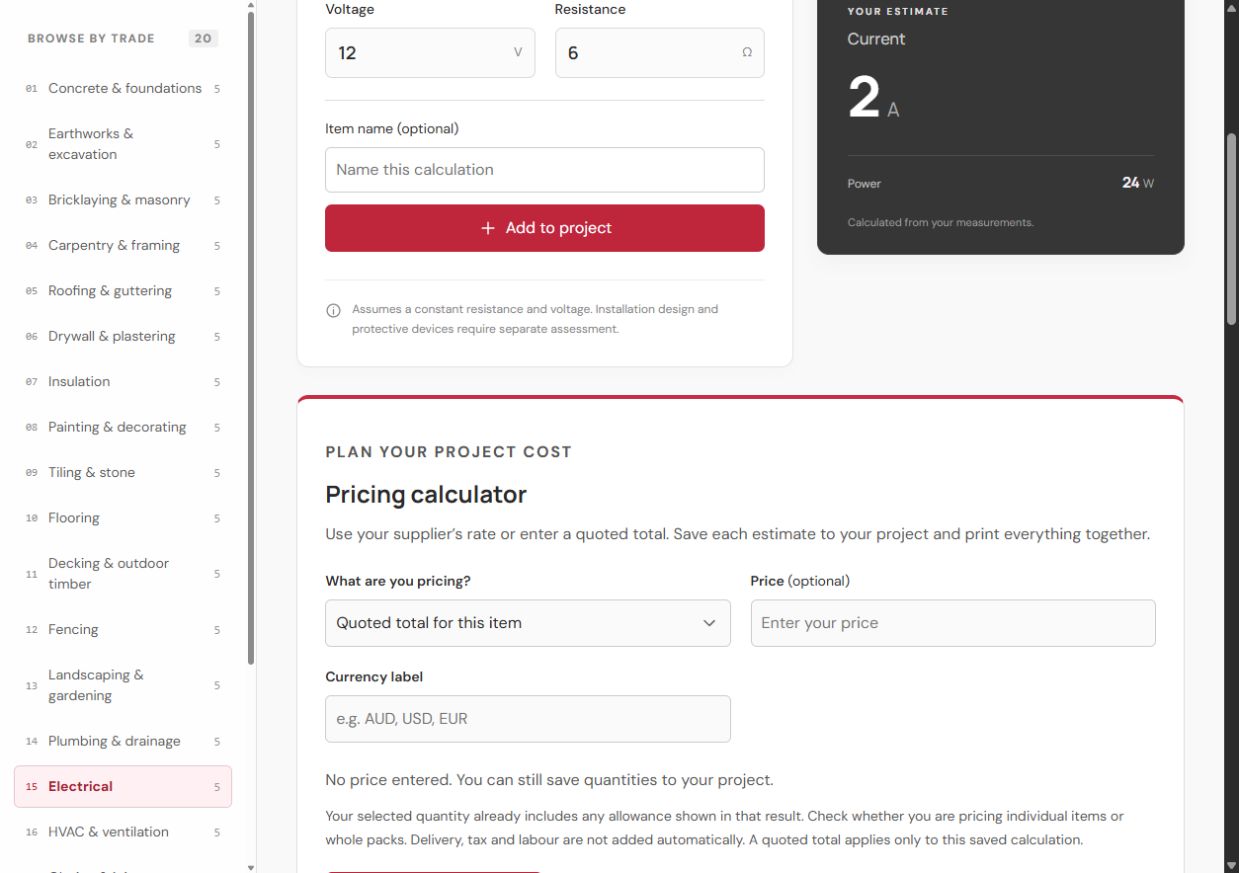
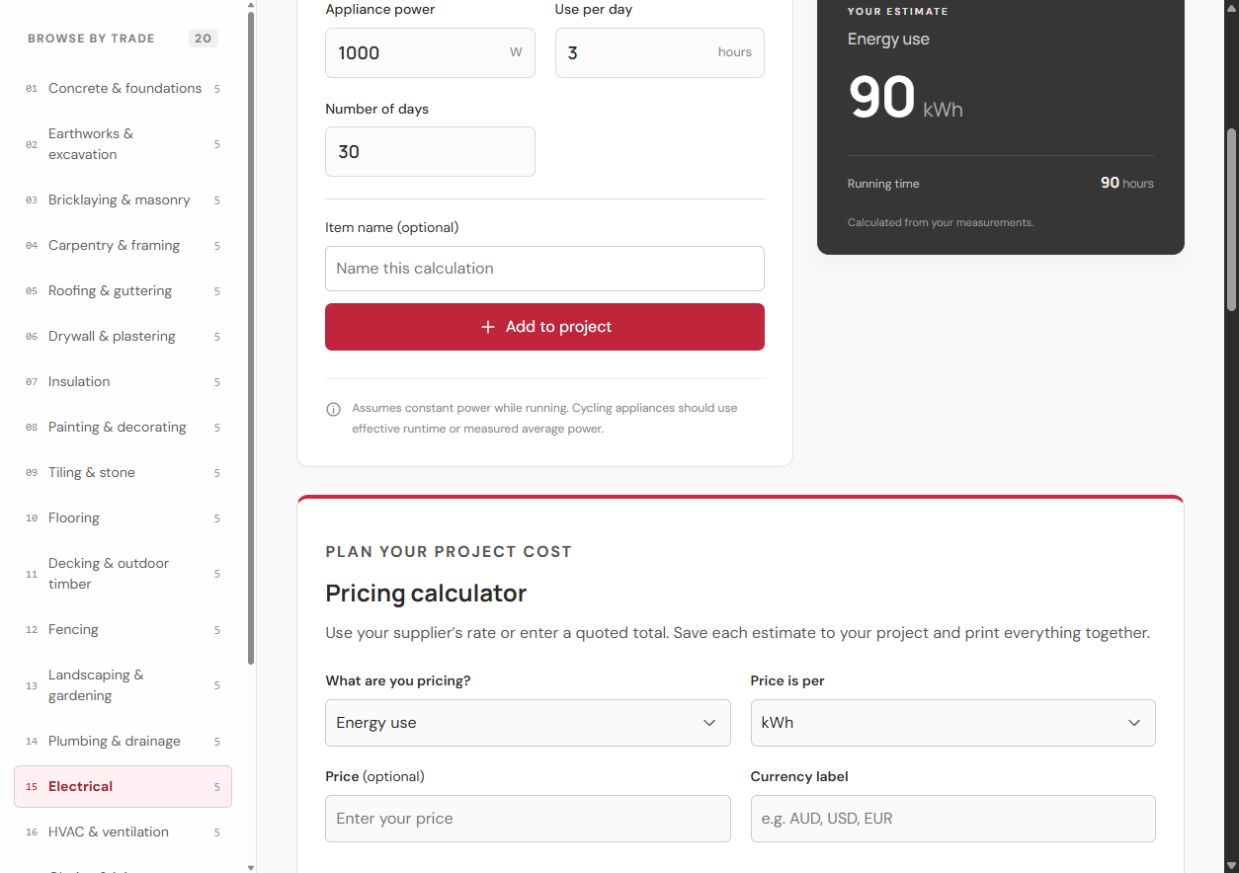
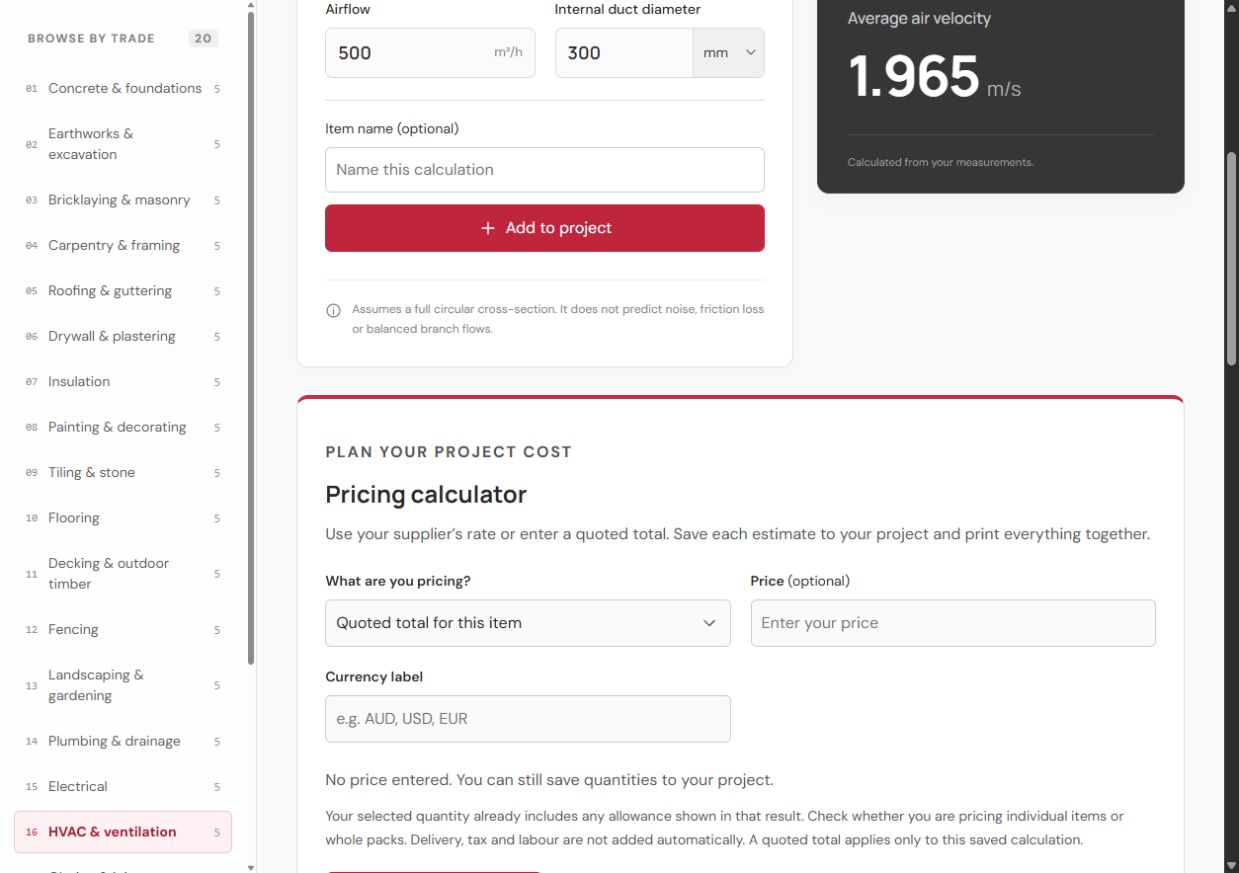
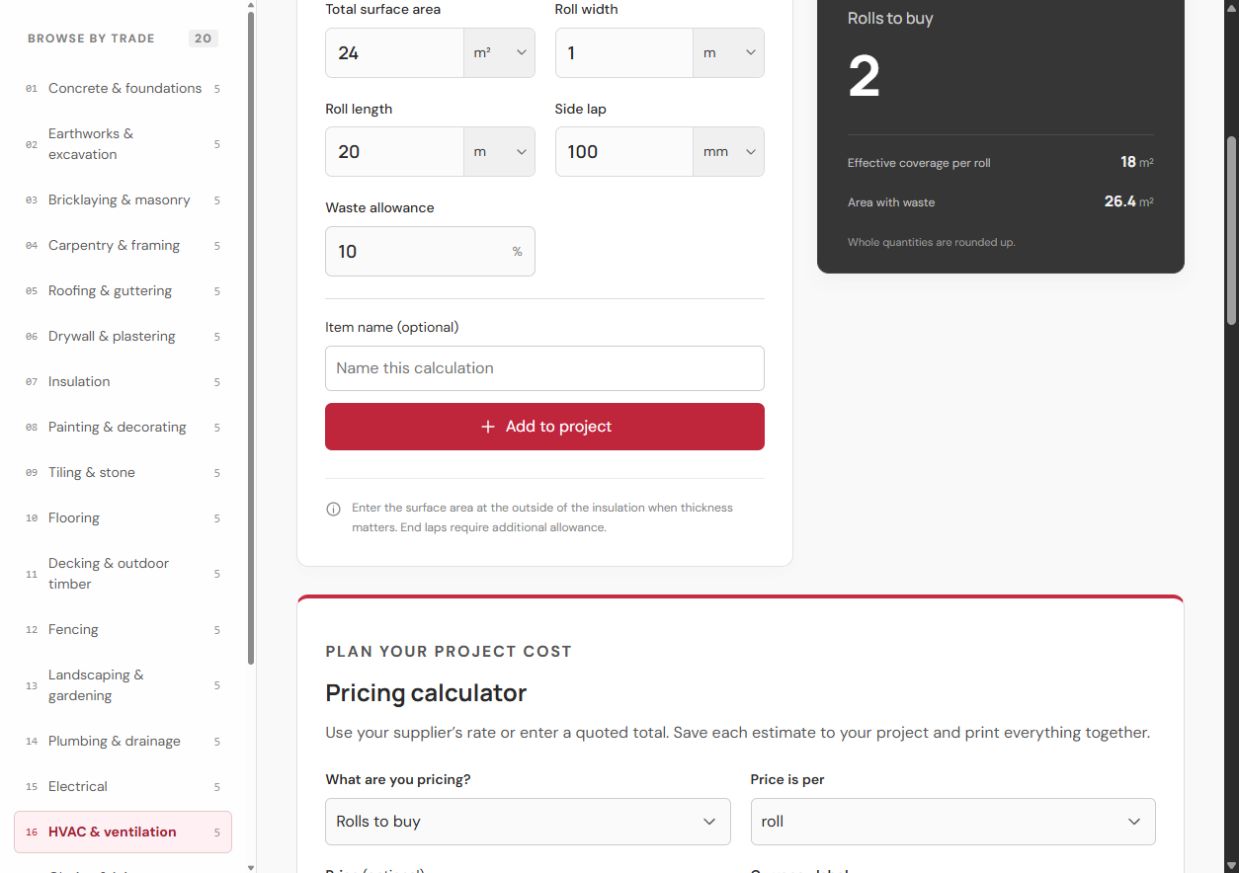
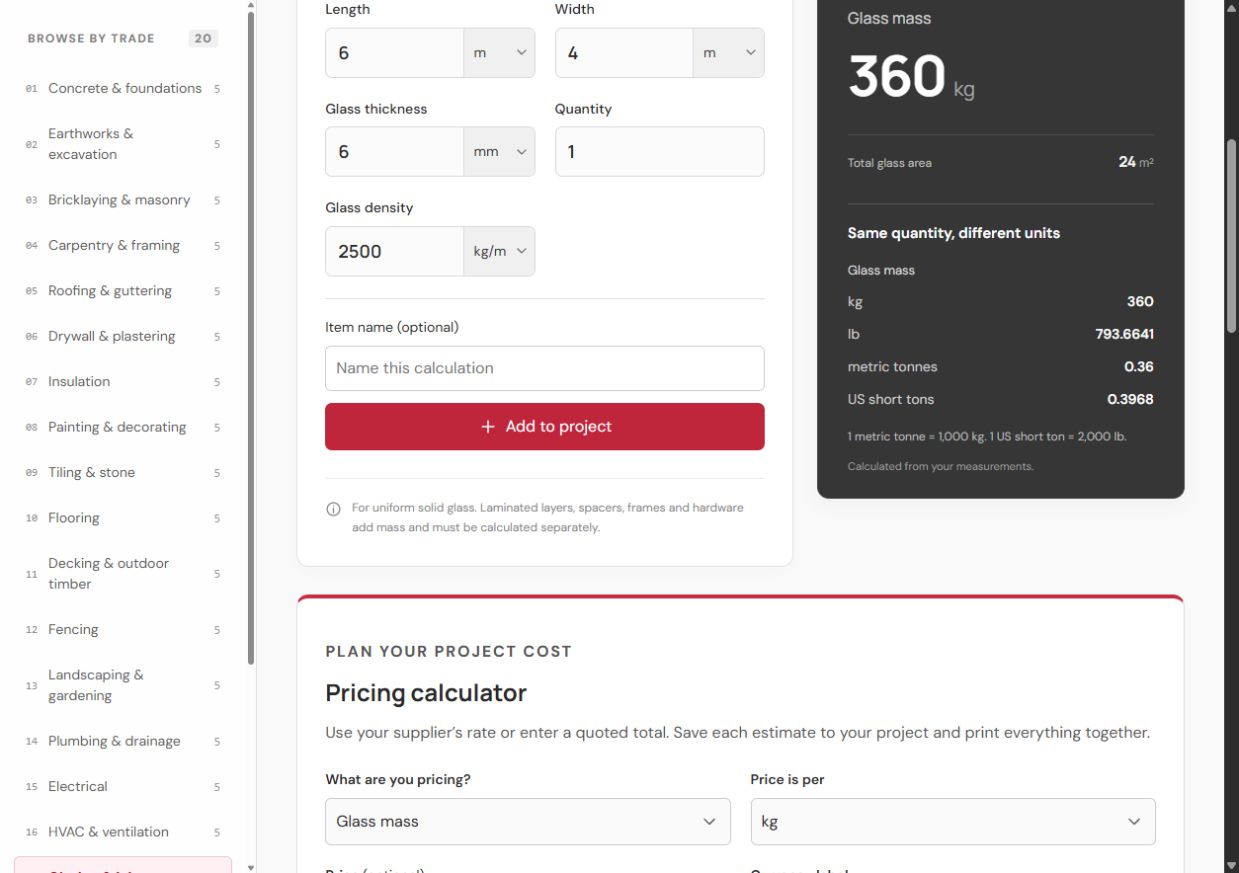
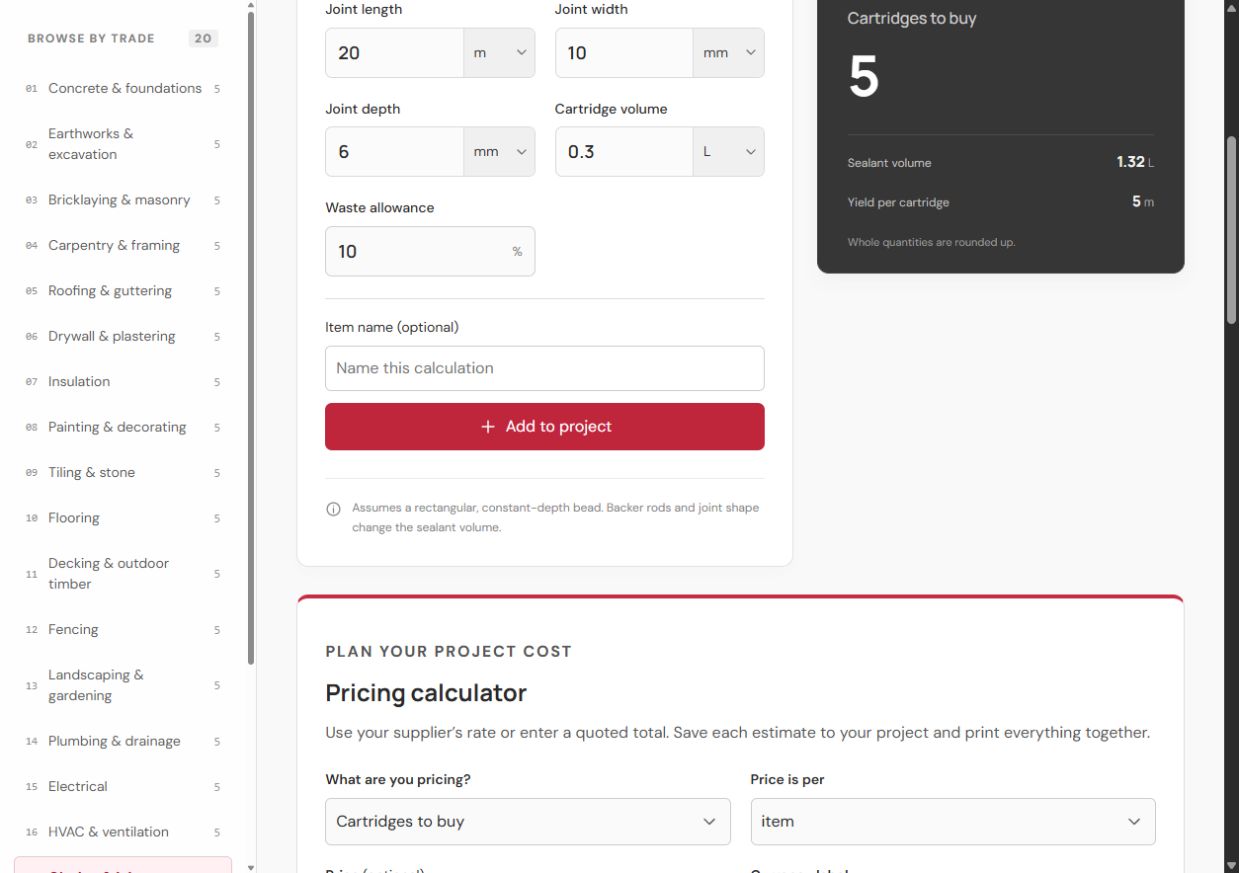
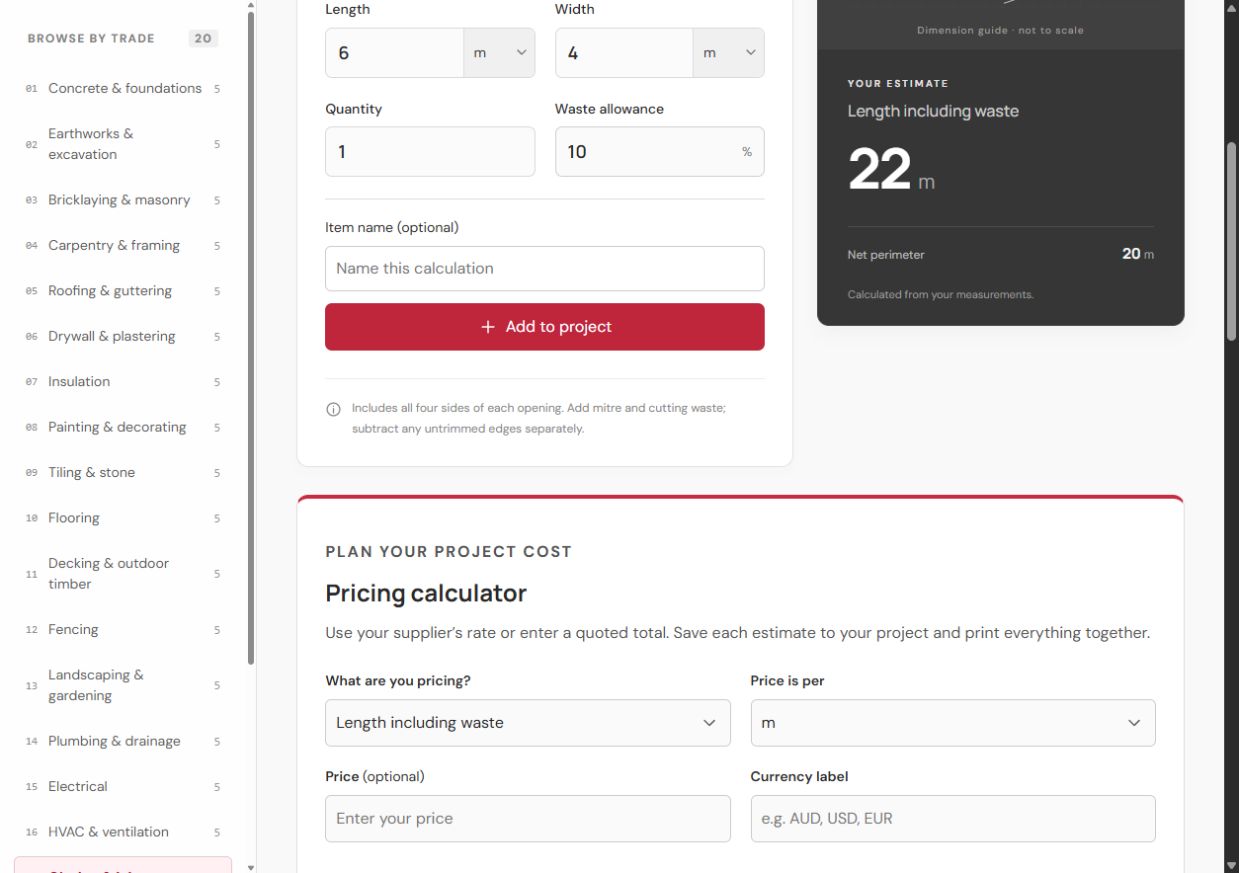
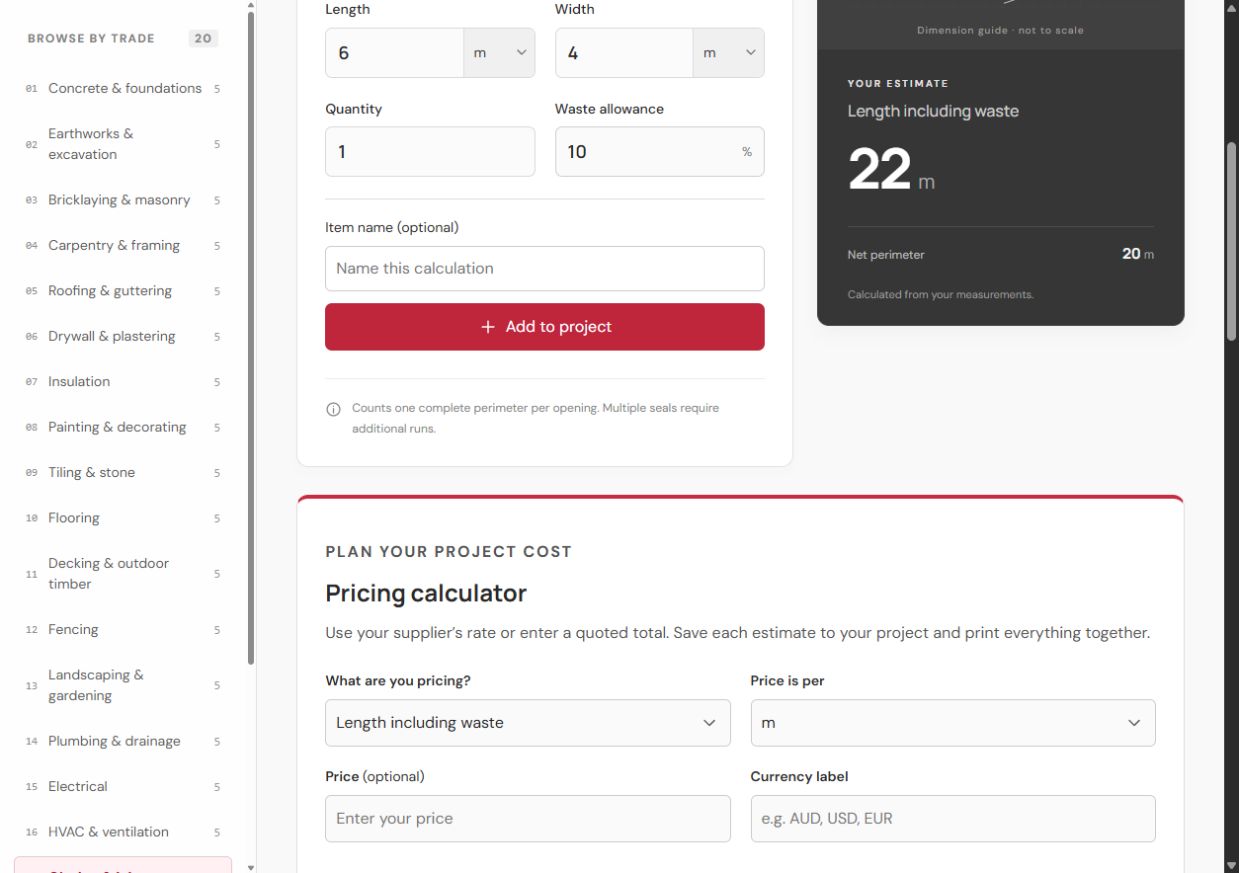
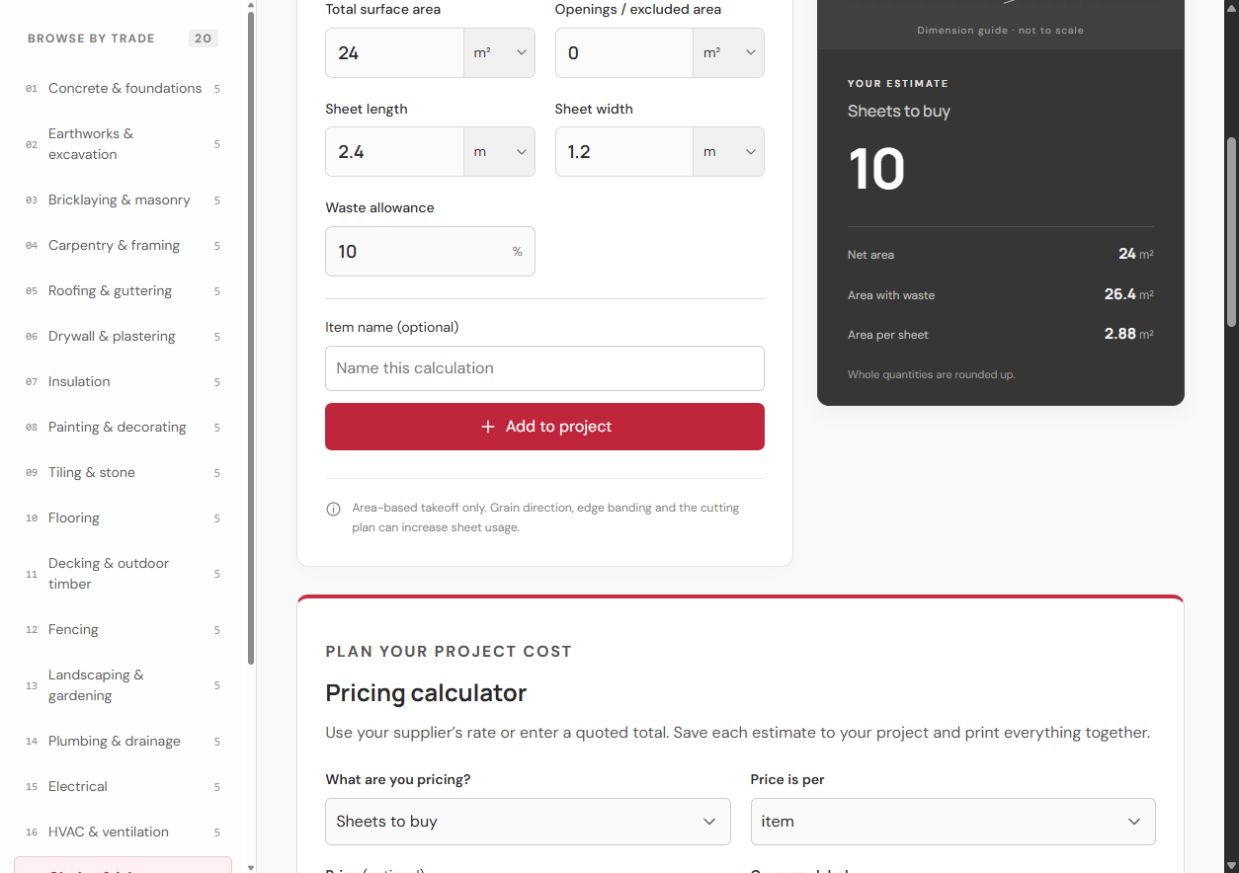
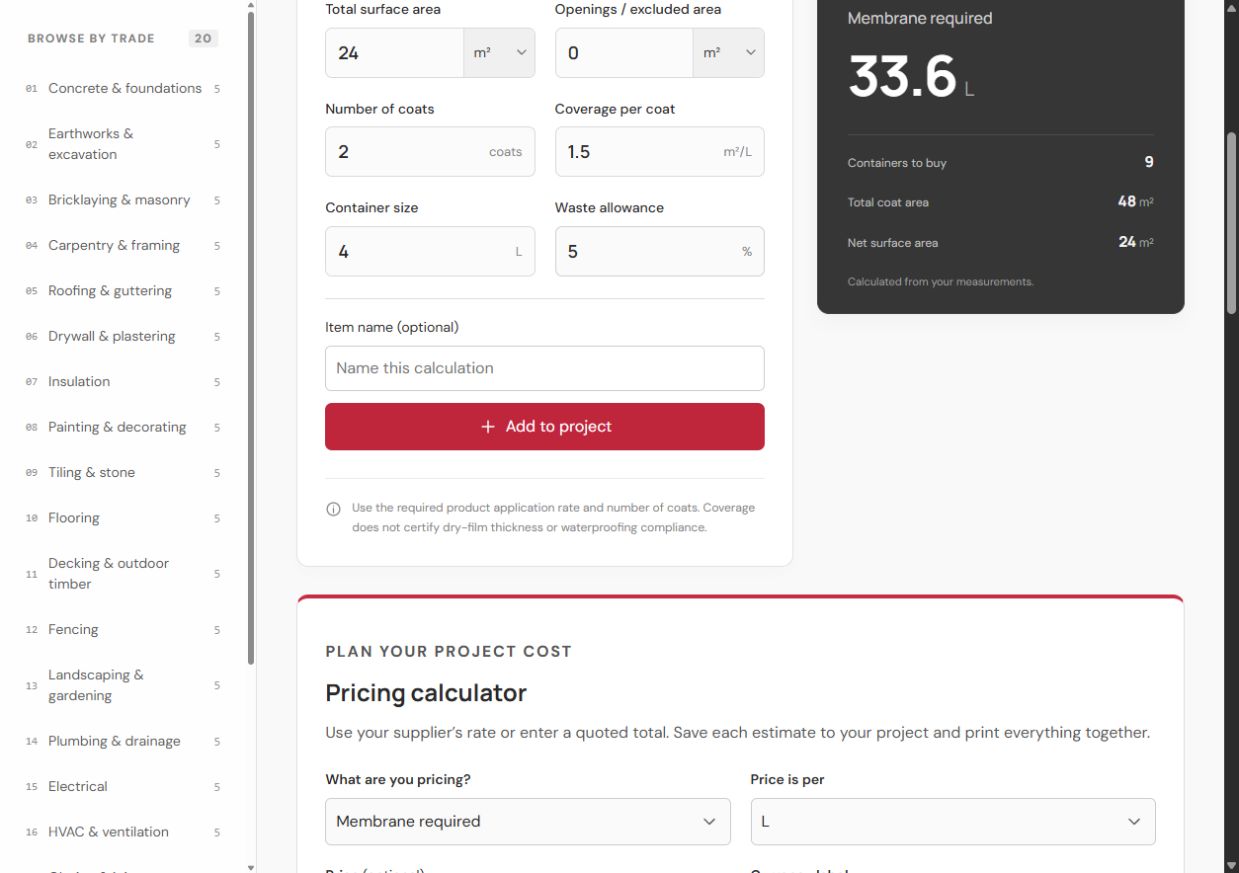
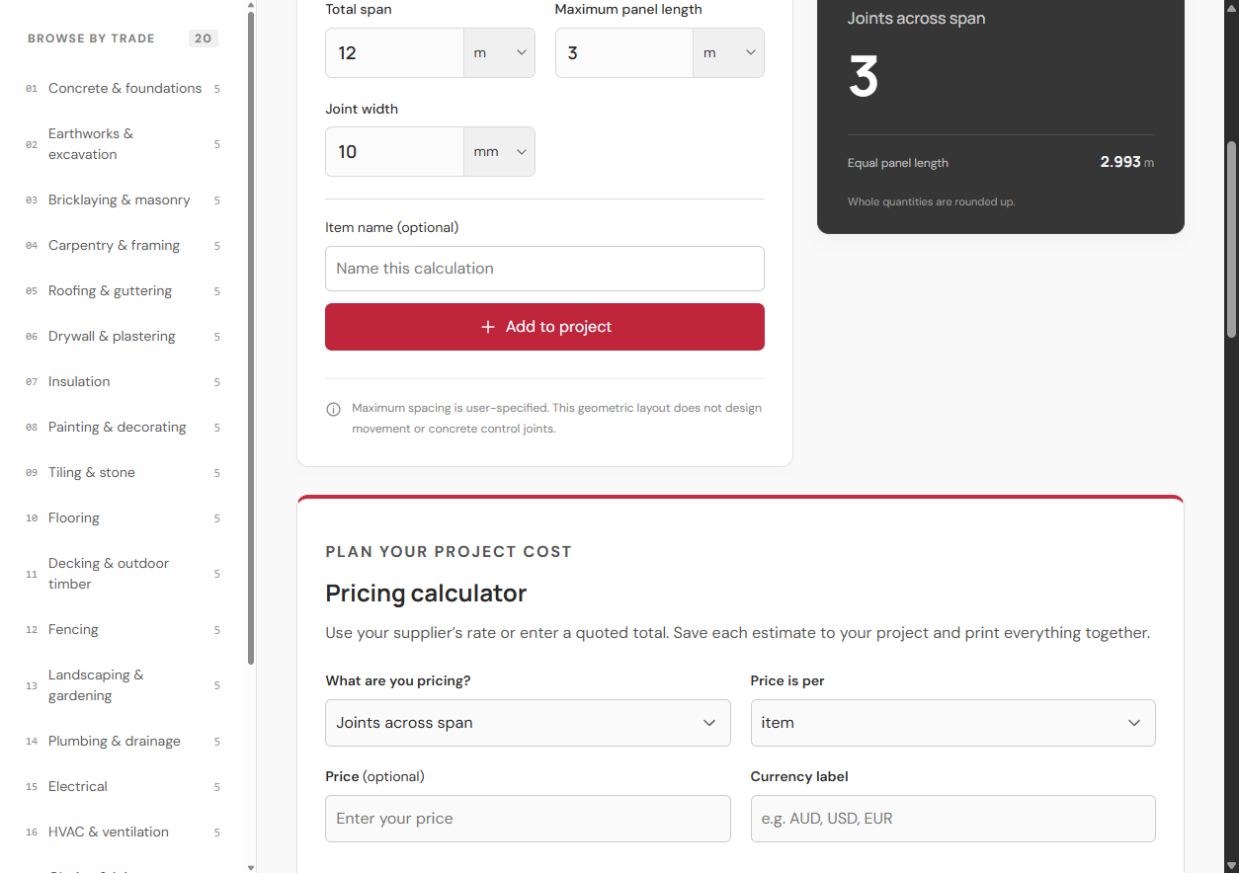
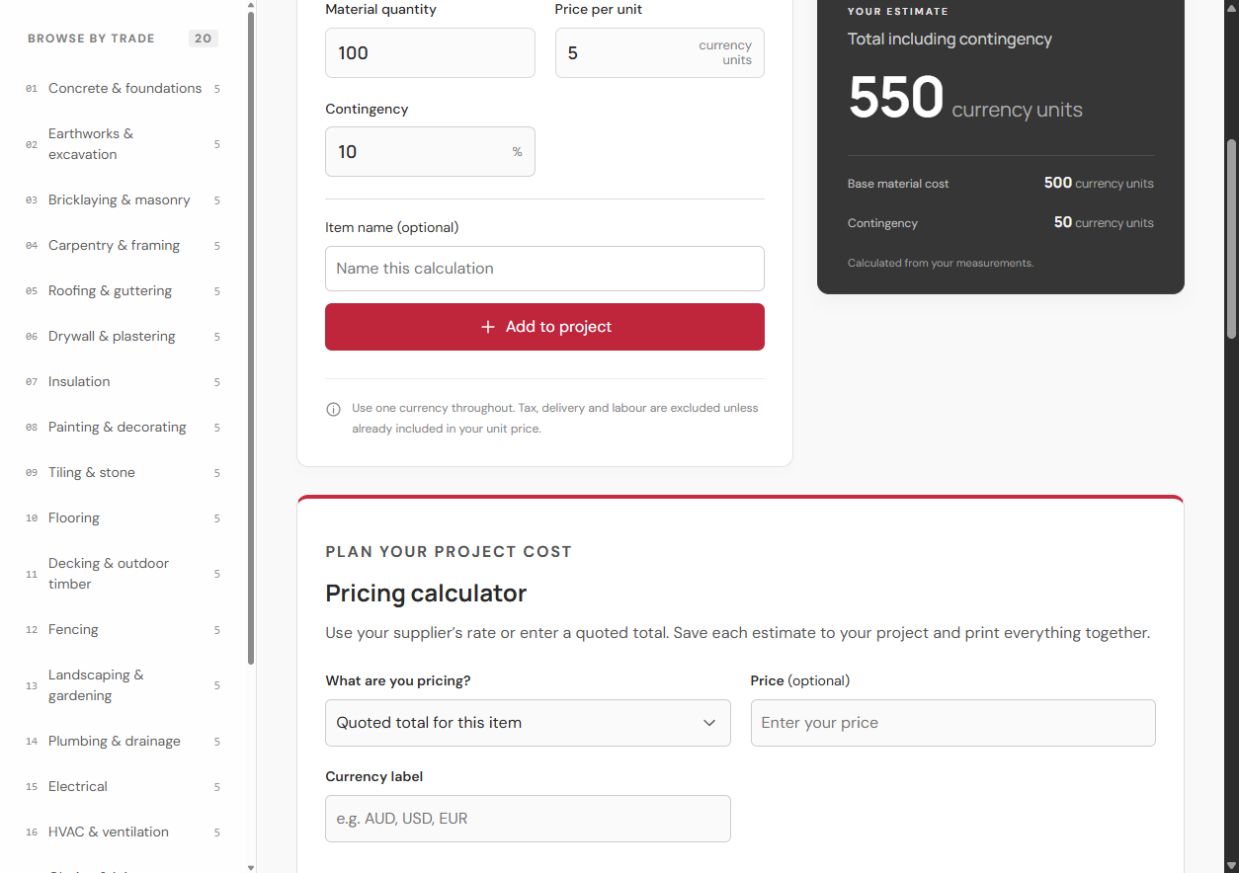
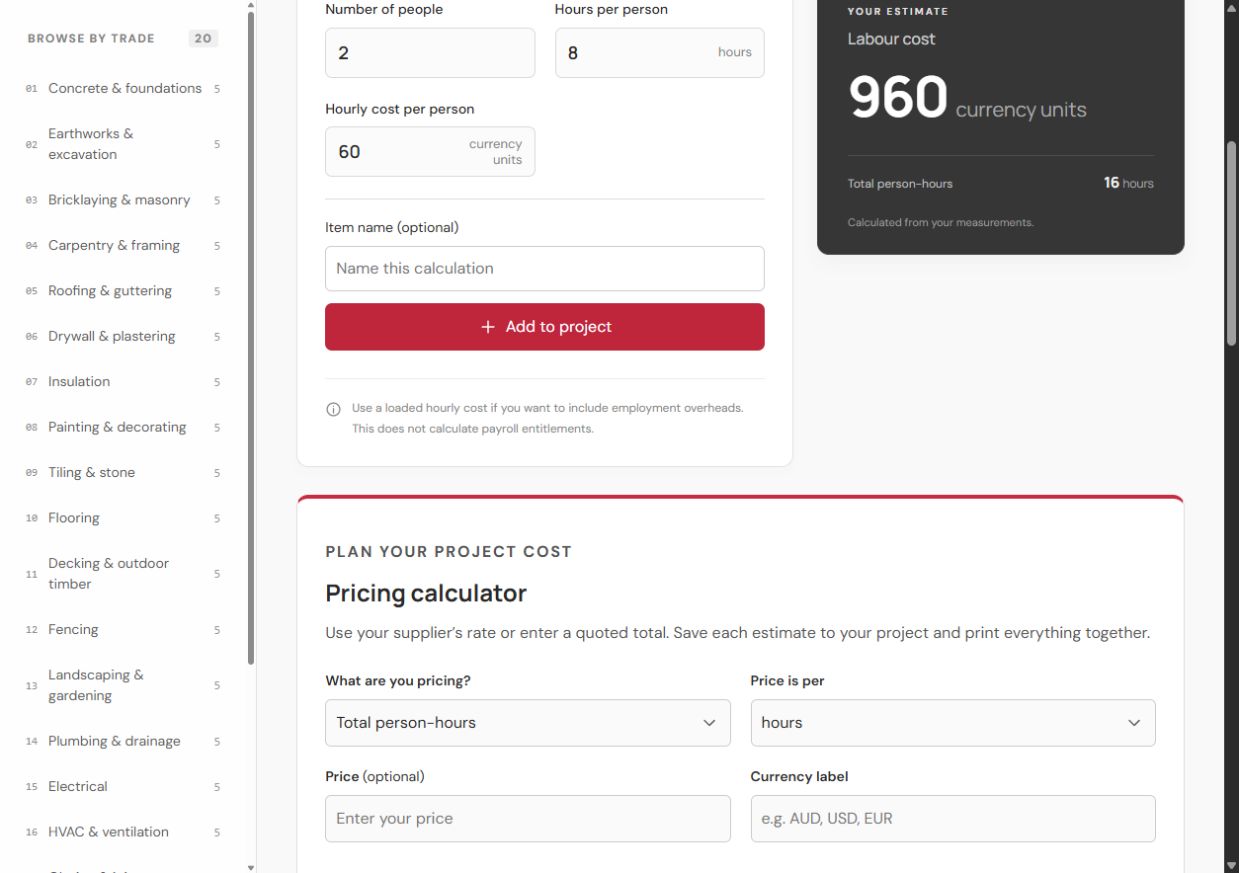
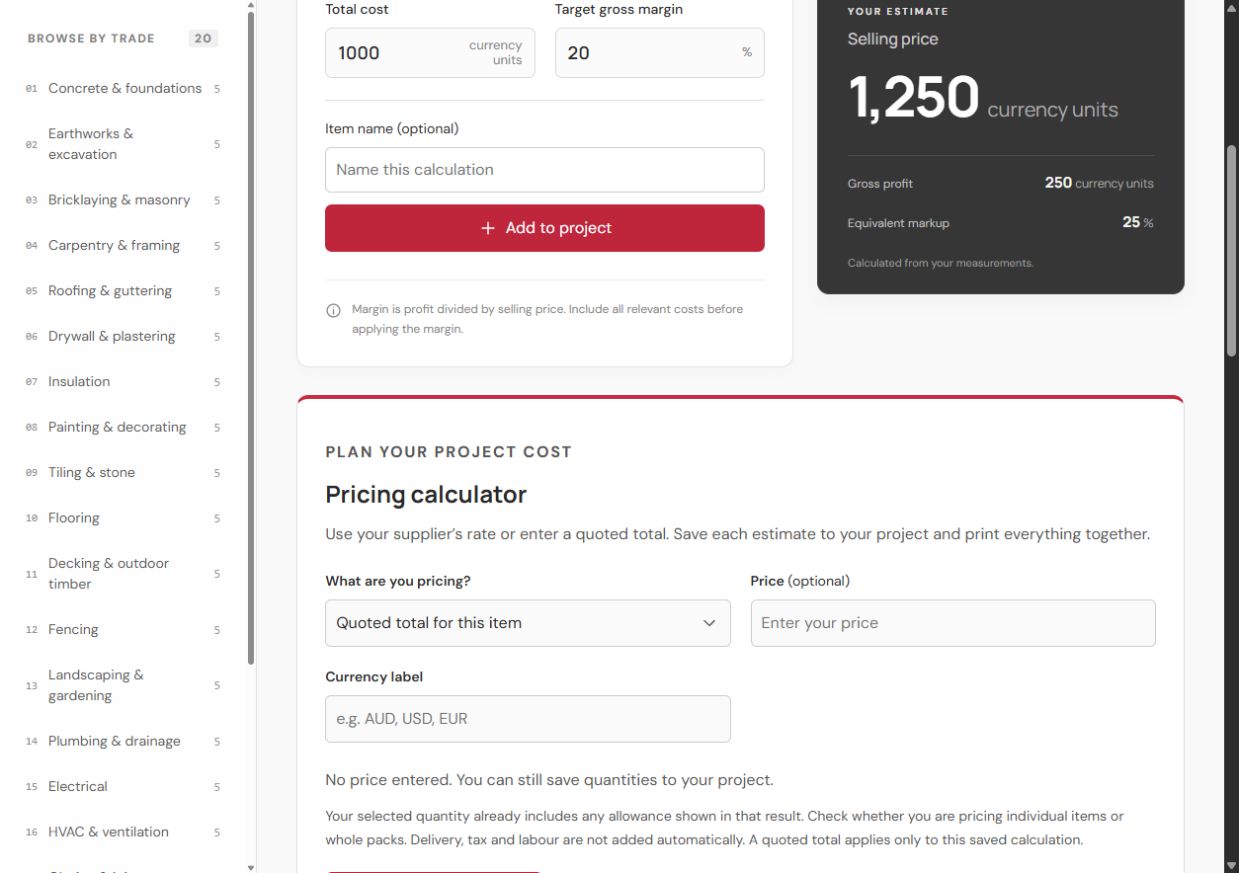
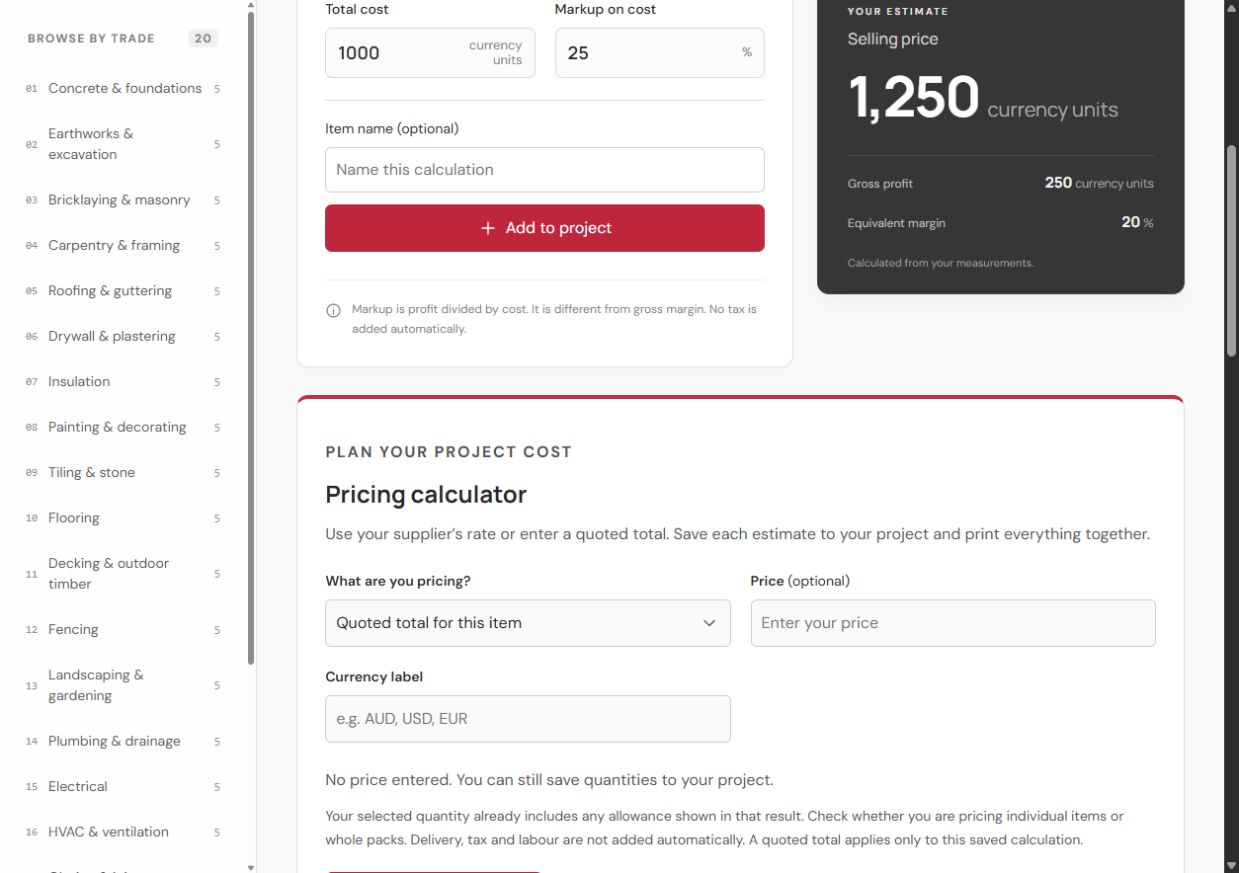
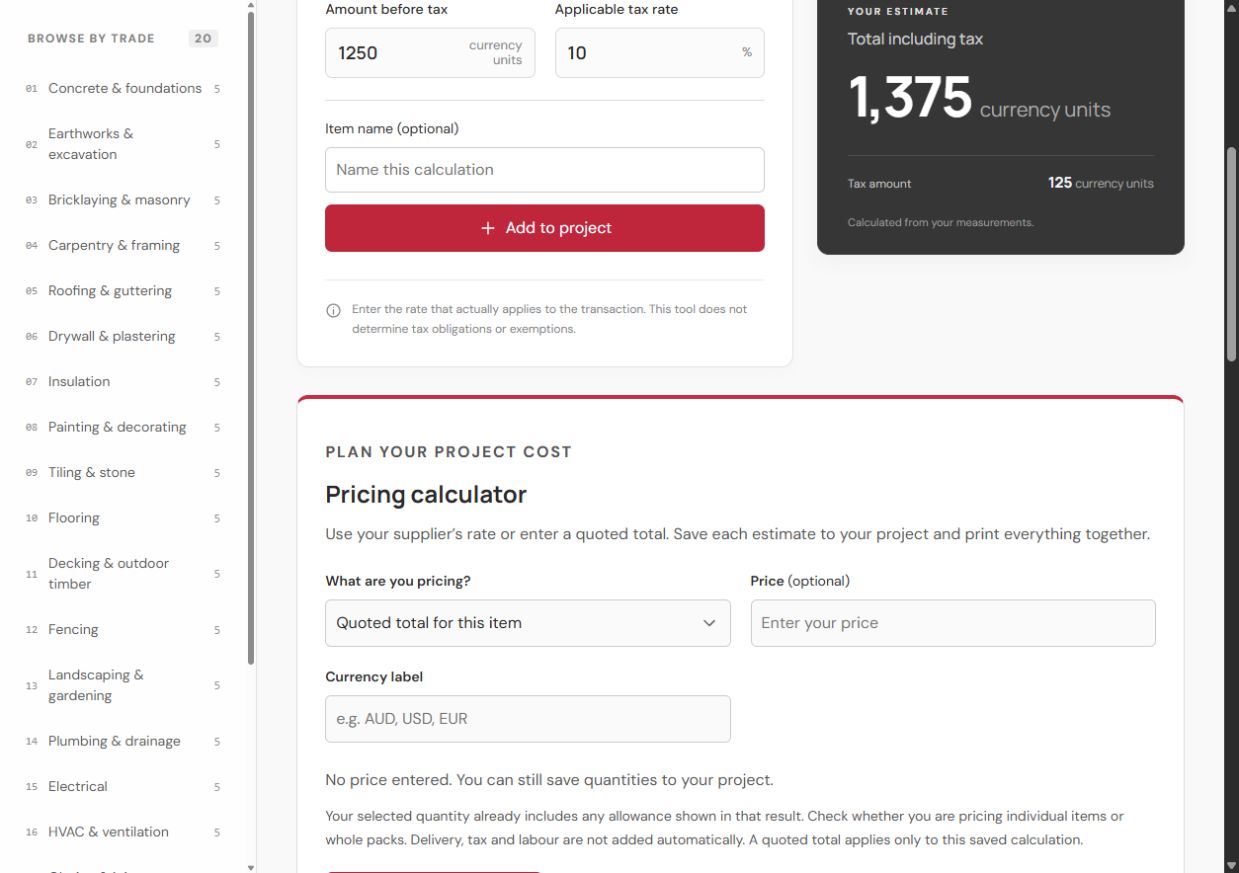
Enter measurements, price the result and save a project list. No account needed.
From measurements to a project list
Measure
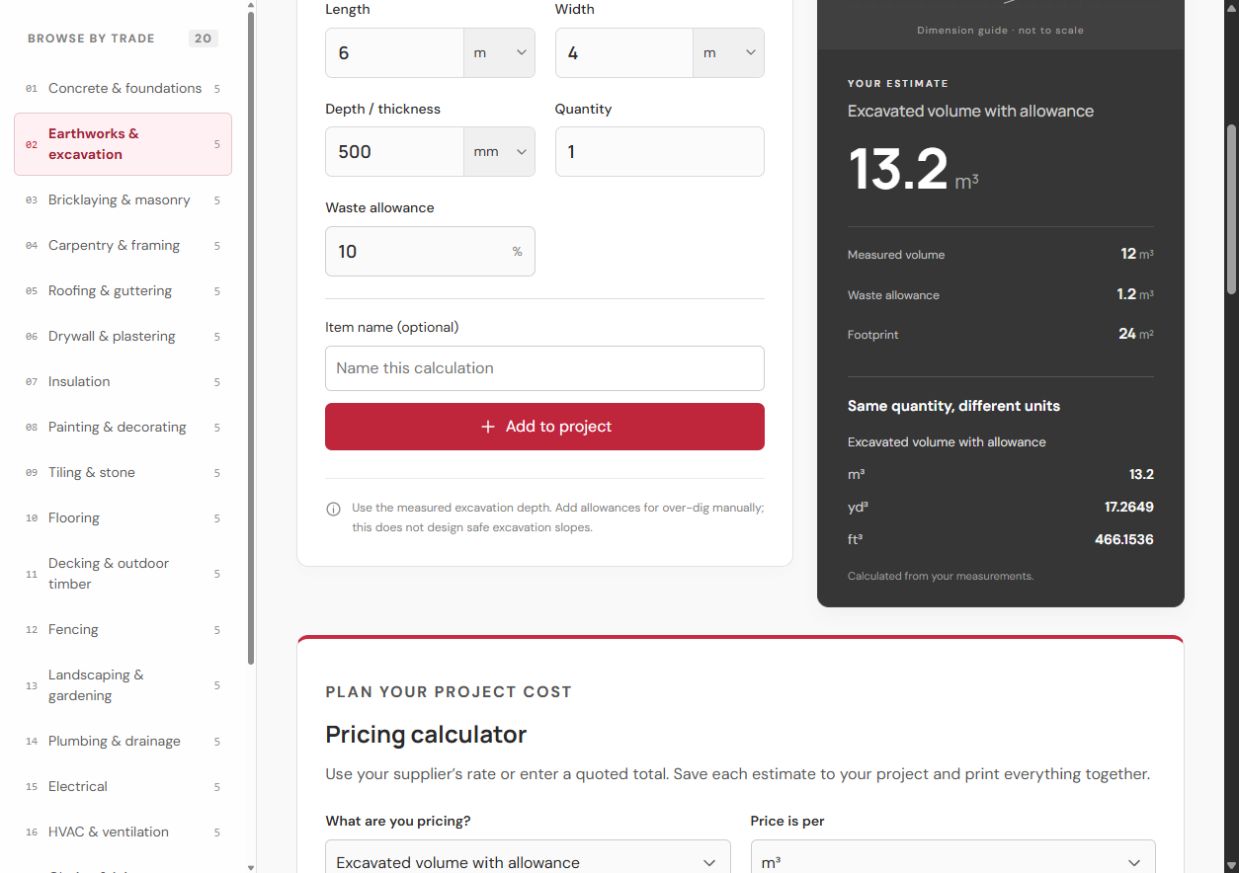
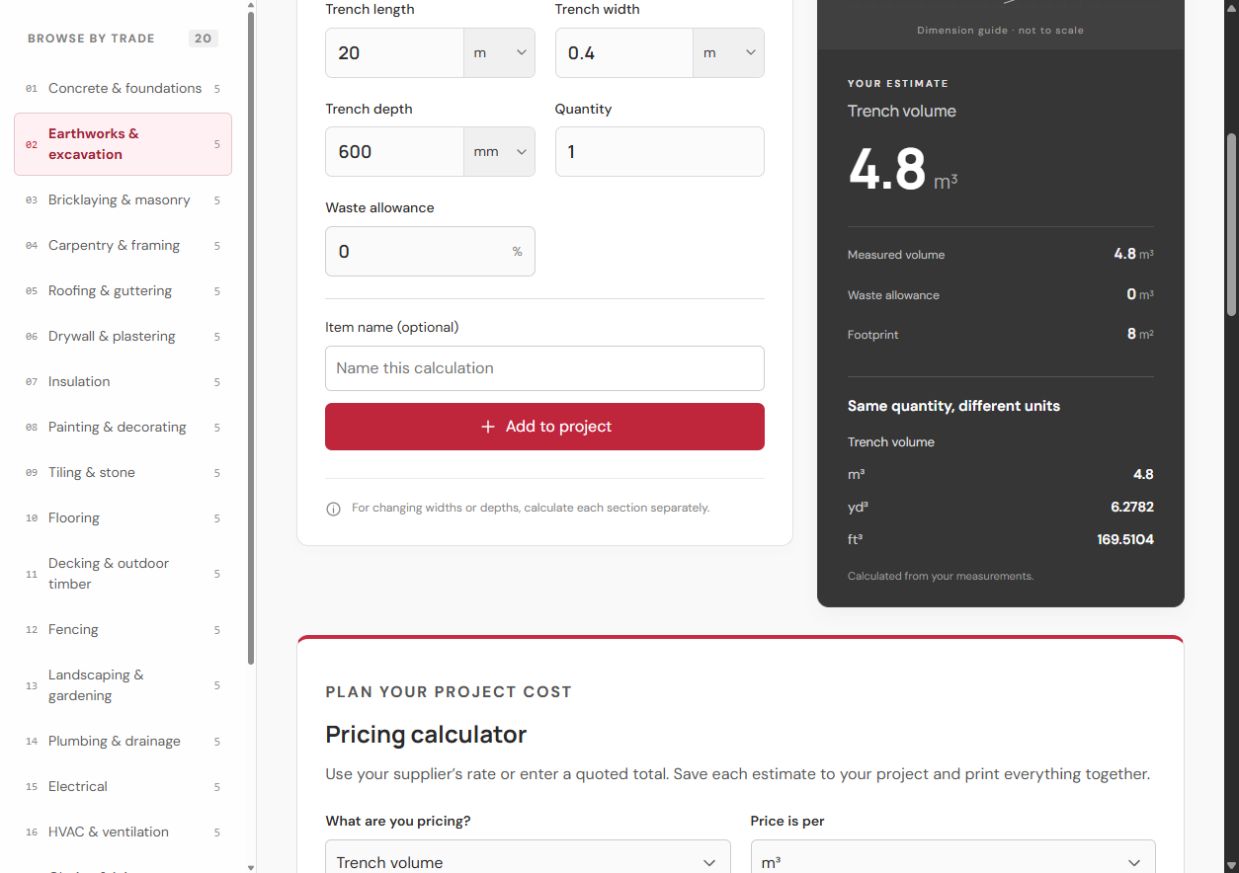
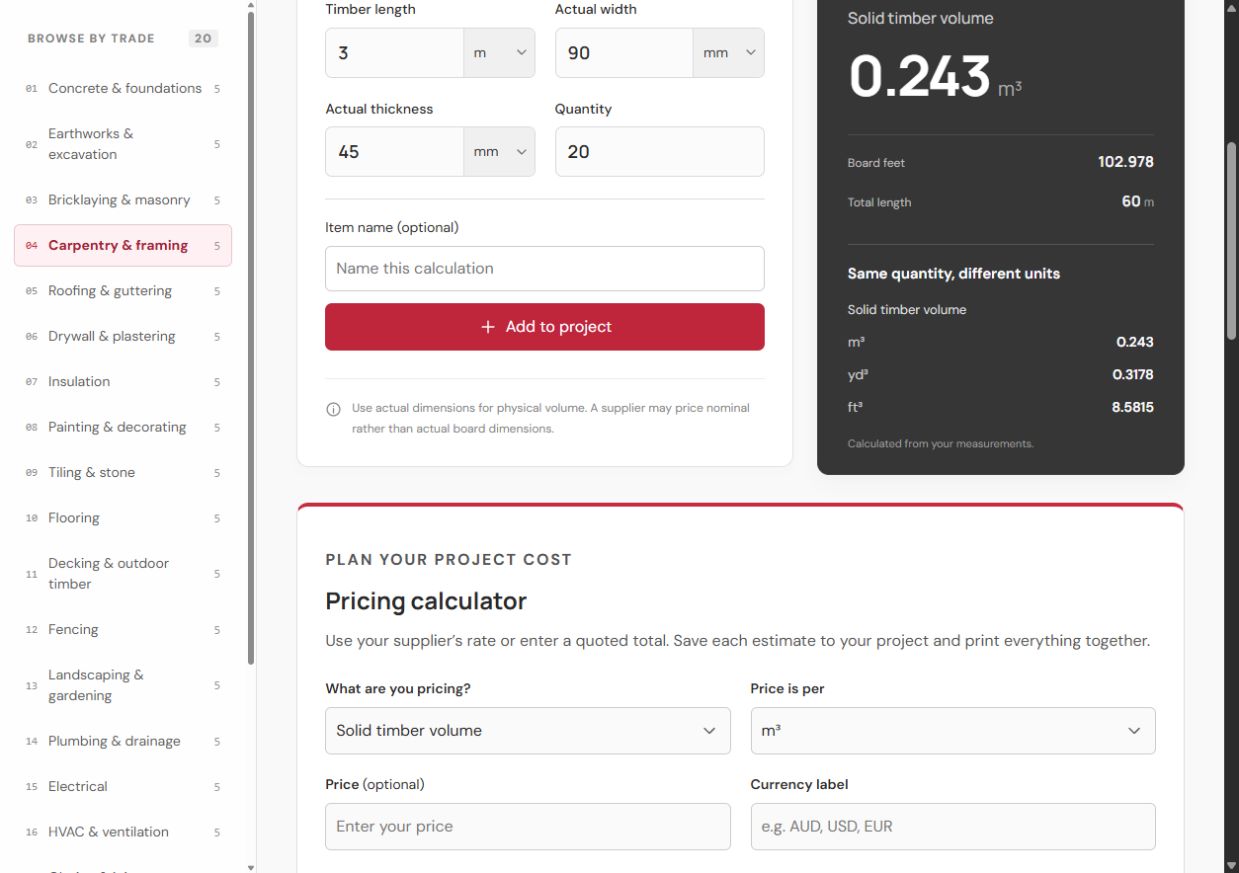
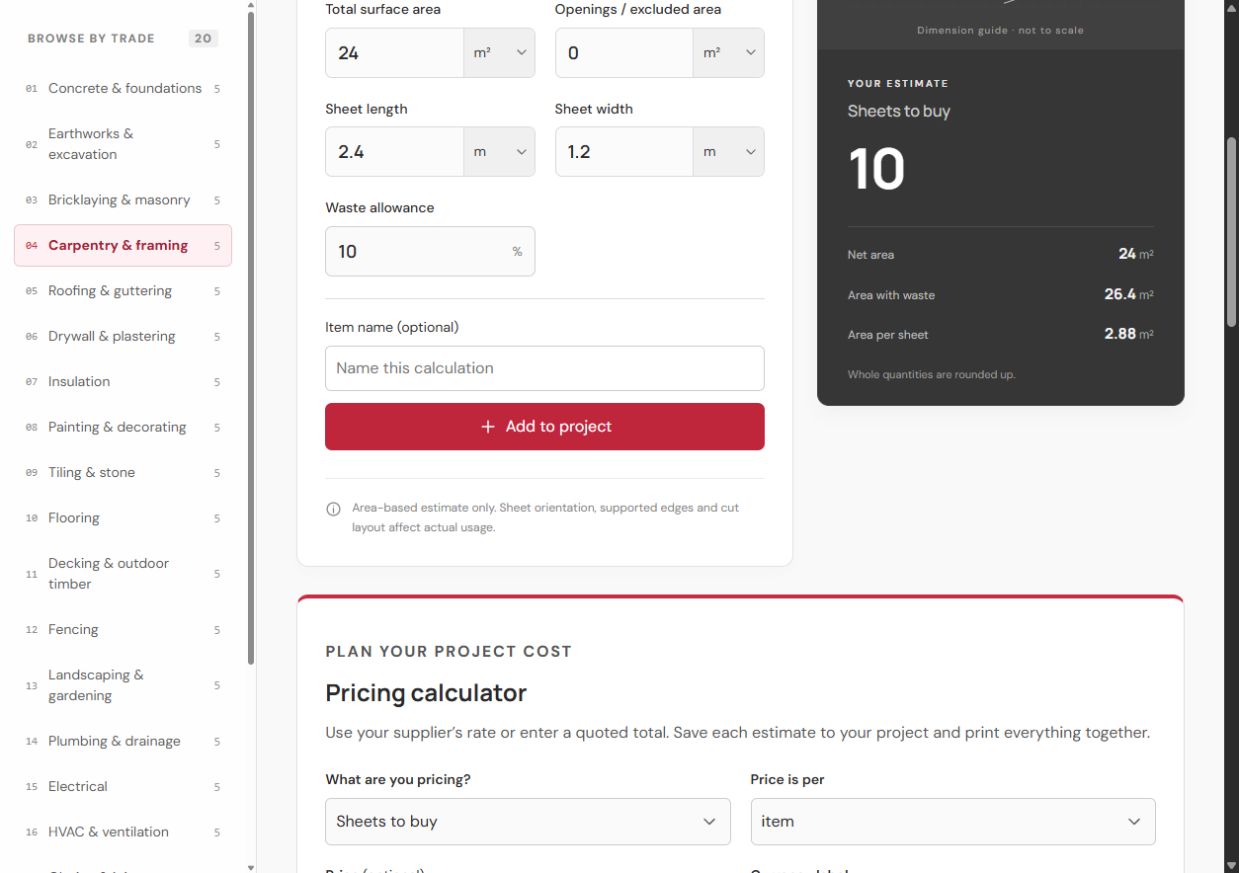
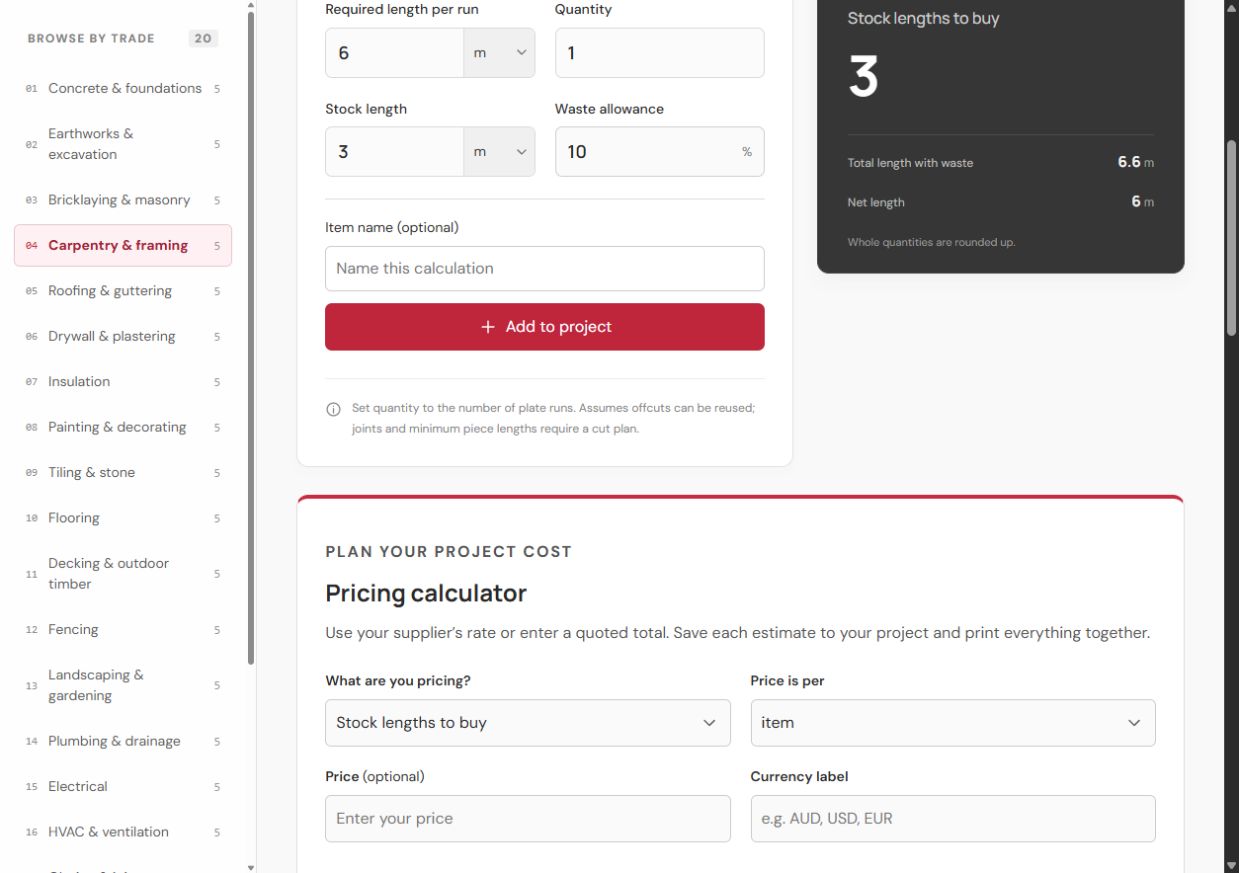
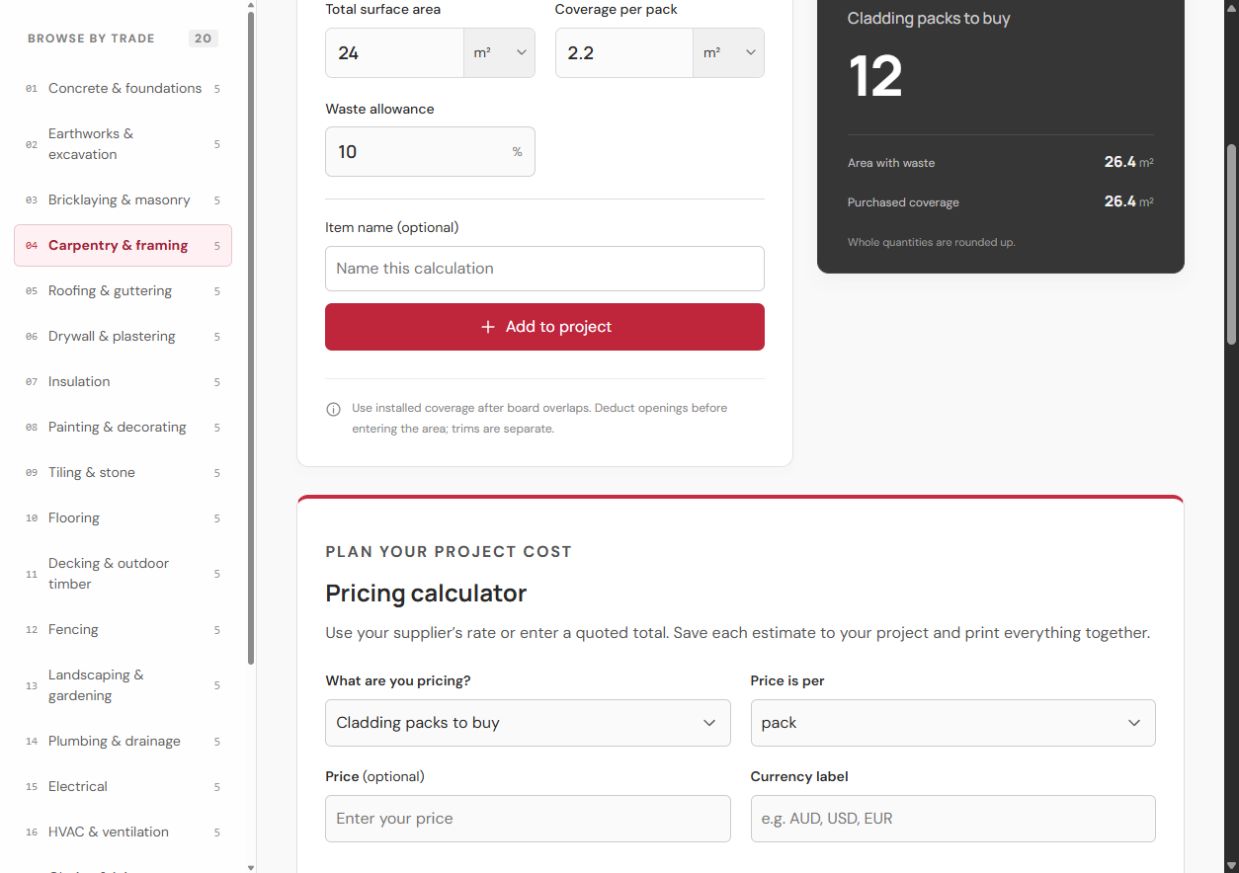
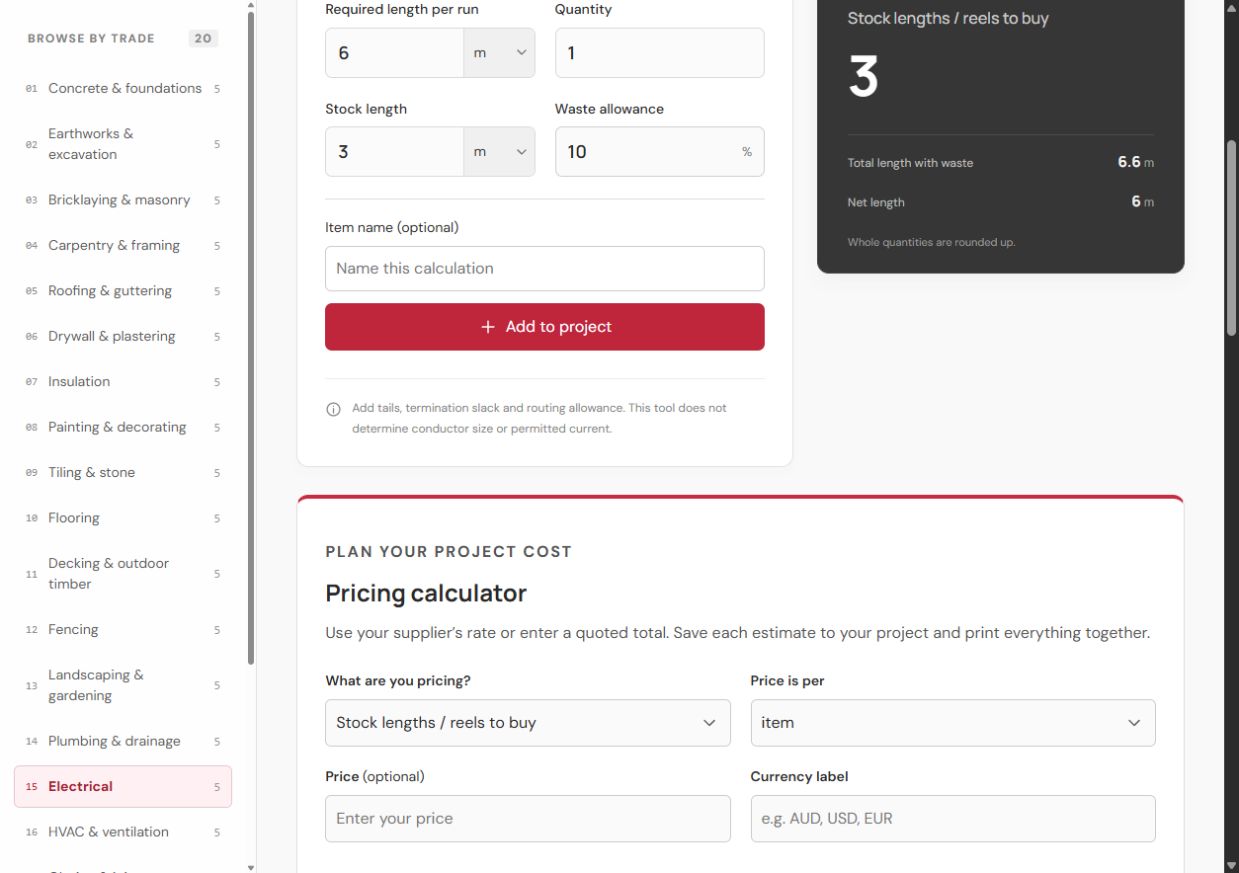
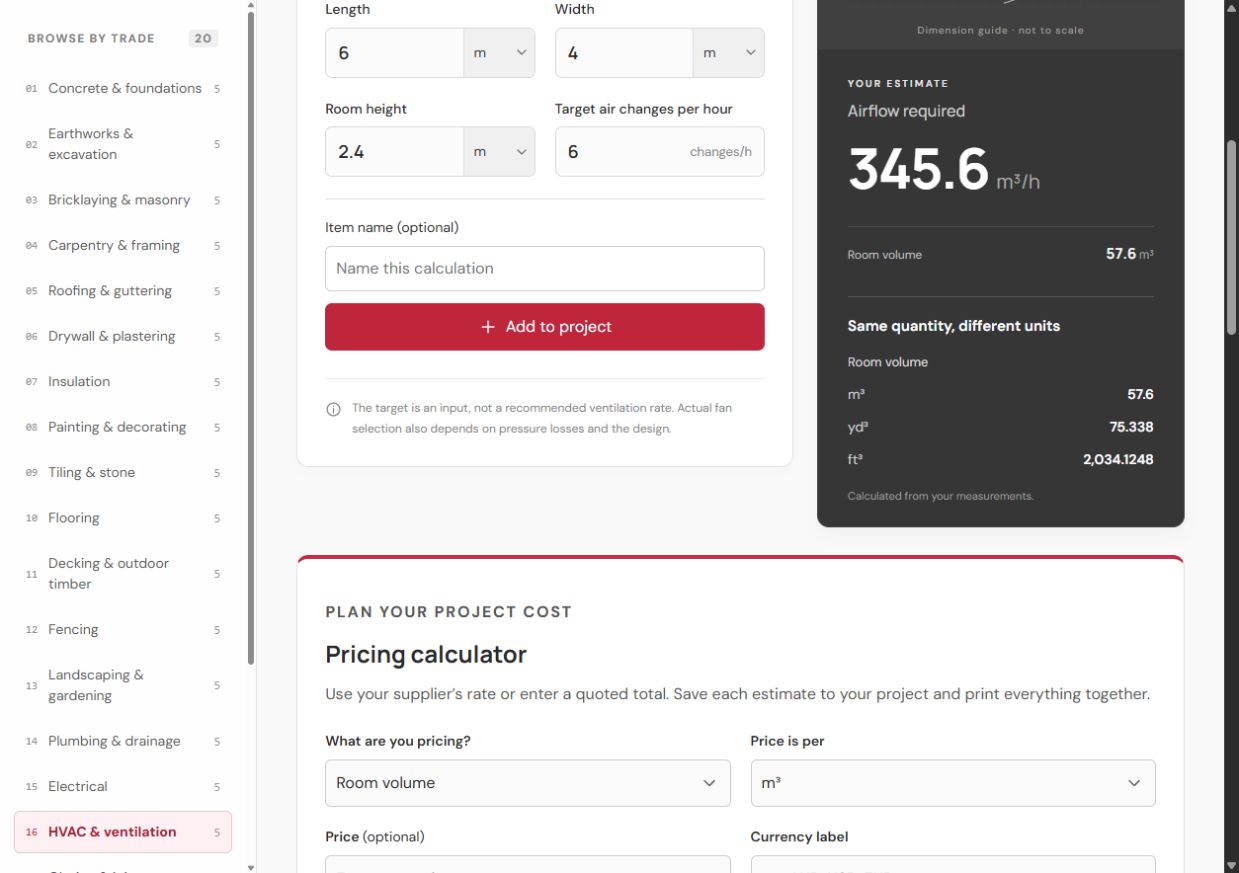
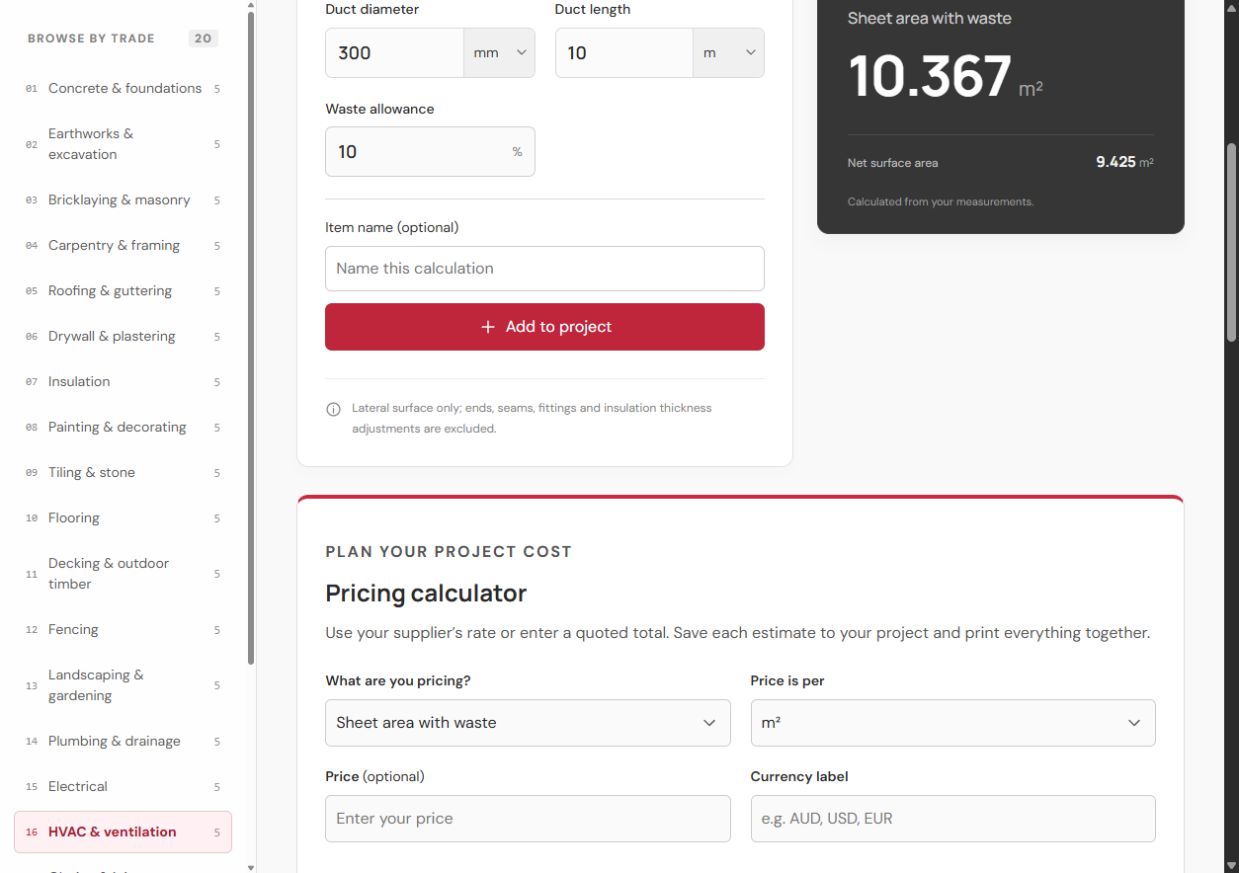
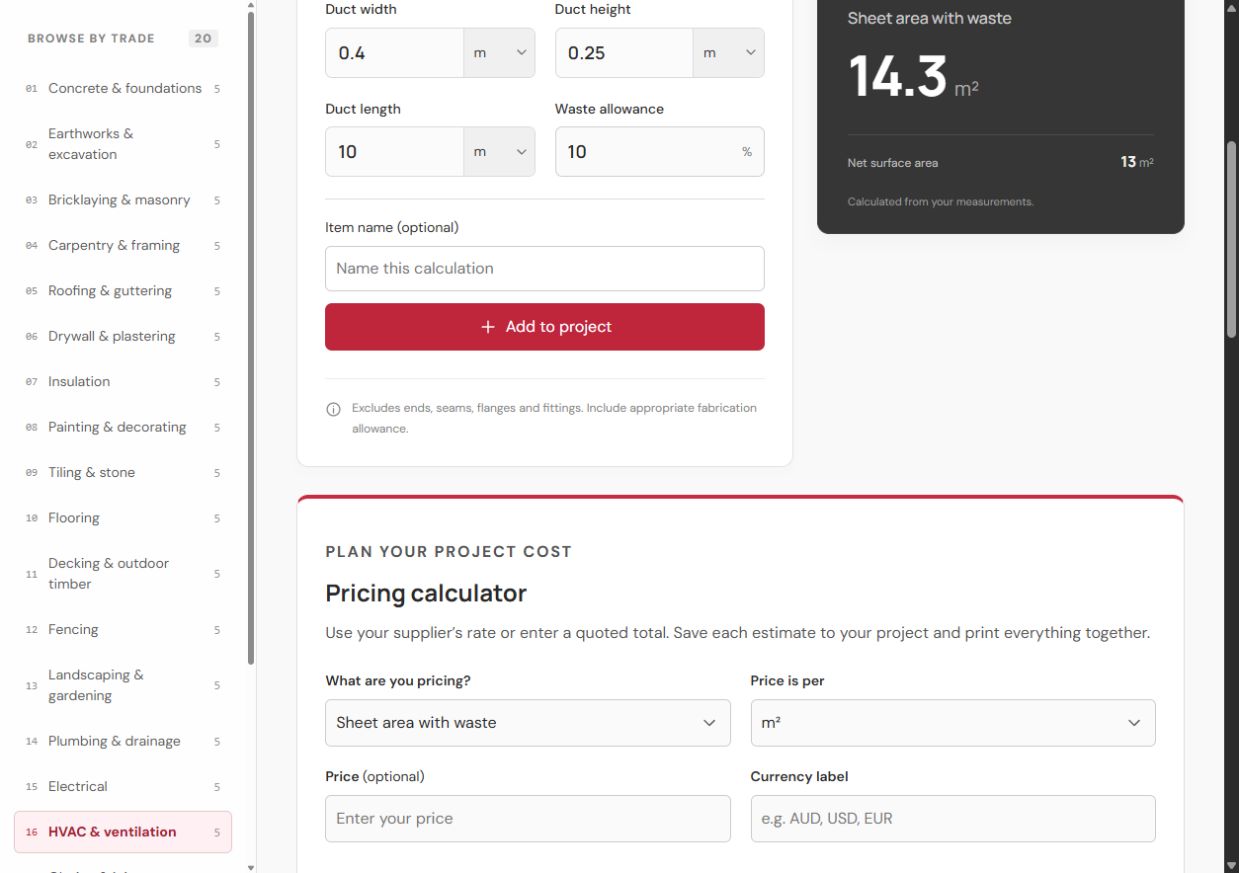
Choose a calculator and replace its example inputs. Check the unit beside each field; changing a unit converts the value already entered.
Calculate
Results update as you type. On a phone, scroll below the inputs. Read the measurement notes, formula and worked calculation on that page before using the estimate.
Price and save
Enter a supplier price, give the item a name and choose Add to project. Save different sections or products as separate items.
Print together
Open Project in the header, check the saved list and choose Print / Save as PDF.
Pricing, saved items and printing
Match the price to the quantity
In Pricing calculator, choose the result and the unit your supplier charges by. Use Quoted total for this item when a unit rate does not fit. Enter your own price and currency label, such as AUD or USD. A blank price saves quantities only; zero means free. Prices are not fetched from suppliers.
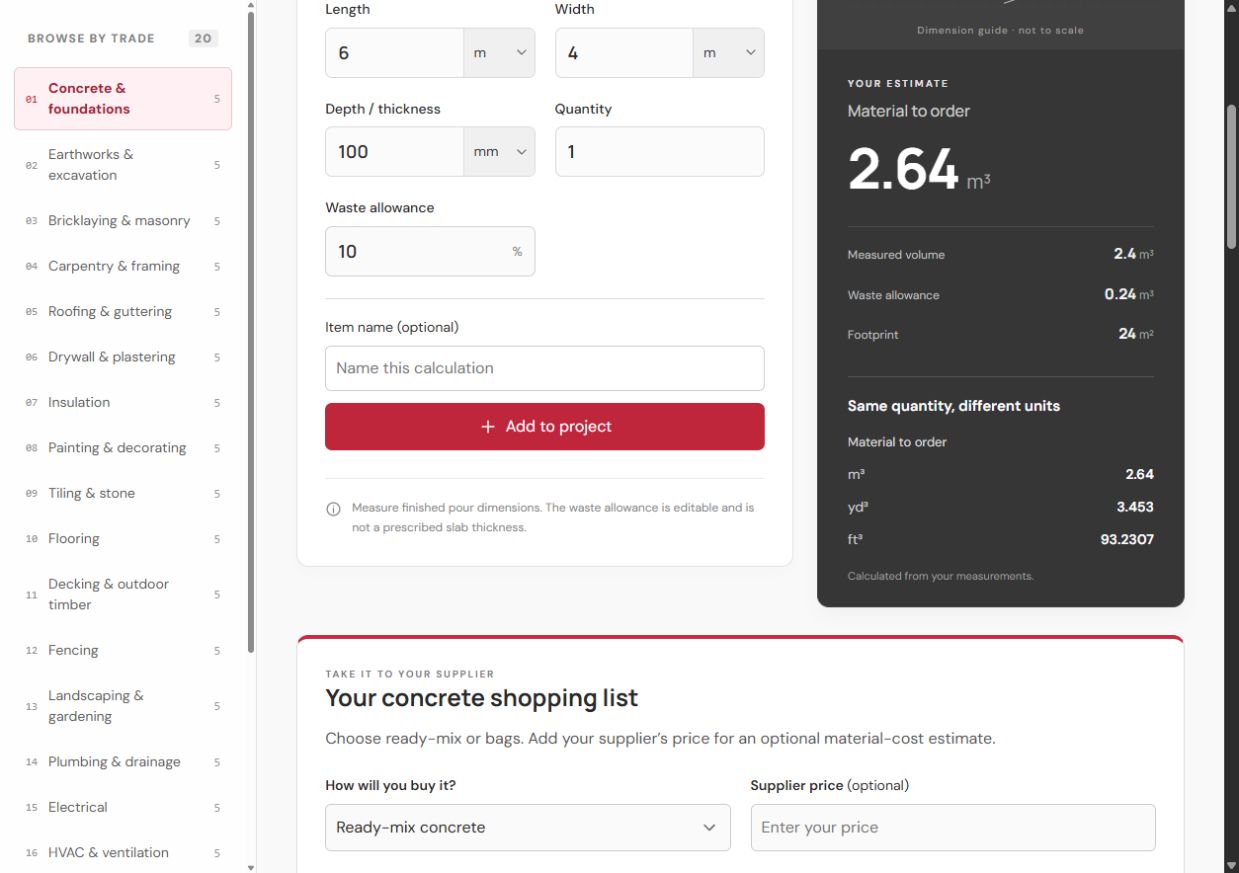
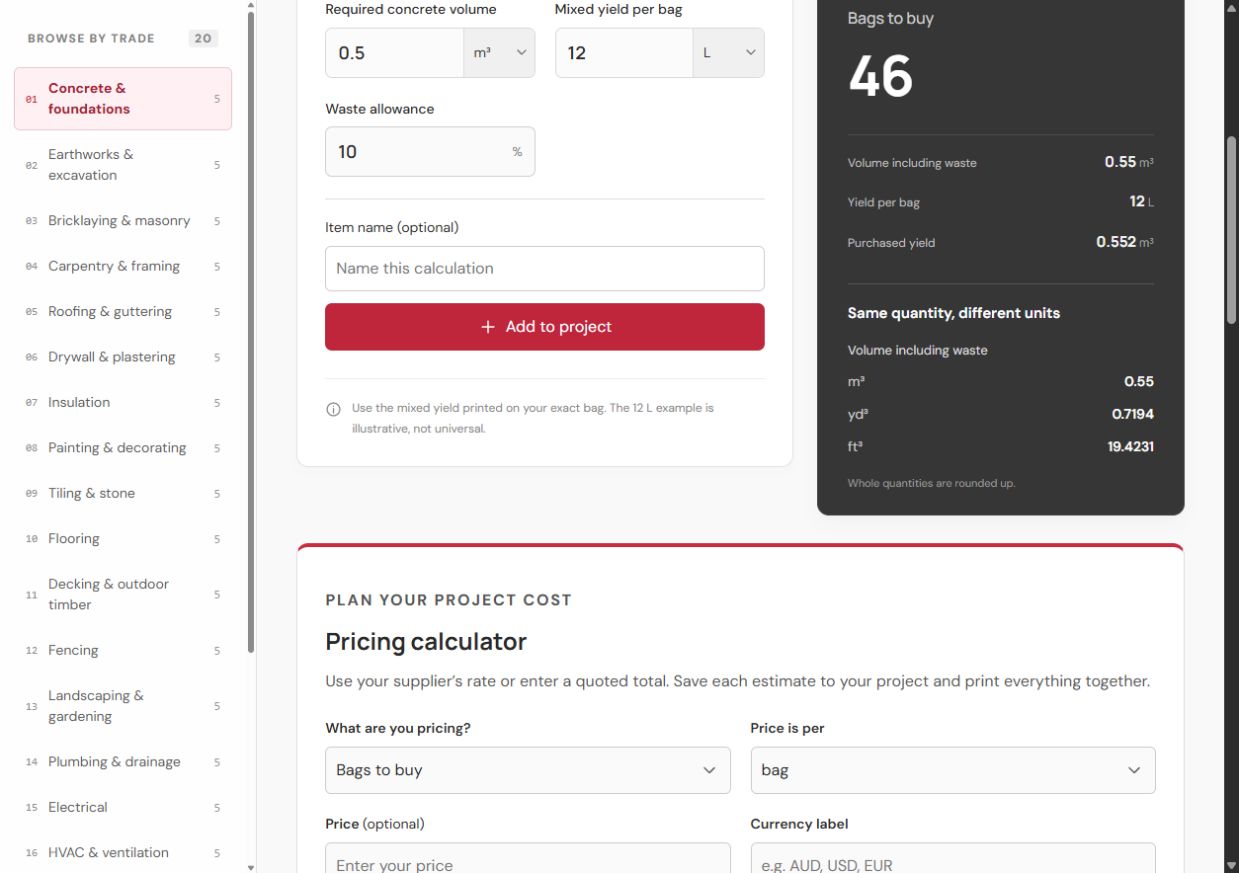
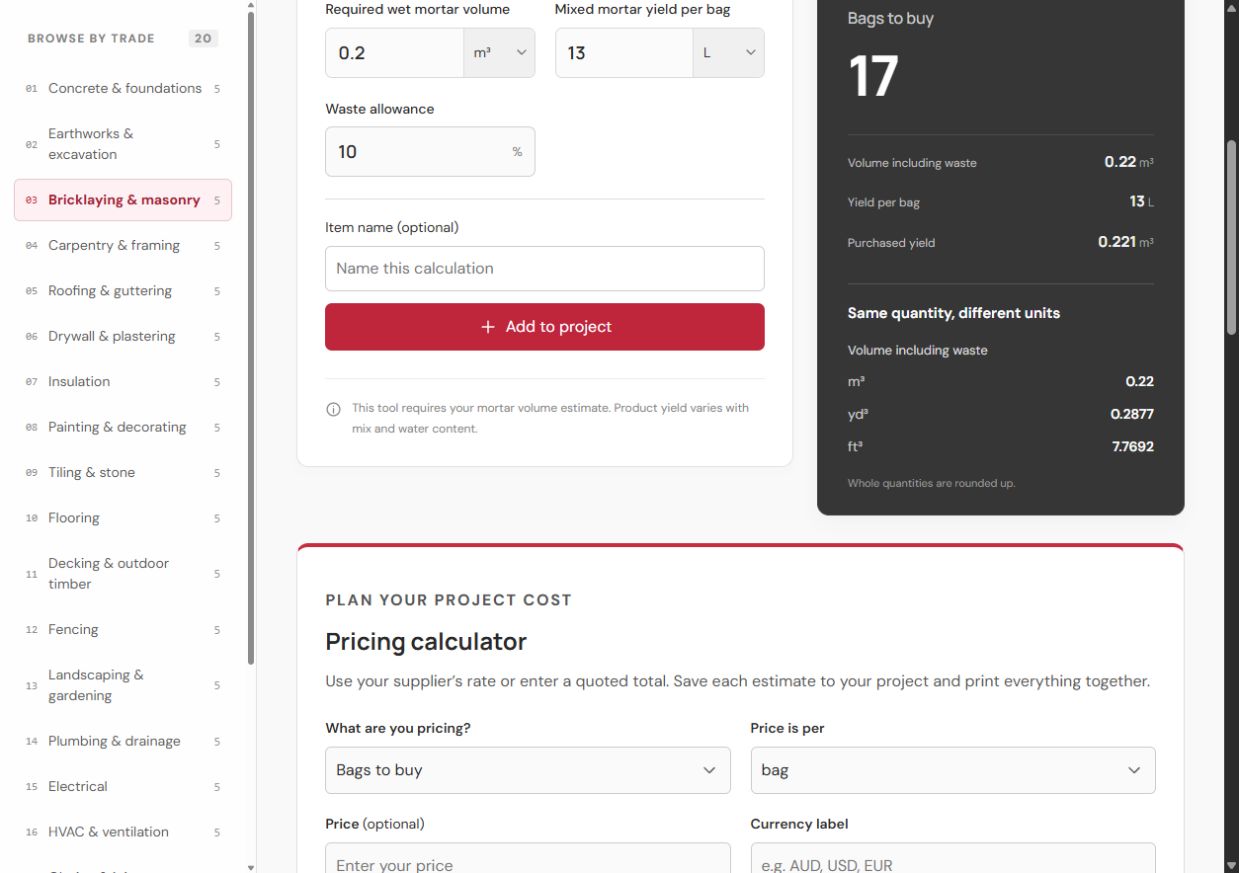
The concrete slab tool has a separate shopping list: choose ready-mix with a price per cubic metre or cubic yard, or bags with the mixed yield and price per bag.
Save a snapshot for each item
Each click on Add to project or Add priced item to project saves a separate snapshot. Editing the calculator afterwards does not update earlier items. Remove accidental duplicates in Project before printing.
Check the total and keep a copy
Currencies are totalled separately; items without a currency label are excluded from subtotals. Delivery, tax and labour are not added automatically. Use your browser’s print window to save the complete list as a PDF.
Saved items and favourites stay in this browser on this device. They do not sync between devices, and clearing site data can remove them. Print or save important lists before clearing browser data.
WORKED PROJECTS
From a measurement to a material list
These are illustrative takeoffs, not completed customer jobs or construction specifications. The dimensions, product yields and allowances are chosen to explain the arithmetic. Replace them with your project details.
Concrete: keep measured volume and ordering allowance separate
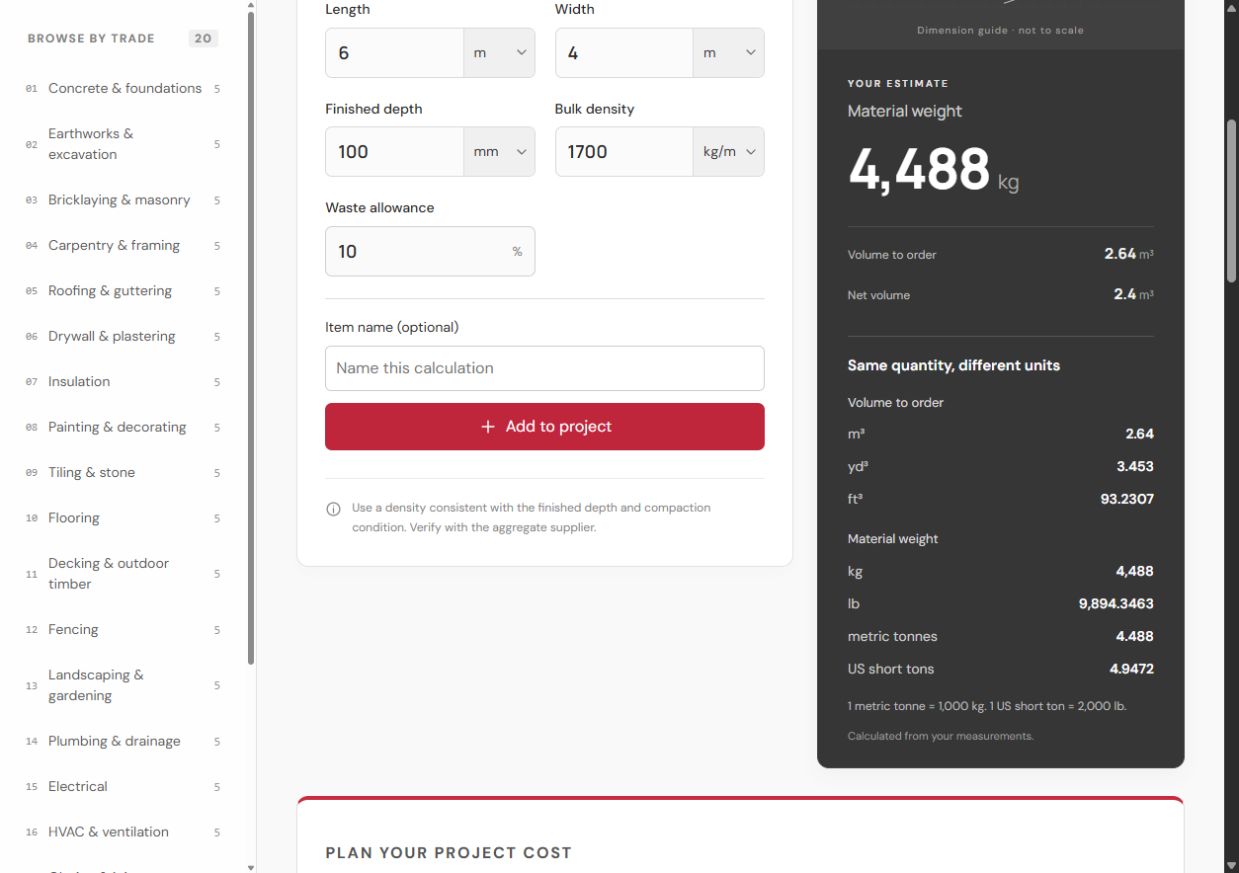
Suppose a plan shows two adjoining, non-overlapping rectangular areas, both 100 mm thick. The main area is 6 × 4 m and the adjoining area is 2 × 1.5 m. Do not draw a bounding rectangle around both and count the empty space.
Illustrative concrete takeoff
Item
Working
Quantity
Main section
6 × 4 × 0.1
2.4 m³
Adjoining section
2 × 1.5 × 0.1
0.3 m³
Measured concrete
2.4 + 0.3
2.7 m³
Illustrative 10% allowance
2.7 × 0.10
0.27 m³
Volume including allowance
2.7 + 0.27
2.97 m³
Save the two sections with descriptive names in your project. If converting the combined 2.97 m³ to bags with an illustrative 12 L mixed yield, use zero extra waste: 2,970 ÷ 12 = 247.5, so 248 bags provide 2.976 m³. Ready-mix delivery increments must be confirmed separately.
Still to check: whether the drawing includes thickened edges, a separate footing or level changes. These are measured additions, not something a waste percentage can reliably cover. Reinforcement, formwork and delivery charges remain separate.
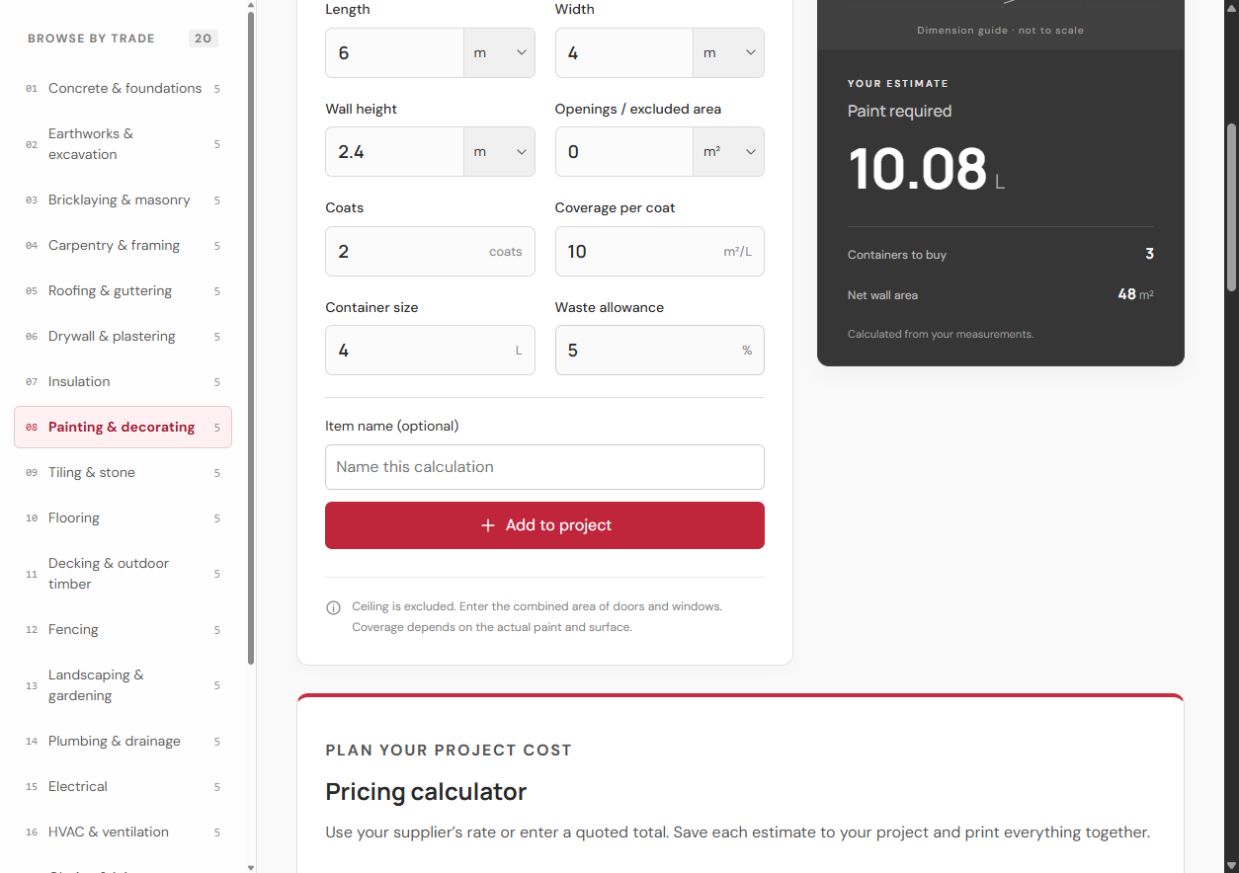
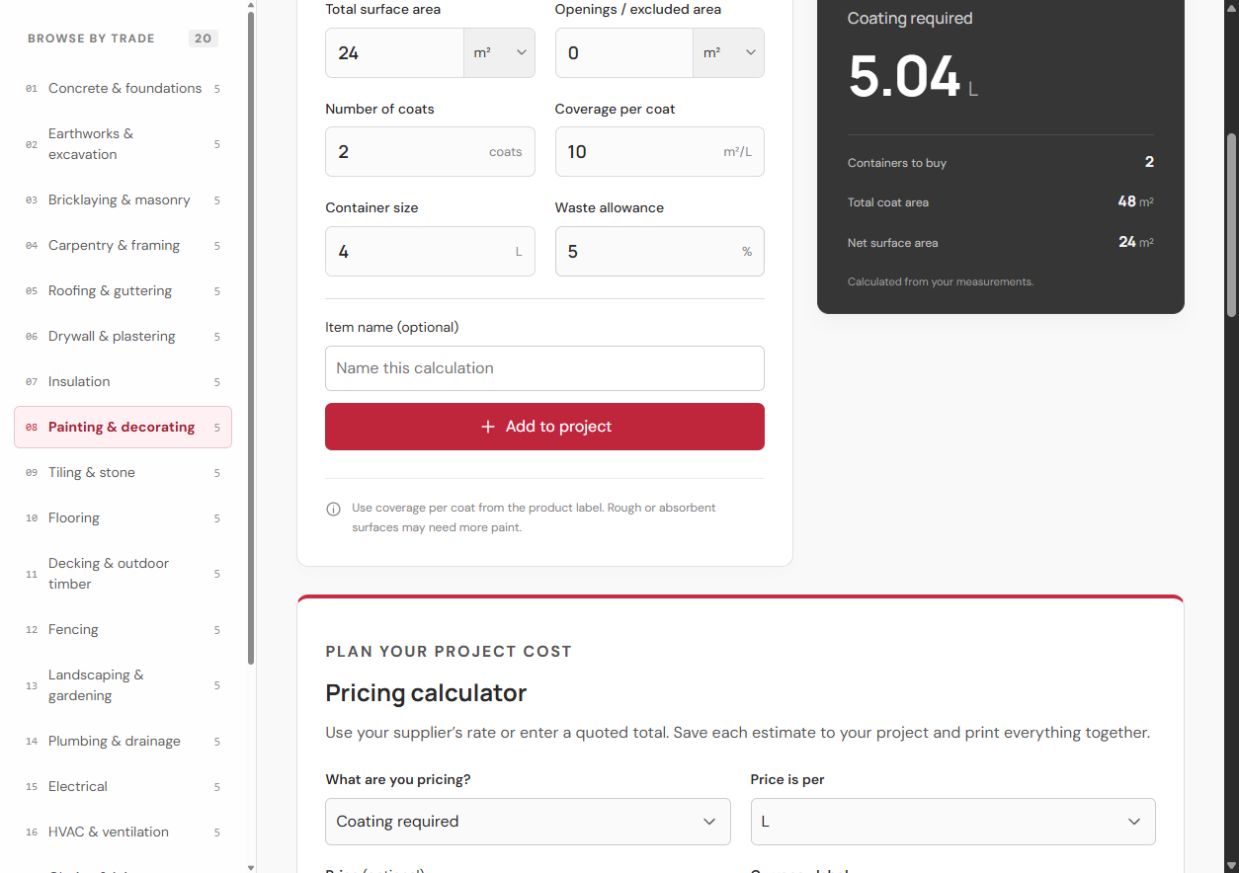
Take a 6 × 4 m rectangular room, 2.4 m high, with 4 m² of unpainted openings. Assume two coats, illustrative coverage of 10 m²/L per coat, and 5% allowance. The ceiling uses a separate paint product with the same example coverage.
Illustrative paint quantities
Surface
Working
Quantity
Net walls
2 × (6 + 4) × 2.4 − 4
44 m²
Wall paint
44 × 2 ÷ 10 × 1.05
9.24 L
Ceiling paint
24 × 2 ÷ 10 × 1.05
5.04 L
4 L wall-paint containers
Round up 9.24 ÷ 4
3 containers
4 L ceiling-paint containers
Round up 5.04 ÷ 4
2 containers
Round each different product separately. Pooling wall paint and ceiling paint into one litre total would hide which containers to buy. If both surfaces genuinely use the same product and finish, combine their unrounded requirements before selecting container sizes.
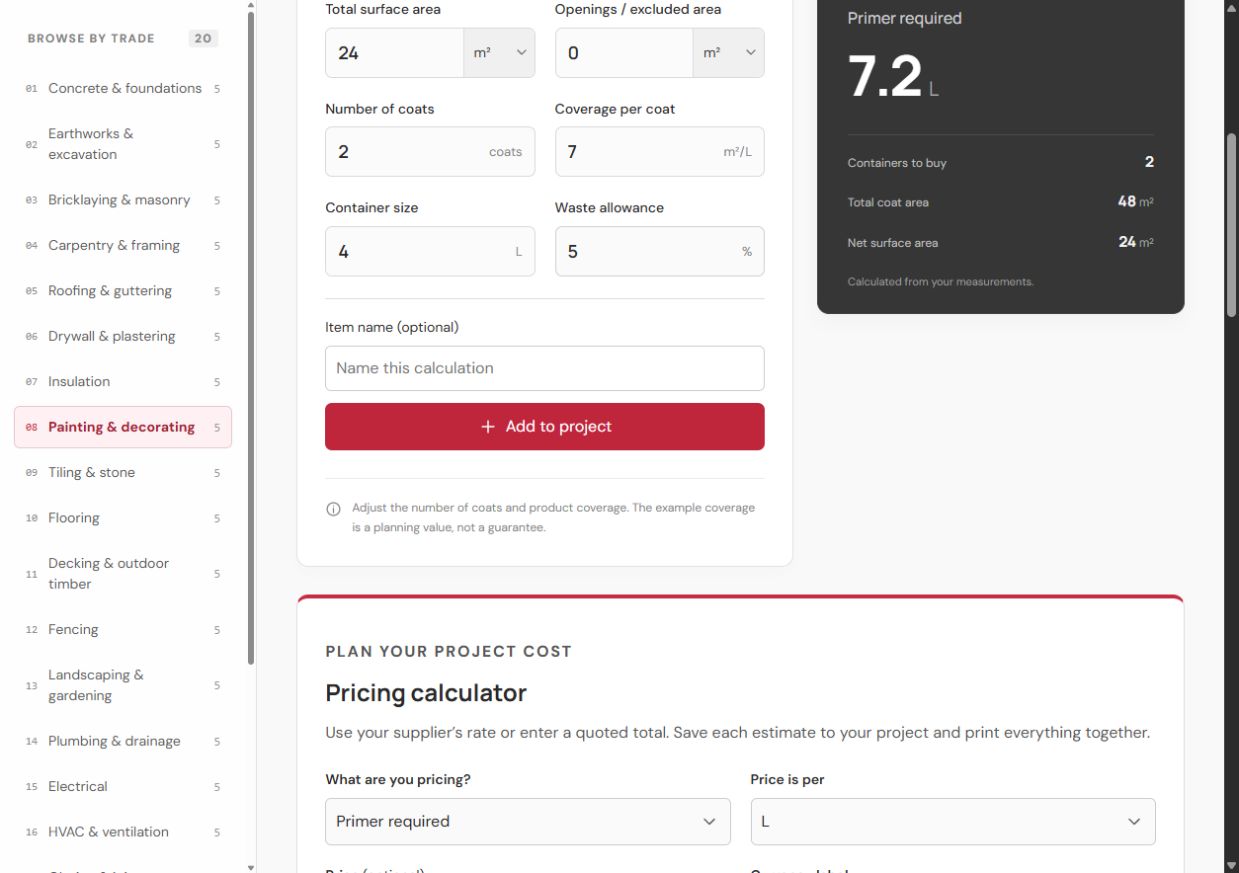
Still to check: primer, repairs, texture and the actual product coverage. The wall example excludes the door faces and ceiling; add any surfaces you intend to coat with the appropriate product.
Paving: count the surface, bedding and base separately
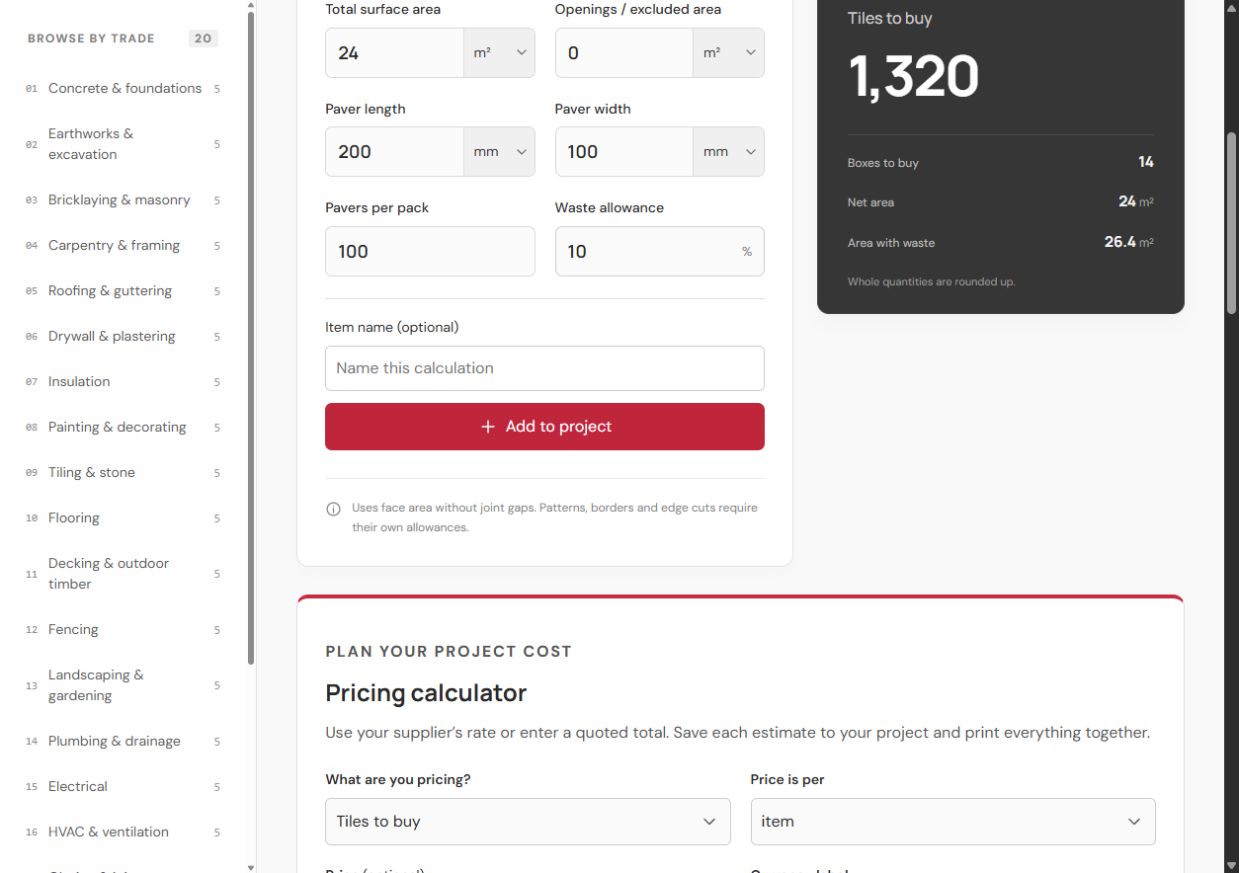
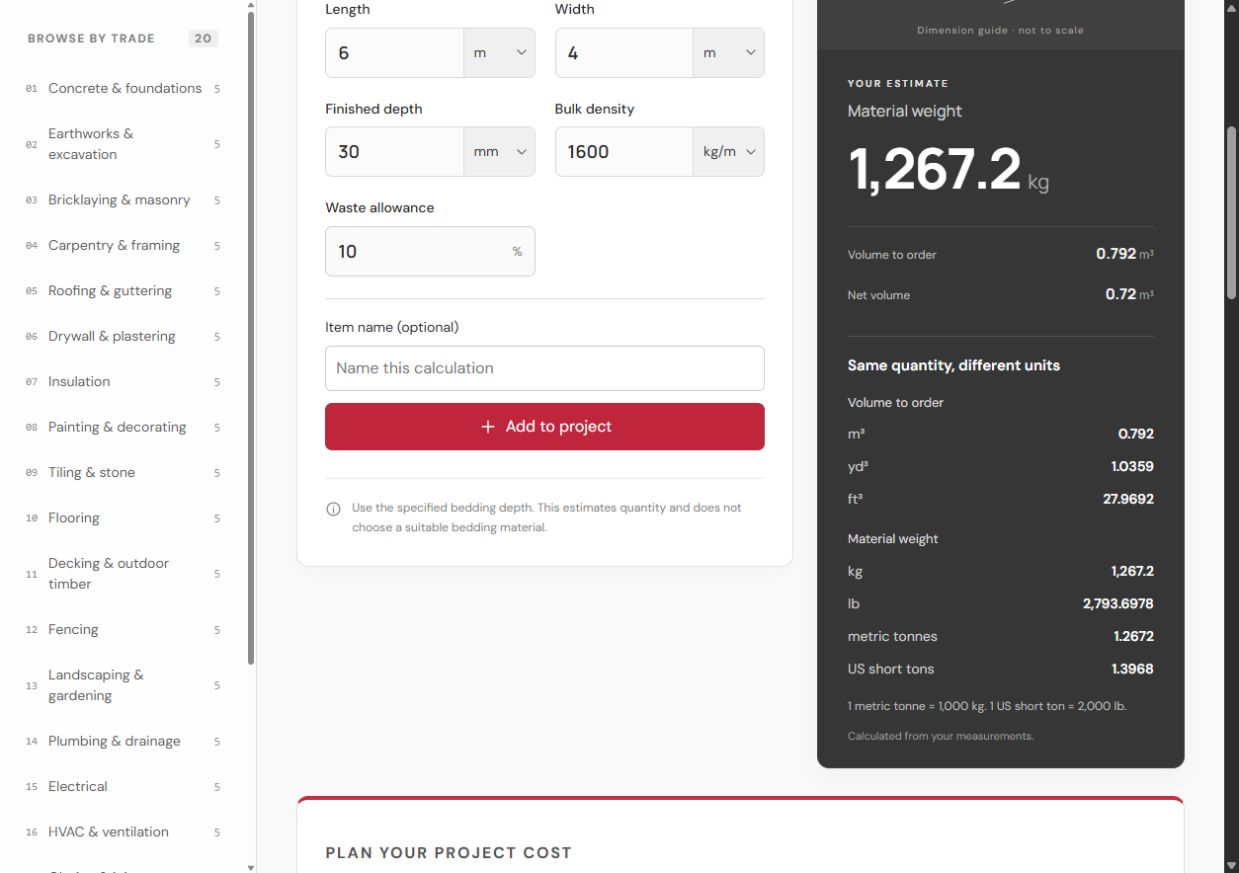
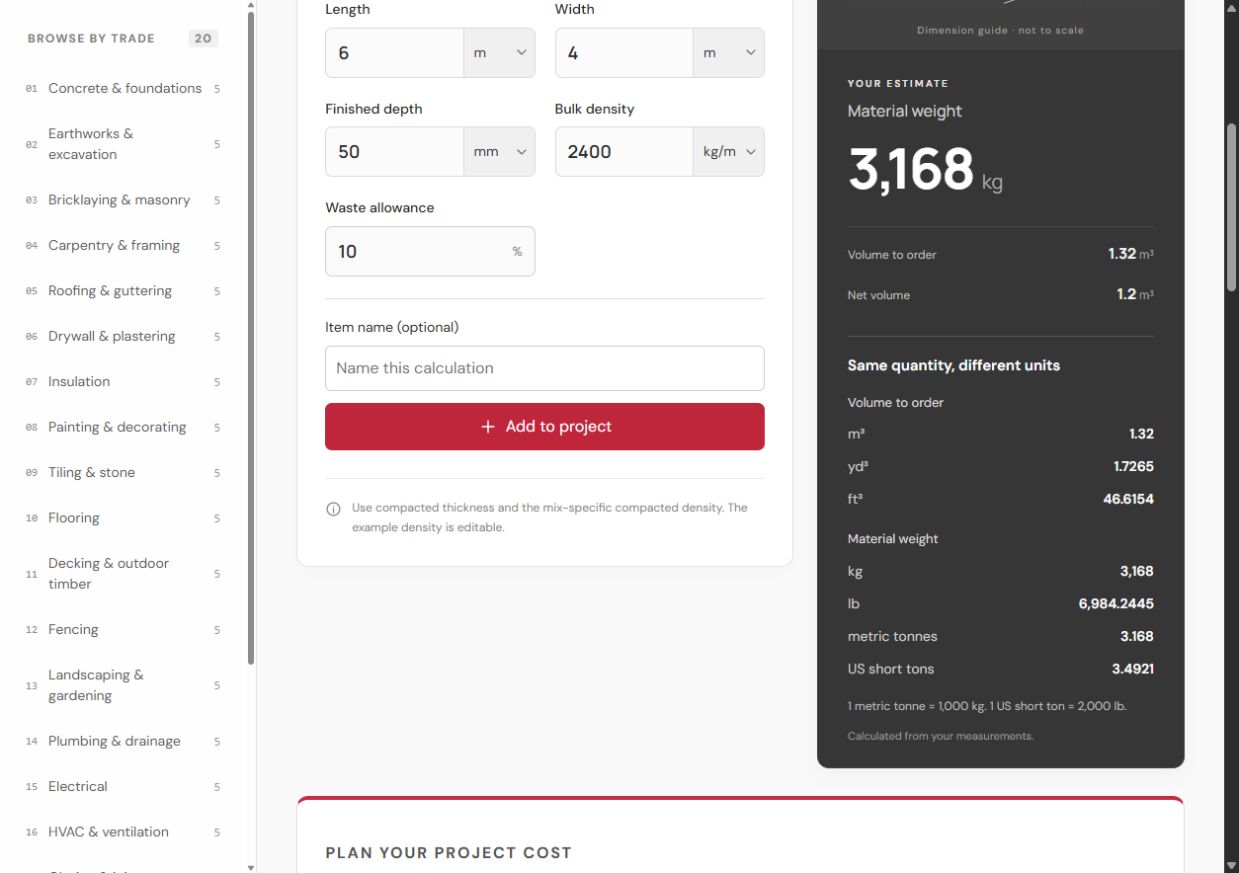
For an illustrative 5 × 4 m area, use 200 × 100 mm pavers with 10% cutting allowance. For arithmetic only, suppose the project detail separately specifies 30 mm of bedding and 100 mm of base. These example depths do not specify a suitable pavement design.
Illustrative paving takeoff
Material
Working
Quantity
Pavers including 10%
20 × 1.10 ÷ (0.2 × 0.1)
1,100 pavers
100-paver packs
1,100 ÷ 100
11 packs
Bedding geometry
20 × 0.03
0.6 m³
Base geometry
20 × 0.1
2 m³
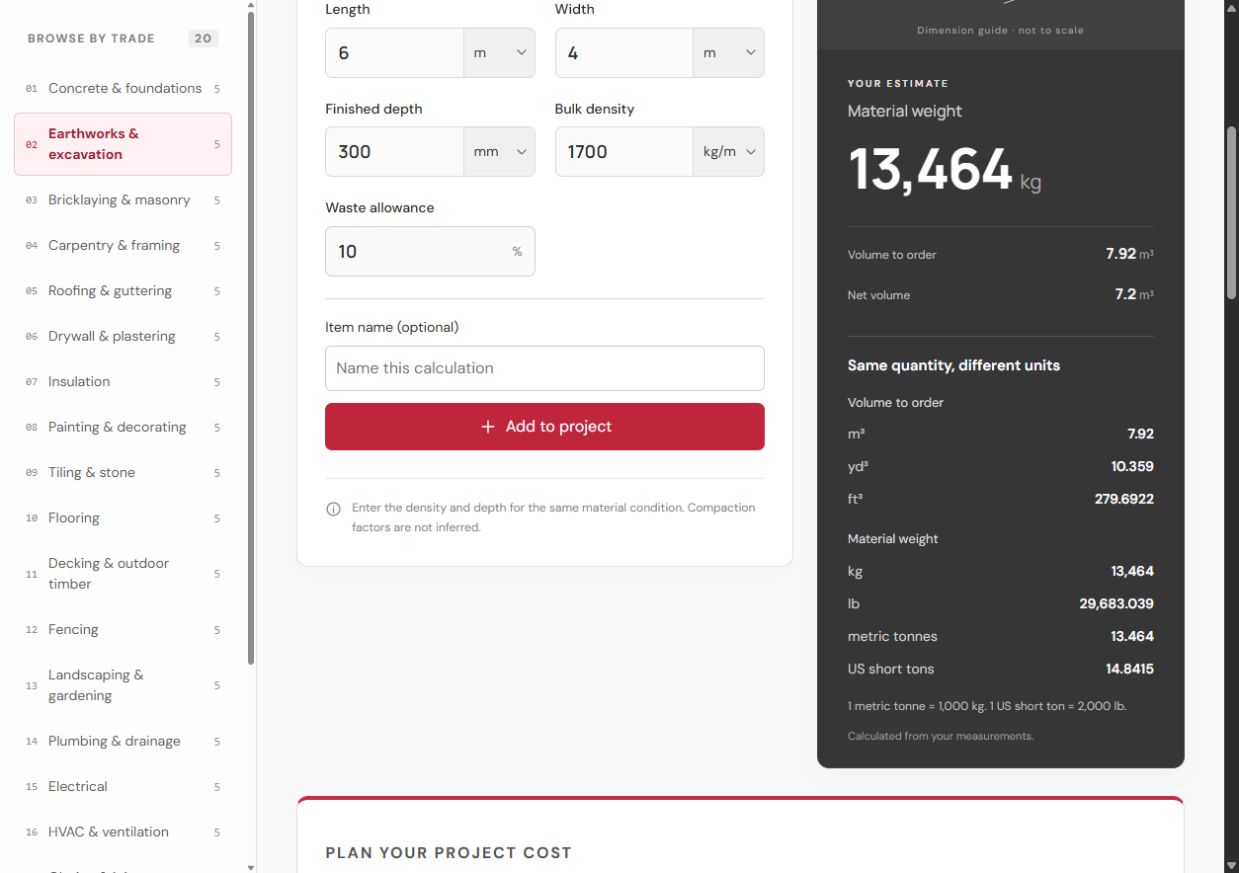
The 10% paver cutting allowance does not automatically apply to the other layers. Bedding and base values above have no added allowance and are geometric layer volumes. For weight-based supply, obtain a density consistent with the material condition and account for compaction separately.
Still to check: borders, cuts, edging, jointing material, drainage and excavation levels. Add each material to the project under a distinct name; a single area figure is not a complete pavement order.
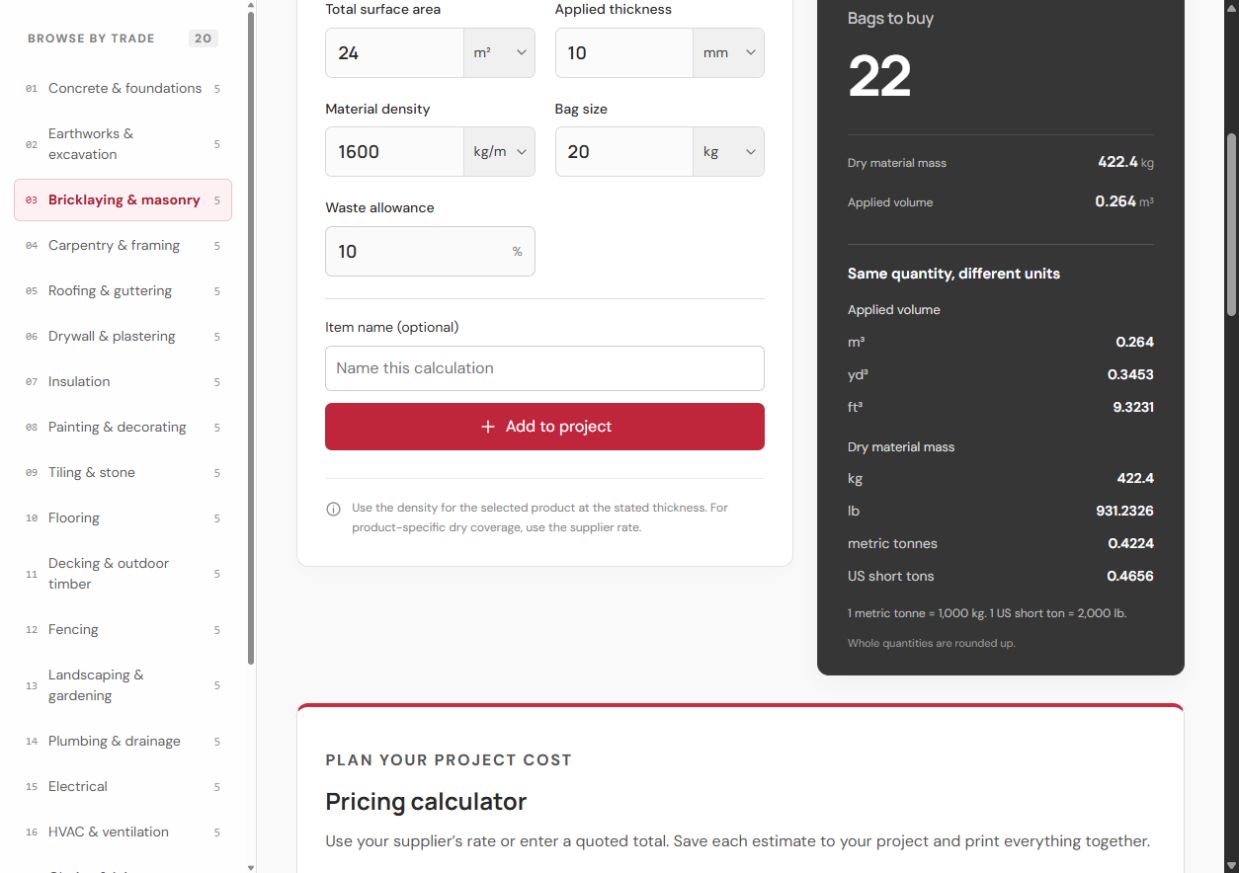
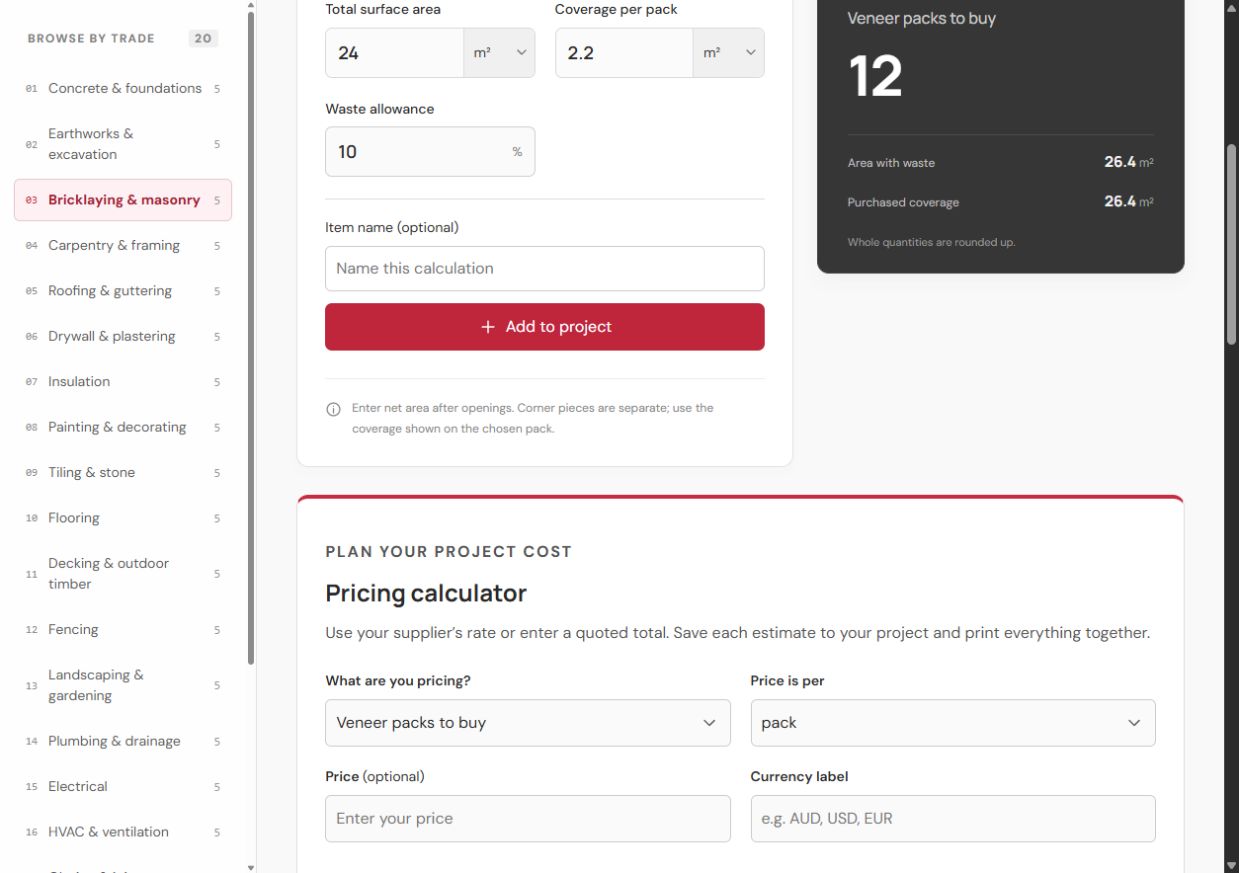
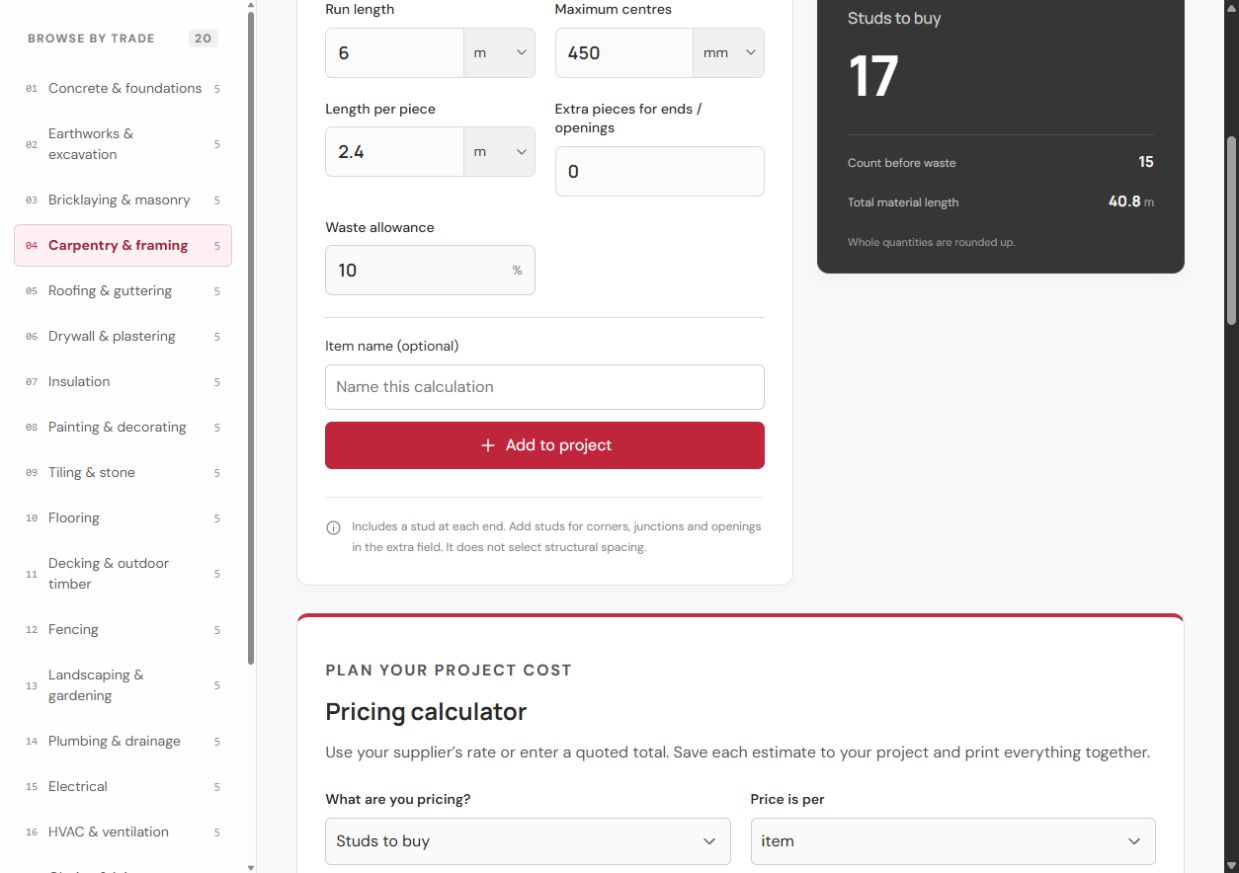
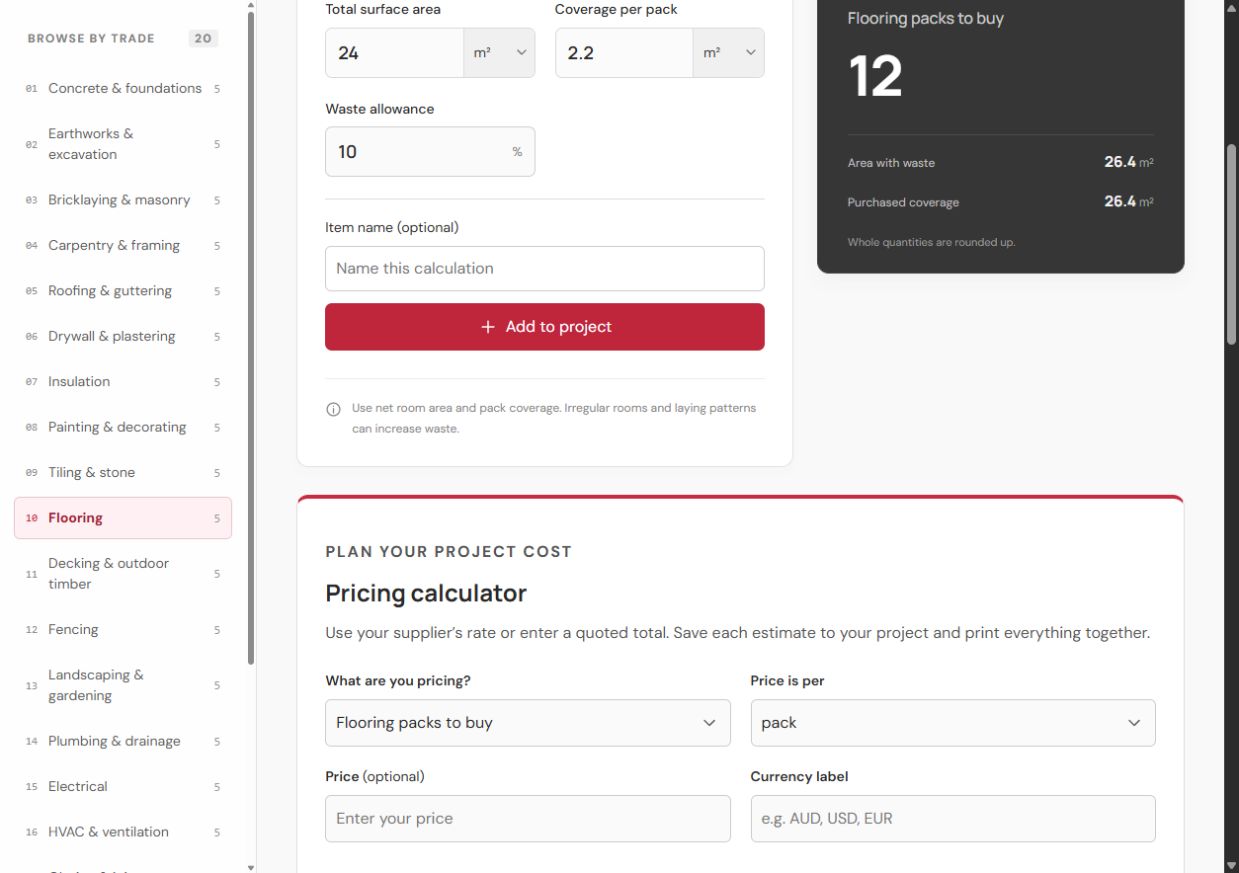
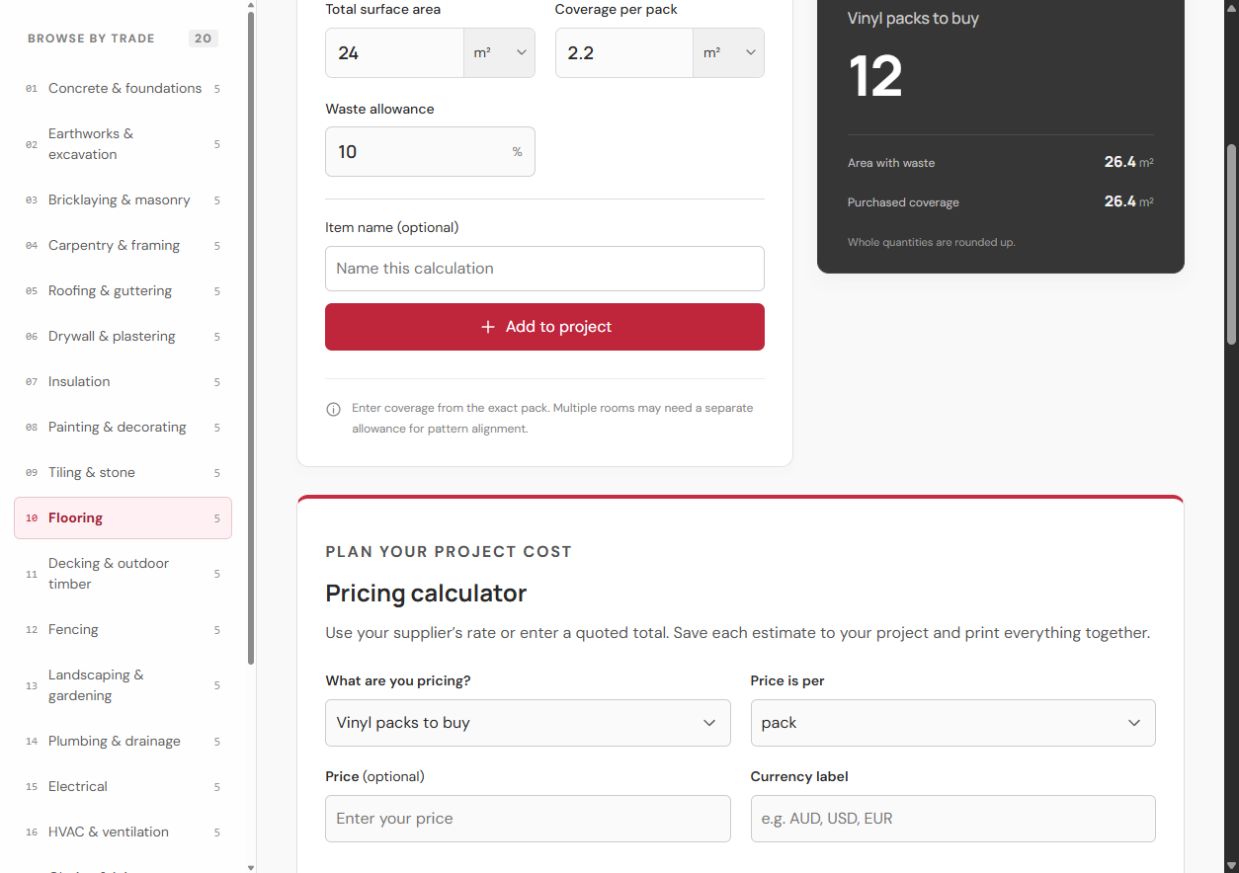
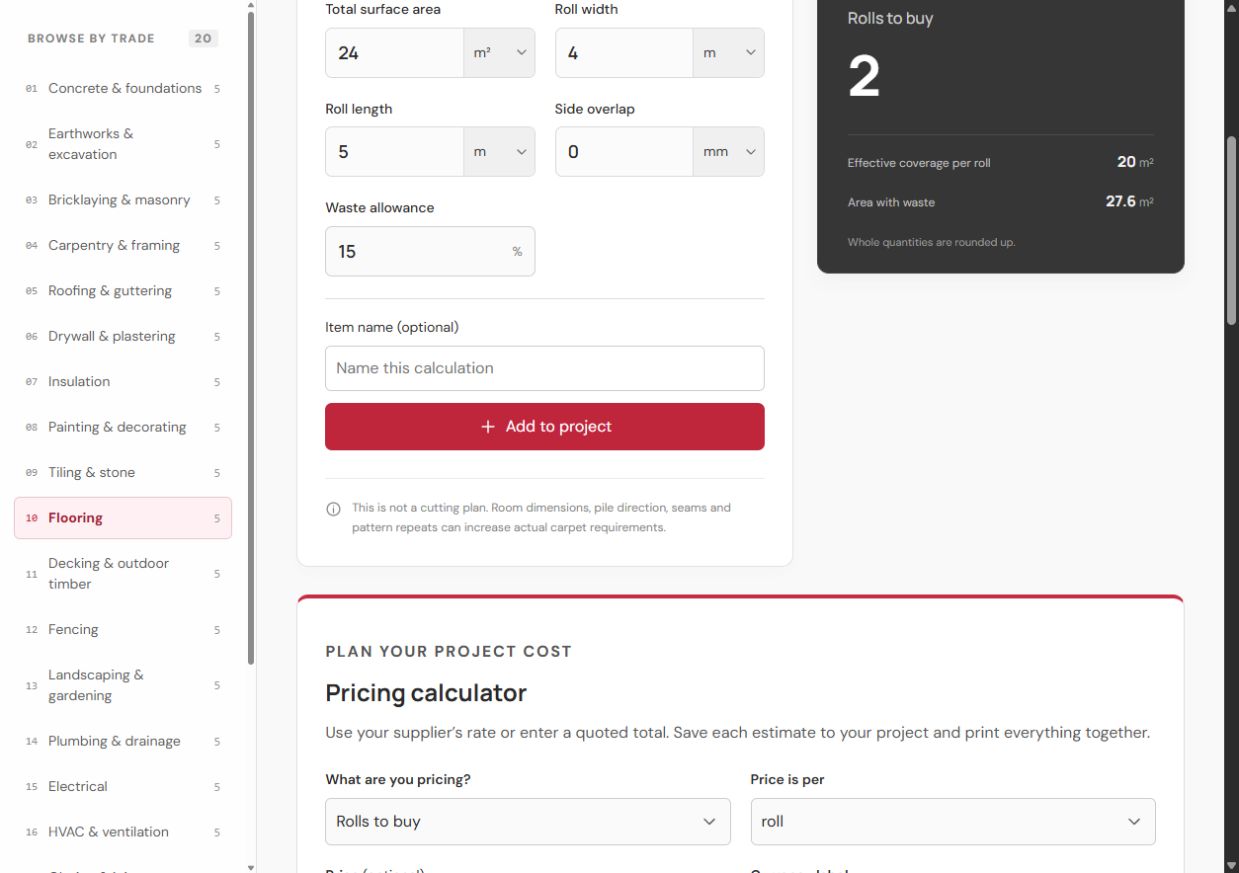
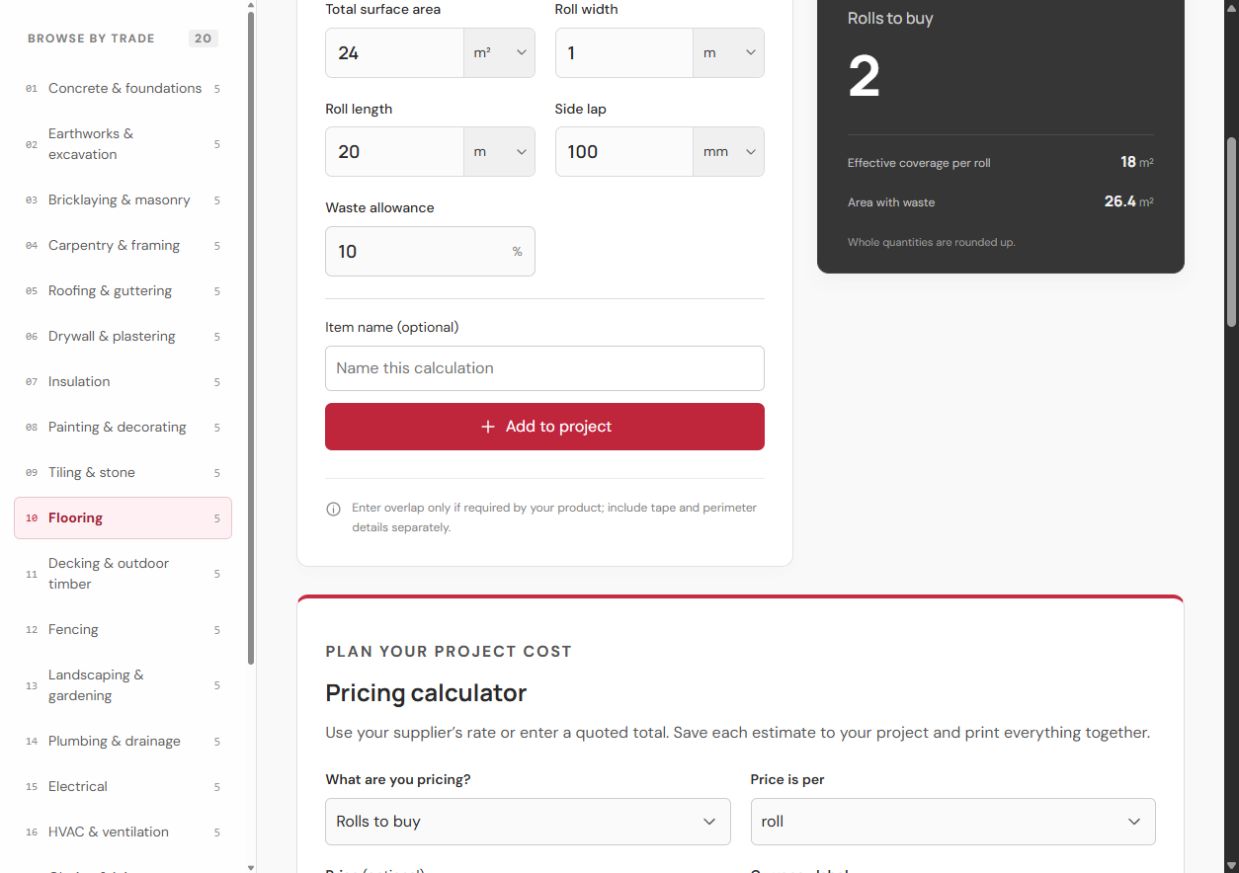
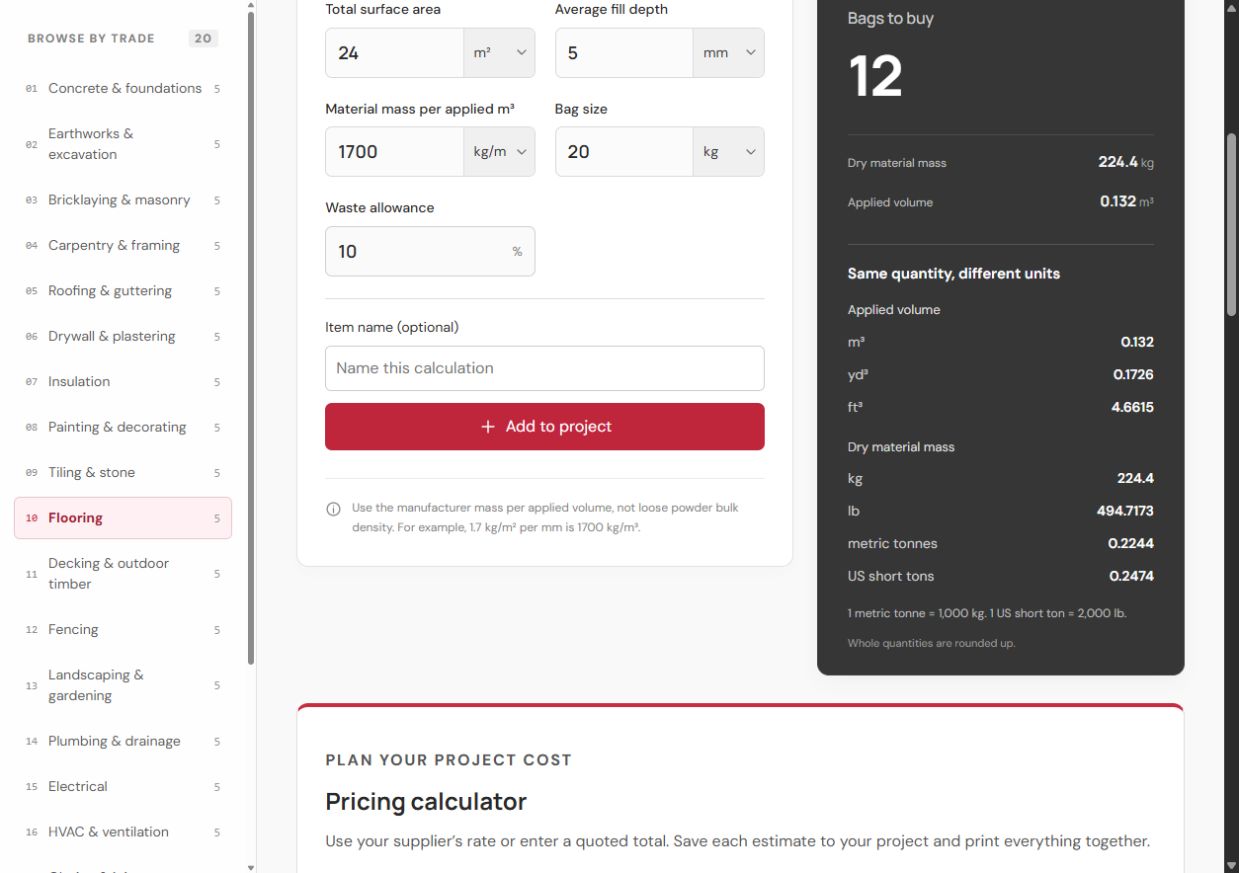
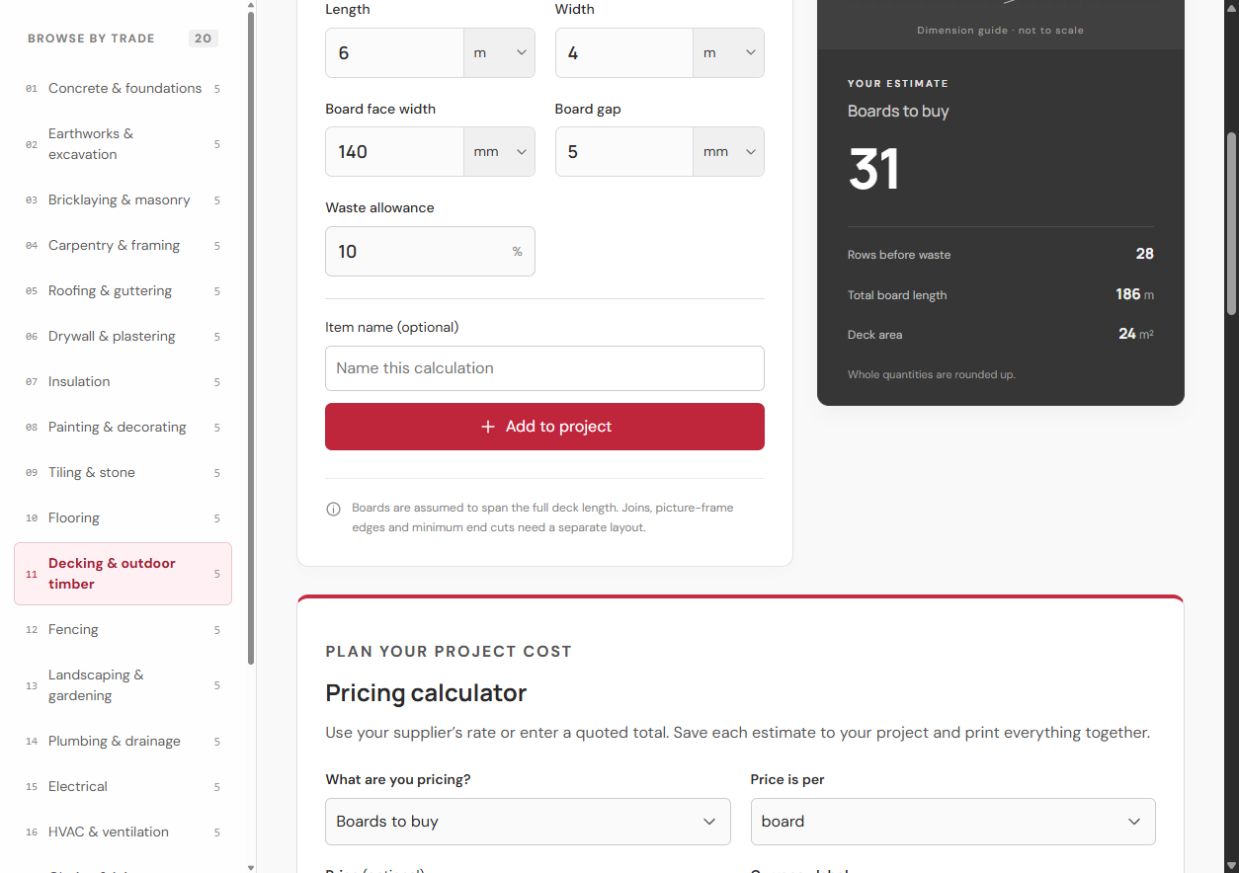
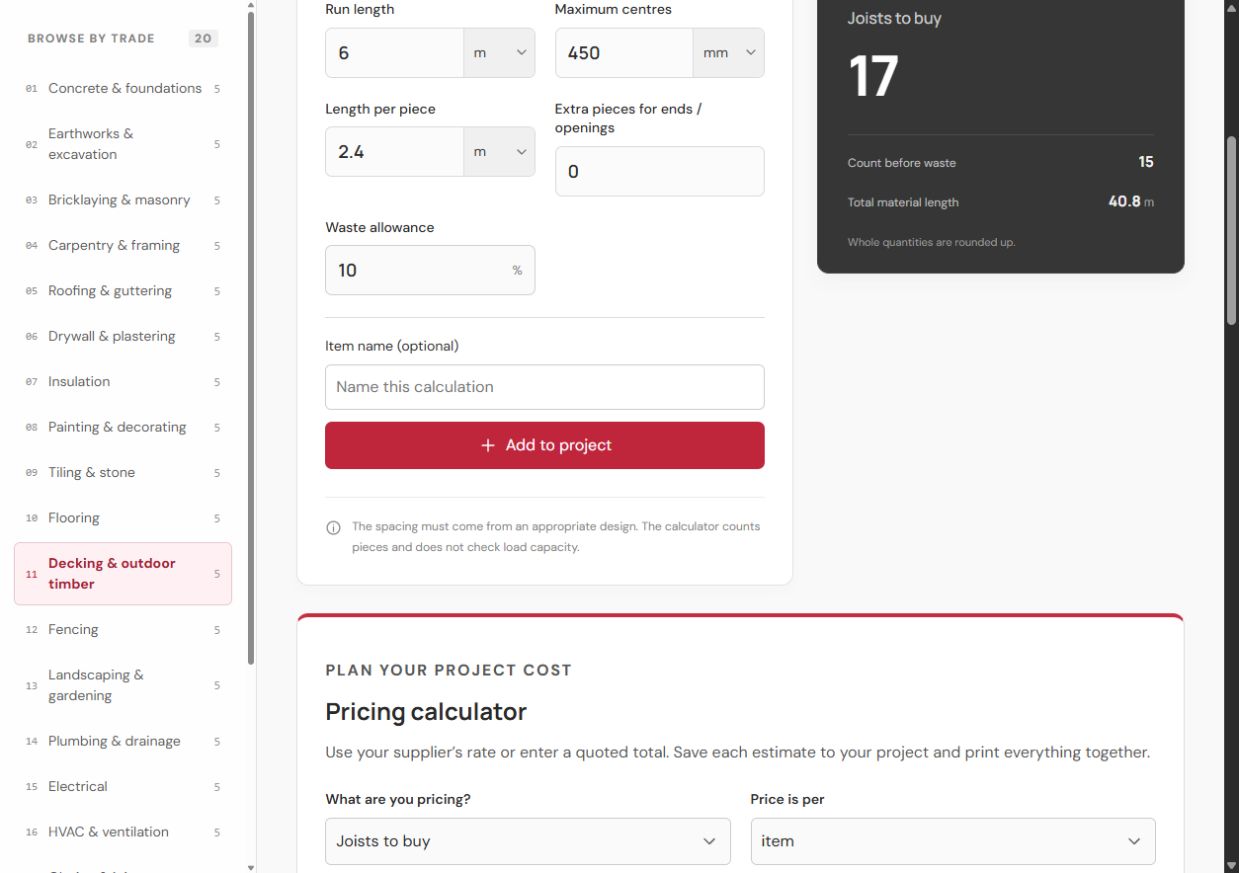
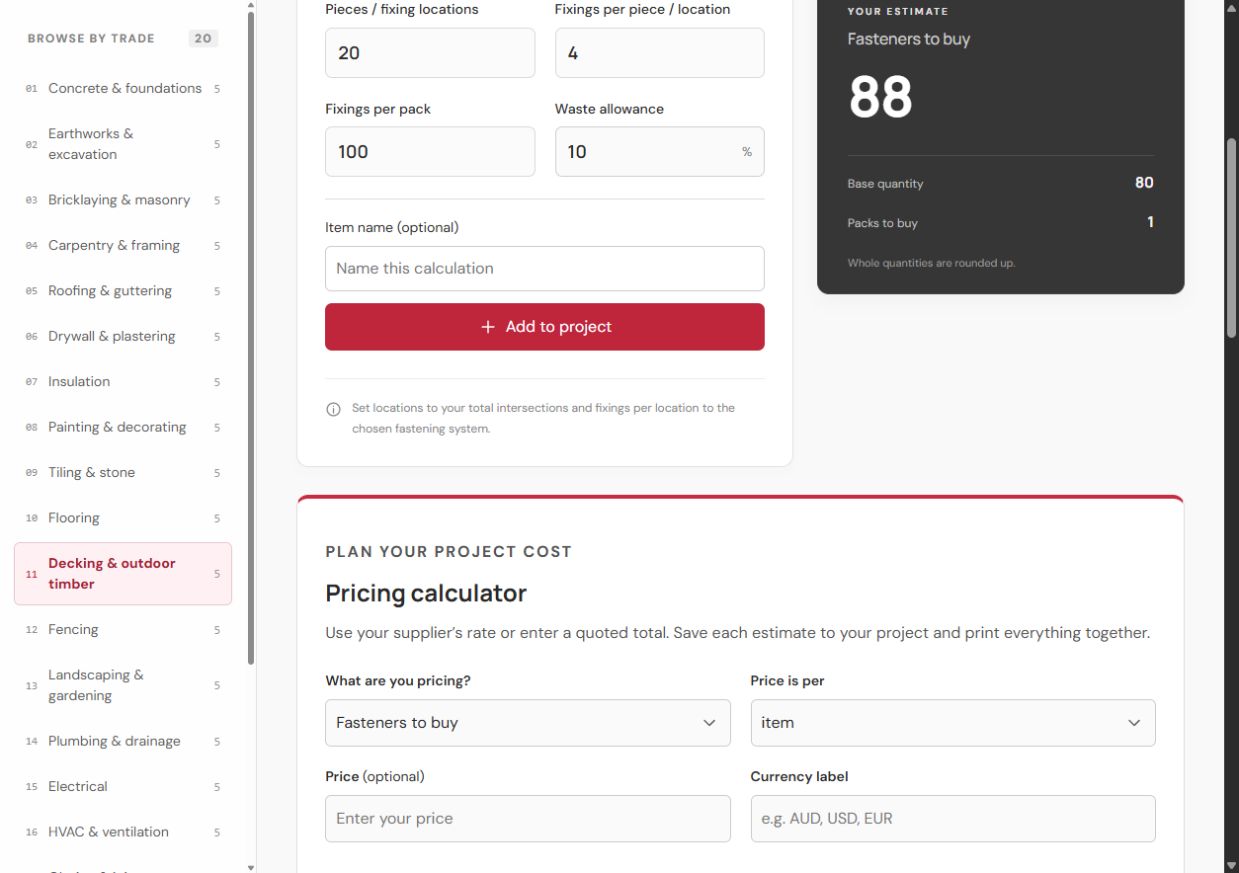
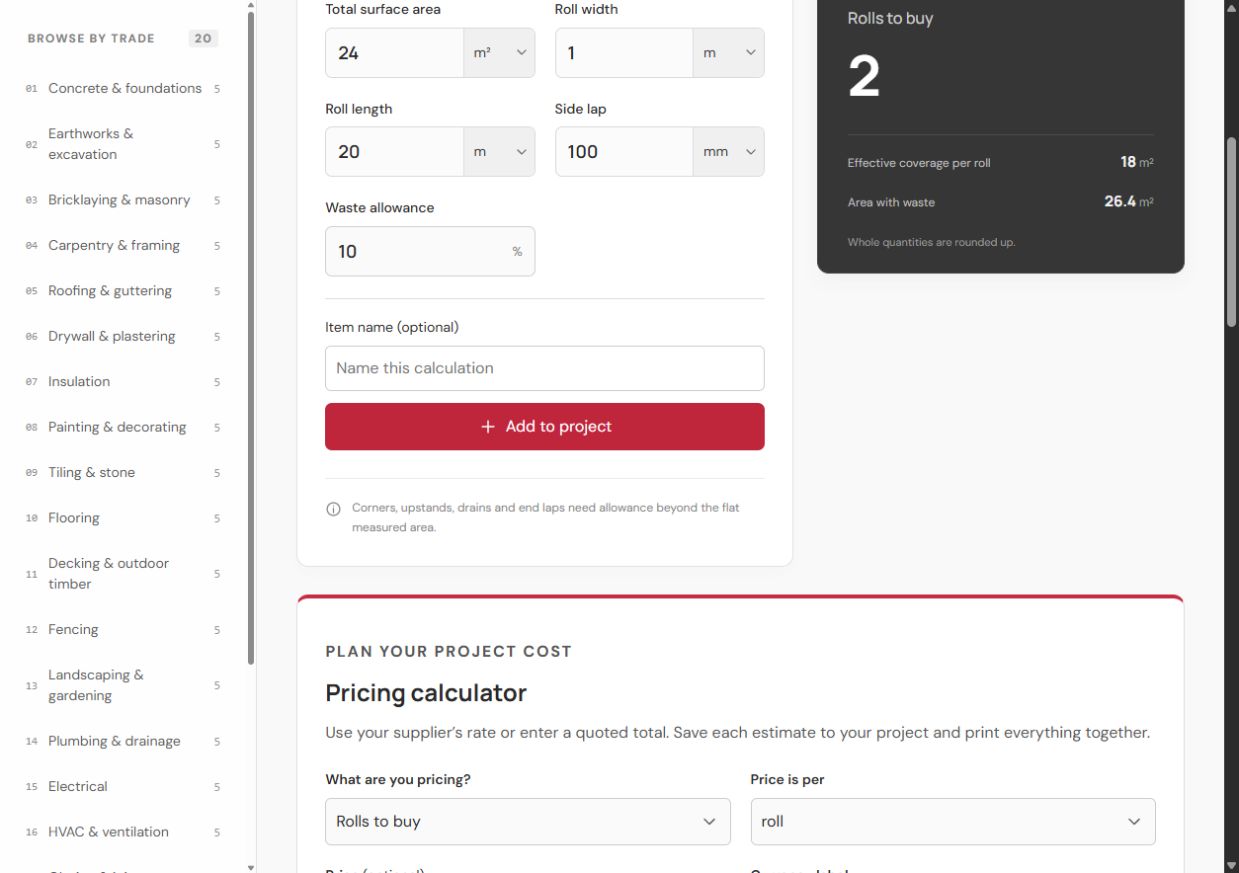
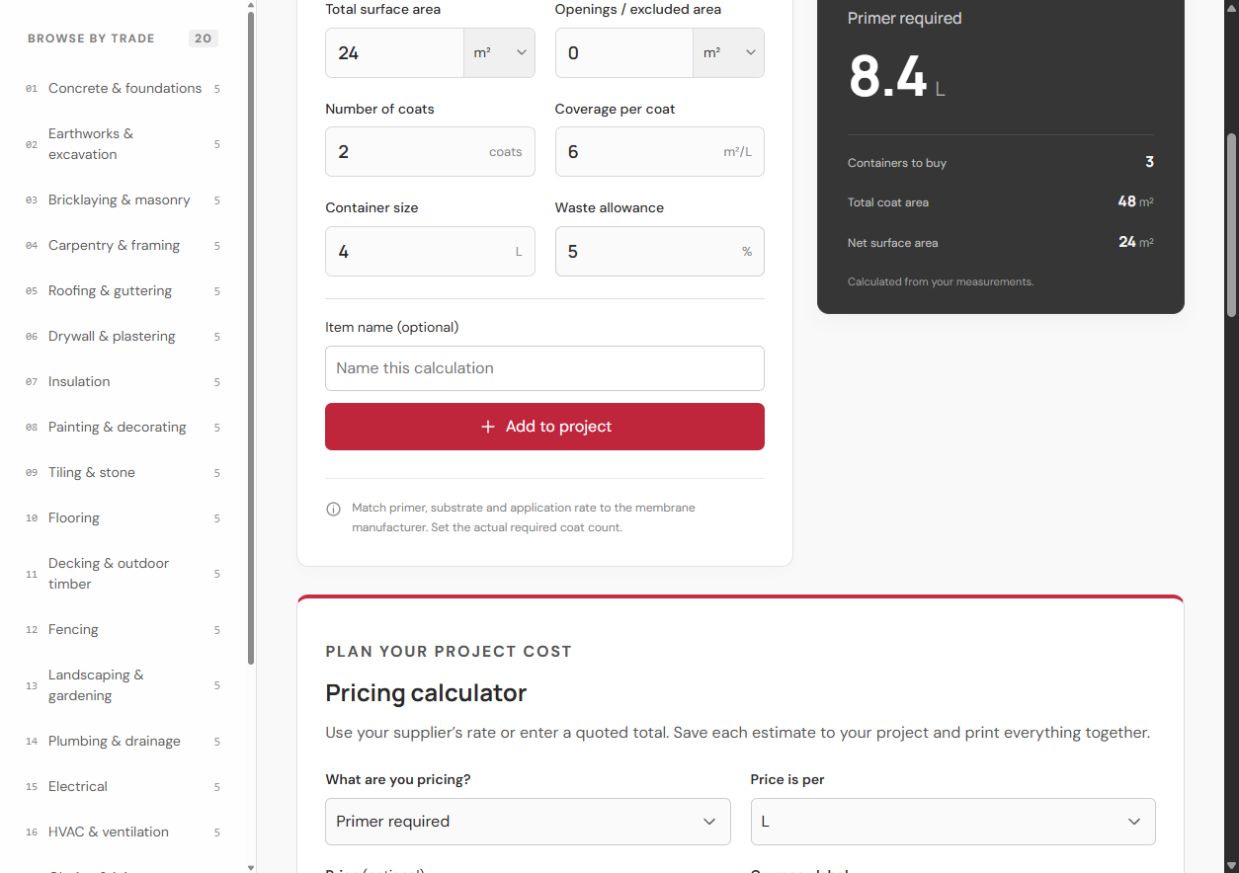
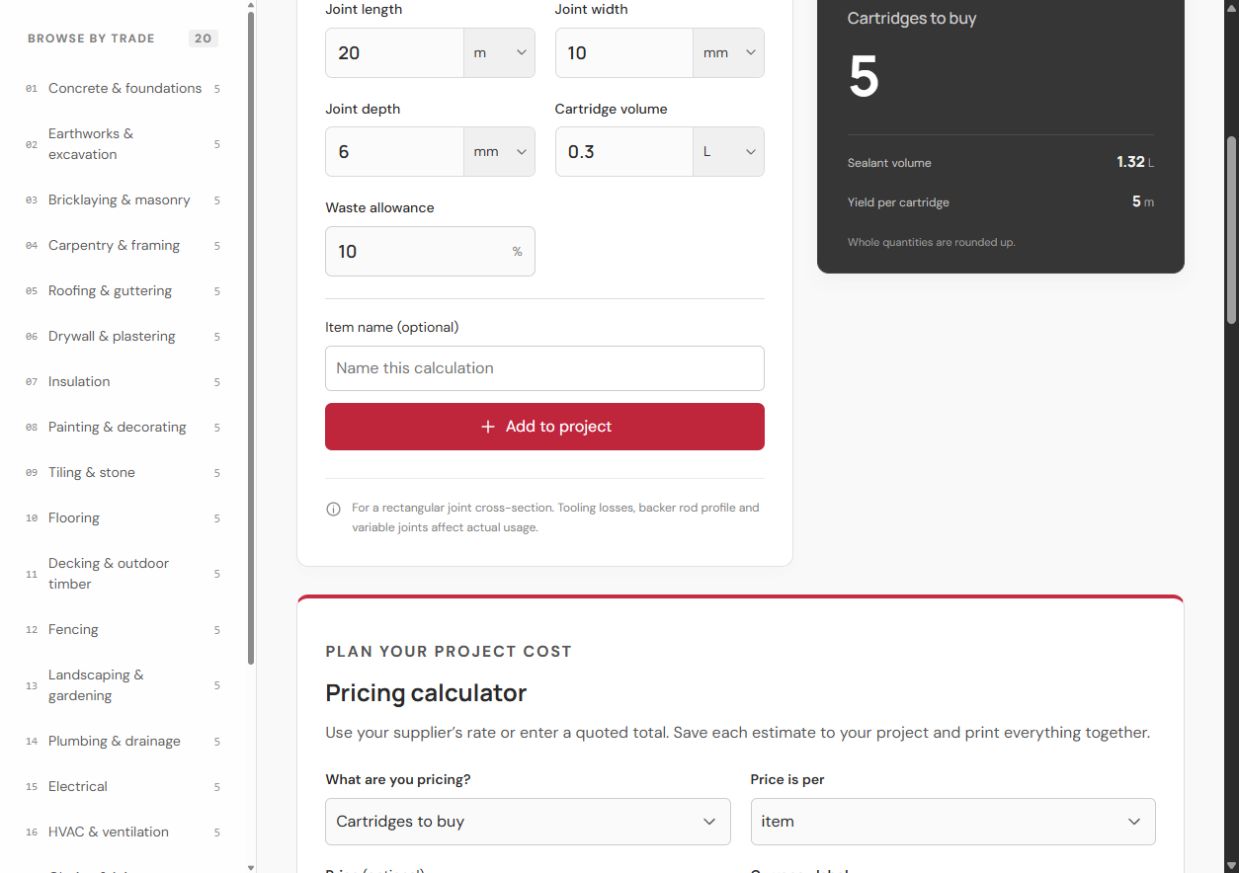
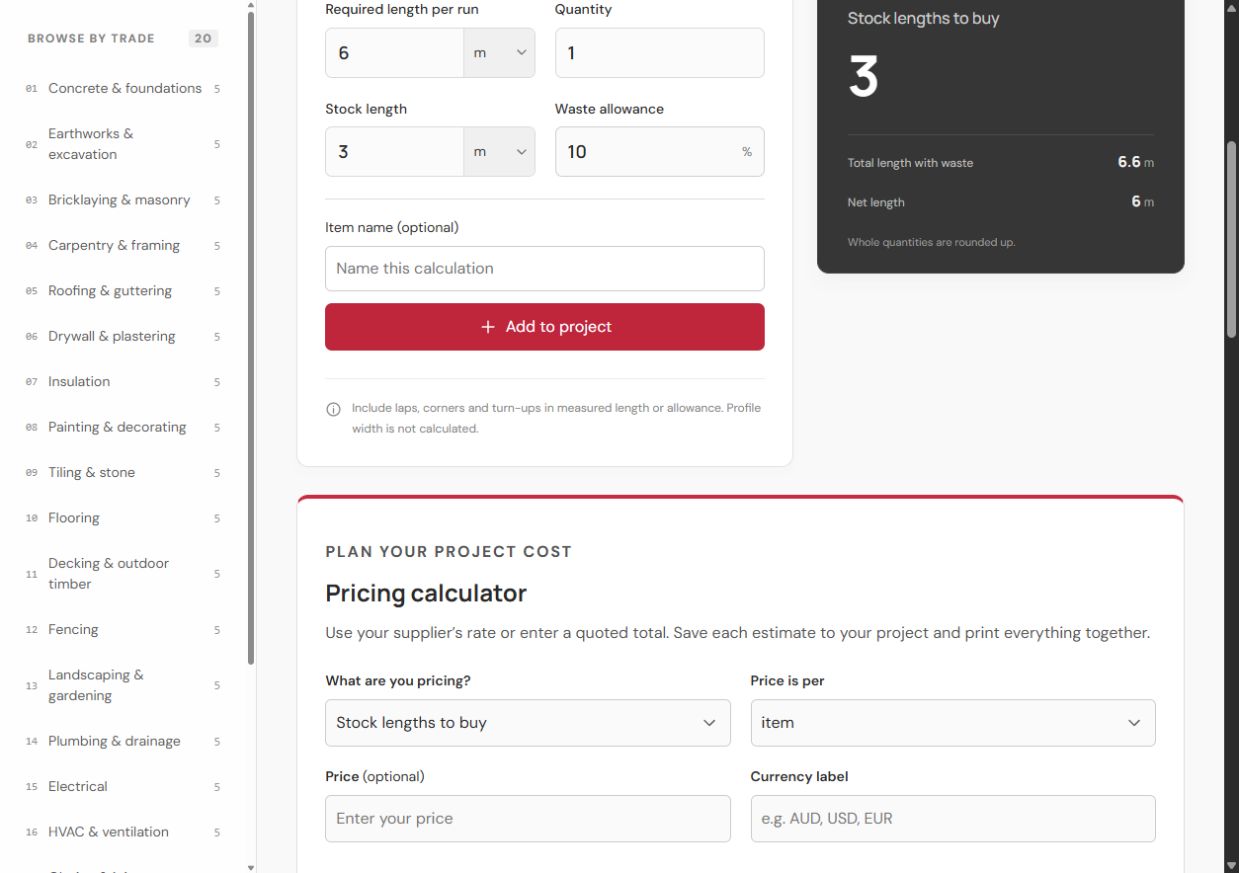
Choose Mobile or Desktop to see a read-only layout preview with example measurements. Scroll inside the preview to see the results below the inputs. Open the calculator to enter your own values.
98 calculator guides
No guides match. Try a different name or choose All trades.
Concrete Slab CalculatorConcrete & foundations
Calculate concrete for a rectangular slab, pad or floor.